What are the requirements for an ARMA 3 Server?
ARMA 3 has a solid following because of its realistic military action. This sandbox shooter hosts 16,000+ average players spread across approximately 1500 servers.
Does your group of friends add to the more than 62000 units & clans battling for ARMA supremacy? If so, then you’ve likely discussed the idea of an ARMA 3 server.
Want to know the server requirements? And, how to set one up? Read on.
See Also: Setup An ARMA Server On the ServerMania Cloud for $5/month
The Minimum ARMA 3 Server Requirements
What’s the lowest rig you could get to run an ARMA 3 server?
- CPU: 2.4GHz dual-core processor
- RAM: 2GB
- HDD: 32GB
- OS: Linux/Windows Server 2008 (or better)
ARMA 3 does not use multi-threading allowing you to save by using a basic dual-core processor. The minimum server specs are about the same as running the game so if it’s working on your rig then it’ll work on a server.
The Recommended ARMA 3 Server Requirements
Don’t want rubberbanding and issues with the hardware?
- CPU: 3.xGHz+ multi-core processor
- RAM: 4GB+
- HDD: 32GB+
- OS: Linux/Windows Server 2008 (or better)
It’s a given that more is always better with dedicated hardware. Consider installing an extra 1GB of RAM for every 10 extra players on your server. This requirement is right in-line with the recommended specs for the game.
See Also: (Live Webinar) Meet ServerMania: Transform Your Server Hosting Experience
How to Install ARMA 3 Dedicated Server
Decide which server packages fit your budget and needs. Then, do the following to setup an ARMA 3 server of your own on a linux based server.
Step 1: Login to SSH on the server
Begin by logging into SSH to your server.
ssh root@SERVER-IP
Step 2: Create an ARMA User
Add a new user arma and switch into the user:
adduser armasu arma
Step 3: Create a SteamCMD Directory and Download Files
We’ll create a directory called steamcmd and switch into the directory, then download the steamcmd files:
mkdir ~/steamcmd && cd ~/steamcmd
We’ll need to add the non-free repository before we can install steam:
nano /etc/apt/sources.list
Add non-free to the repository line and save the file
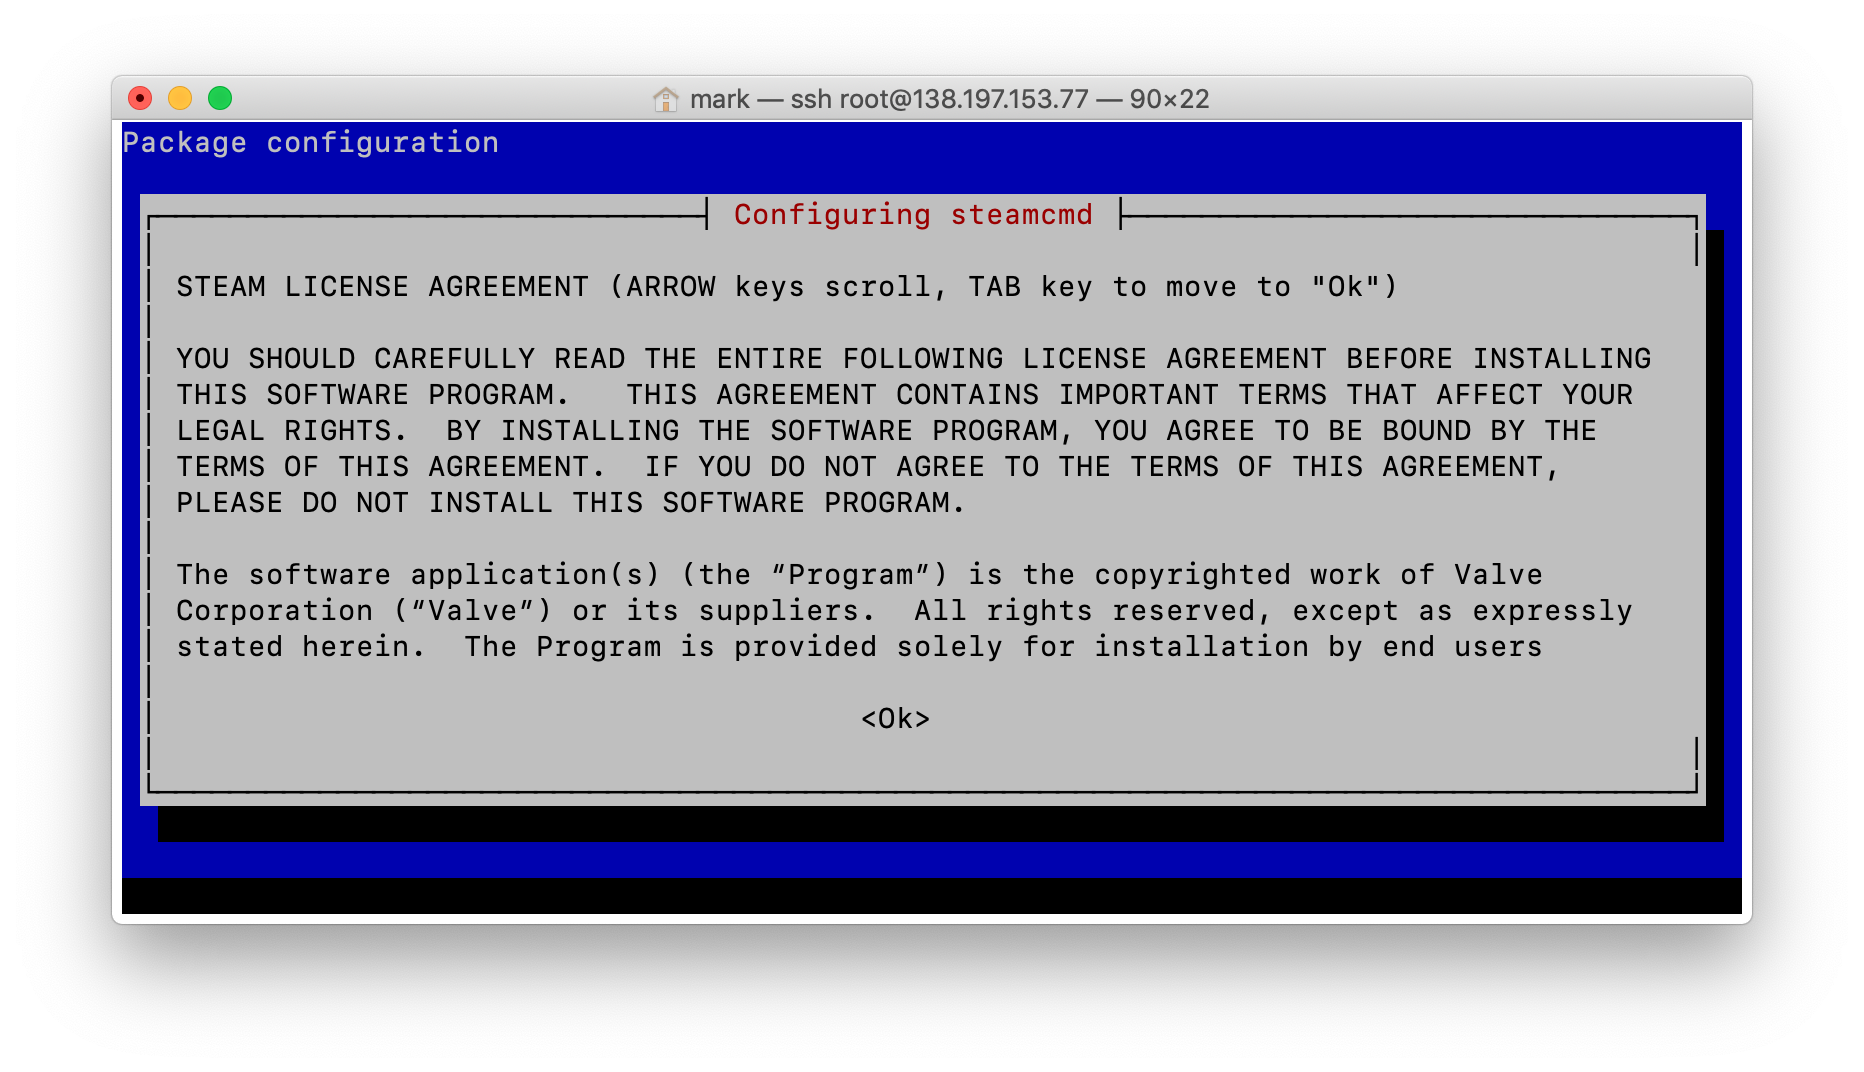
apt update && apt install steamcmd
Accept the license agreement:

Step 4: Start Steam
Create a symbolic link to the steamcmd file
ln -s /usr/games/steamcmd steamcmd
Steam can be started in a screen
screen./steamcmd
Step 5: Download ARMA
login steamuserforce_install_dir ./arma3/app_update 233780 validateexit
Step 6: Create ARMA Directories
Create the directories used to store the profile files and Arma3.cfg file.
mkdir -p ~/”.local/share/Arma 3″ && mkdir -p ~/”.local/share/Arma 3 – Other Profiles”
Step 7: Start the server
cd “/home/.steam/SteamApps/common/Arma 3 Server/”./arma3server -name=server -config=server.cfg
What about Running ARMA 3 Mods?
There are countless ARMA 3 mods you may want to explore on your server — like:
- Wasteland
- MGS1
- Revenge
We encourage running the’recommended’ ARMA 3 requirements. This will handle the extra load from player’s download/upload. You may want to expand HDD size to accommodate the mod packs, too, if your server is low on space.
The mod loading process details:
- Connecting to your server via FTP
- Adding the mod to an @name folder
- Accessing the control plane and command manager
- Add the mod via @name in the commandlines feature
- Save and run the server
And like that, you’re now running ARMA 3 mods on your dedicated server!
Need a Power Server?
If you are looking for a more advanced gaming server setup, check out ServerMania’s Dedicated Game Server Hosting Solutions or contact us to chat with an expert.
Was this page helpful?

