Setting Your Email Server Up: An Easy to Follow Guide
Have you ever wanted to quickly setup your own dedicated mail server? Mark here with ServerMania. For over 10 years, I’ve worked in the server hosting industry, configuring thousands of servers and writing countless articles on the simplest and most effective ways to accomplish server goals.
Setting up a personal email server is very easy to do. We’ll show you everything you need to quickly deploy your own mail server
This tutorial will work on CentOS, Debian, Ubuntu, or any other Linux distro which supports Docker using the popular, free, and open-source Mailcow software.
Why Create Your Own Mail Server?
There are many reasons why you should setup your own cloud mail server:
- Privacy: When you setup your own mail server, you know that you are the only mailbox on that server sending mail. This means that you can be confident that the privacy of the server is optimal.
- Security: Managing your own cloud mail server means that you can maintain the highest level of security. When other mail users are on the same server, you never know what security policies may be compromised.
- Reliability: When you create your own cloud mail server, you never have to worry about other users sending abusive mail on the server. This ensures reliability and uptime can be easily maintained.
What You’ll Need
- A domain name such as example.com, which will be used to setup an email address such as john@example.com. You can use a domain registrar such as Hover to register a domain if you don’t have one.
- A Cloud Server or Dedicated Server from ServerMania.
Server Requirements
Our cloud mail server will require the following server specs:
Minimum server requirements:
- 1GHz processor
- 1GB+ RAM
- 5GB Disk Space
Recommended Server Requirements:
- 2GHz processor
- 4GB RAM
- 100GB Disk Space
See Also: (Live Webinar) Meet ServerMania: Transform Your Server Hosting Experience
Preparing for Installation
We’ll start by ordering a Cloud or Dedicated Server from ServerMania.com – this will be the server that will host the email server software.
If you’re setting up an email server for yourself, then a Cloud Server is typically the best choice. It’s a slice of a dedicated server. It combines the power of a dedicated server with the price of a virtual server. Cloud Servers start at just $5/month, and when you consider that you can use the server for multiple activities like creating your own VPN, setting up your own cloud backup, or hosting a website, it’s a great deal.
If you’re setting up an email server for your business, then you may wish to consider a Dedicated Server. Dedicated Servers start as low as $50/month and it’s a server completely dedicated to you. It’s the perfect choice for those looking for the ultimate in power and server performance.
Under Products / Services, simply navigate to the server type you wish to select, pick a server, and click customize.

During checkout, select the latest version of Debian or CentOS as the operating system:

Your Cloud Server will be ready in a few minutes after order verification, and Dedicated Servers are typically provisioned within 8-24 hours.
Once you have received the login credentials for your Cloud or Dedicated Server from ServerMania, you must perform the following tasks:
Configuring DNS Records
When configuring DNS on a domain, you have the option of using free nameservers that are included with most domain registrars, or you can use an external DNS provider like CloudFlare.
Using the Domain Registrar’s DNS
Login to your domain registrar and navigate to the DNS records for the domain you wish to setup email. We will use “example.com” to represent your domain.
You will need to configure the following DNS records:
- Set the nameservers of example.com to your domain registrar’s nameservers.
- Setup the mail.example.com A record to the primary IP of the server with us
- Set the MX record of example.com to mail.example.com
Using An External DNS Provider
Login to your DNS provider and navigate to the DNS records for the domain you wish to setup email. We will use “example.com” to represent your domain.
You will need to configure the following DNS records:
- Set the nameservers of example.com to your external DNS provider’s nameservers
- Setup the mail.example.com A record to the primary IP of the server with us
- Set the MX record of example.com to mail.example.com
If you have changed the domain nameservers, allow 24-48 hours for these DNS records to propagate before you will be able to send and receive email fully. You can add your server IP to your hosts file in order to manage the server while you wait.

Unblocking Port 25 and Reverse DNS Records
Please contact support in order to unblock port 25 on your server. You must also request that the reverse DNS records of your server IP be set to mail.example.com, the hostname of your server.
Mail Server Installation
We’ve created a free video course which walks you through every step of the email server setup process. Click here to view it for free.
Step 1: Login to SSH on the server
If you are using Linux or Mac, you can use the built in terminal to connect with the following command:
ssh root@server-IP
If you are using Windows, you can download PuTTy to connect to the server via SSH.
Step 2: Update system packages
apt-get update
Step 3: Install curl and git
apt-get install curl git
Step 4: Download Docker
curl -sSL https://get.docker.com/ | CHANNEL=stable sh
Step 5: Download Docker Components
curl -L https://github.com/docker/compose/releases/download/$(curl -Ls https://www.servercow.de/docker-compose/latest.php)/docker-compose-$(uname -s)-$(uname -m) > /usr/local/bin/docker-compose
Step 6: Update Docker permissions to executable
chmod +x /usr/local/bin/docker-compose
Step 7: Make sure your umask equals 0022.
umask
Look for output 0022
Step 8: Change into /opt directory
cd /opt
Step 9: Download Mailcow Files
git clone https://github.com/mailcow/mailcow-dockerized
Step 10: Change into Mailcow directory
cd mailcow-dockerized
Step 11: Generate Configuration File
./generate_config.sh
Provide the hostname of the mail server that you wish to use. IE: mail.example.com
Step 12: Pull the images
docker-compose pull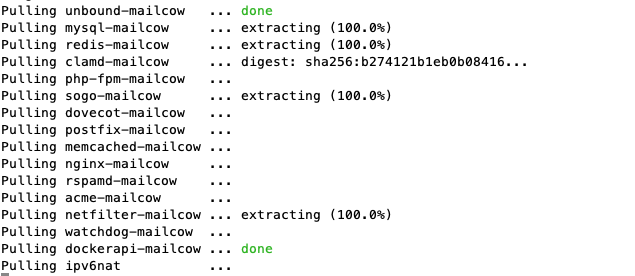
Step 13: Run the composer file. The parameter -d will start mailcow: dockerized detached:
docker-compose up -d
Installation is now complete. You can login to mail.example.com with username admin and password moohoo.
Configuration
Login to mail.example.com with the above username and password to get started.
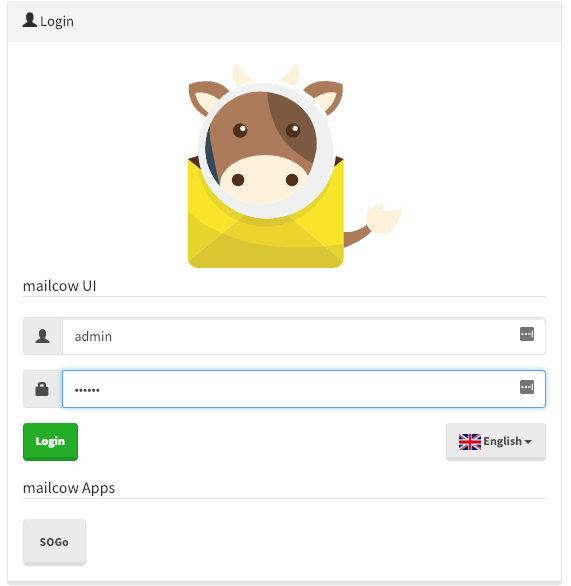
Change Admin Password

Once logged in, click the edit button next to the admin user in order to set a unique password.
Set Domains and Users
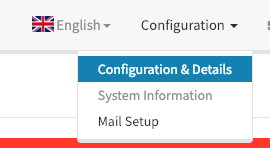
Click on Configuration in the top right-hand corner and click Mail Setup in order to create email domains and addresses.

Click Add Domain in order to create an email domain. You’ll start by creating example.com, and can add as many email domains as you’d like.

Once you have filled out the domain configuration details, click Add domain and restart SOGo.
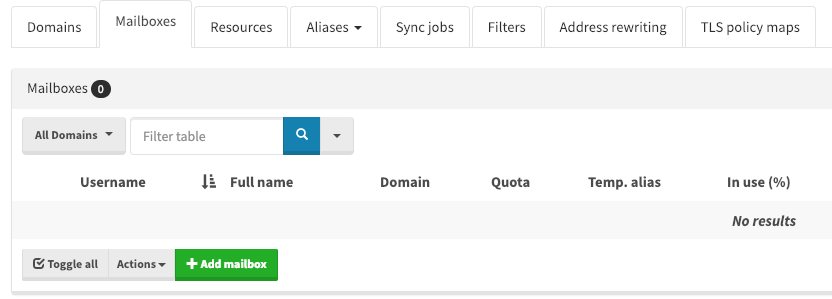
Next you can click the Mailboxes tab in order to add email users. Click Add Mailbox.
Accessing The Mailbox
Webmail
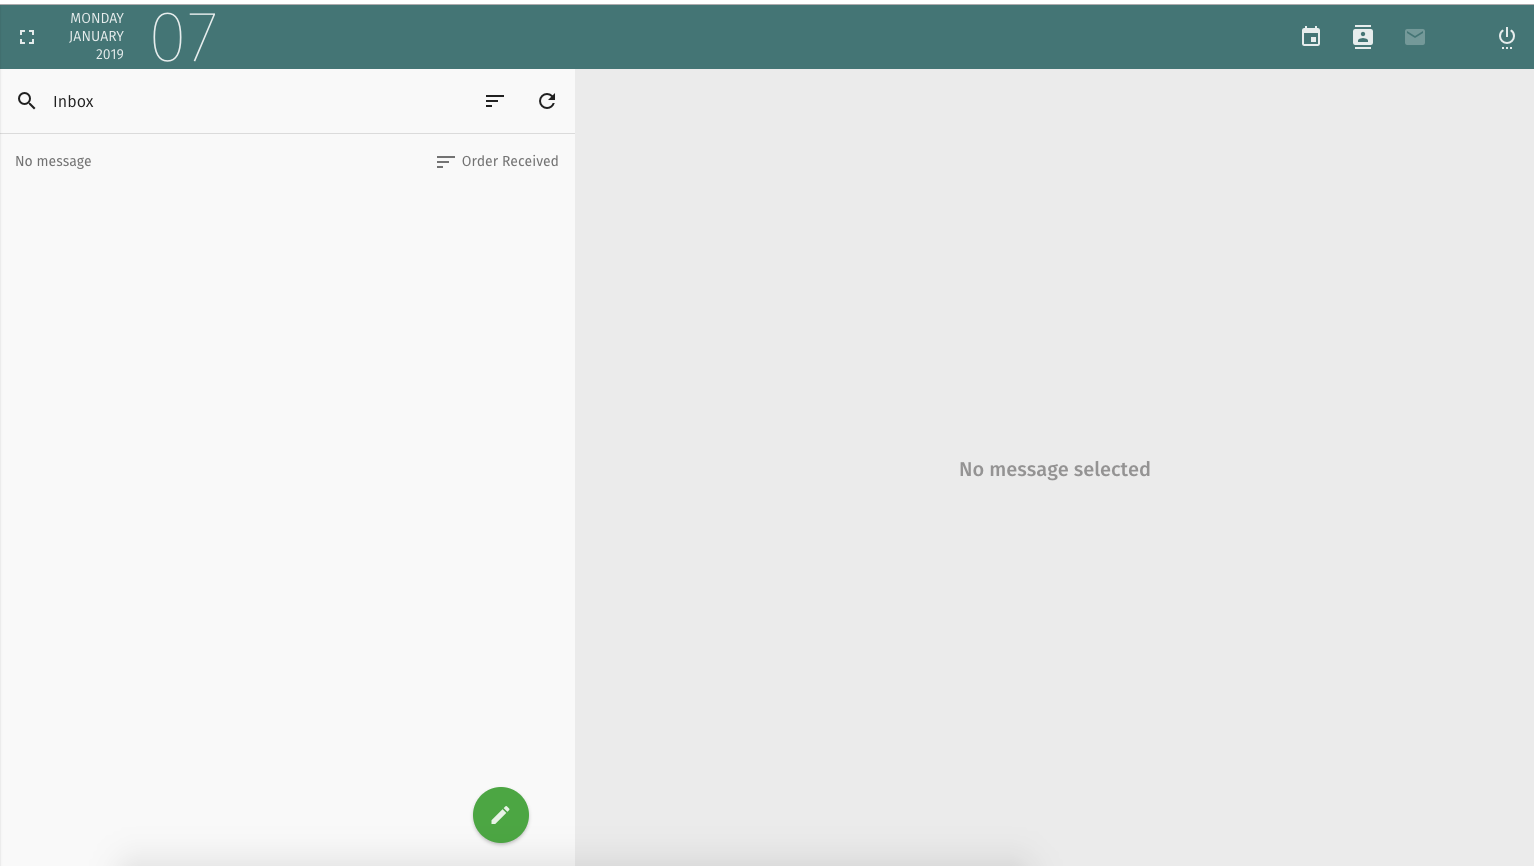
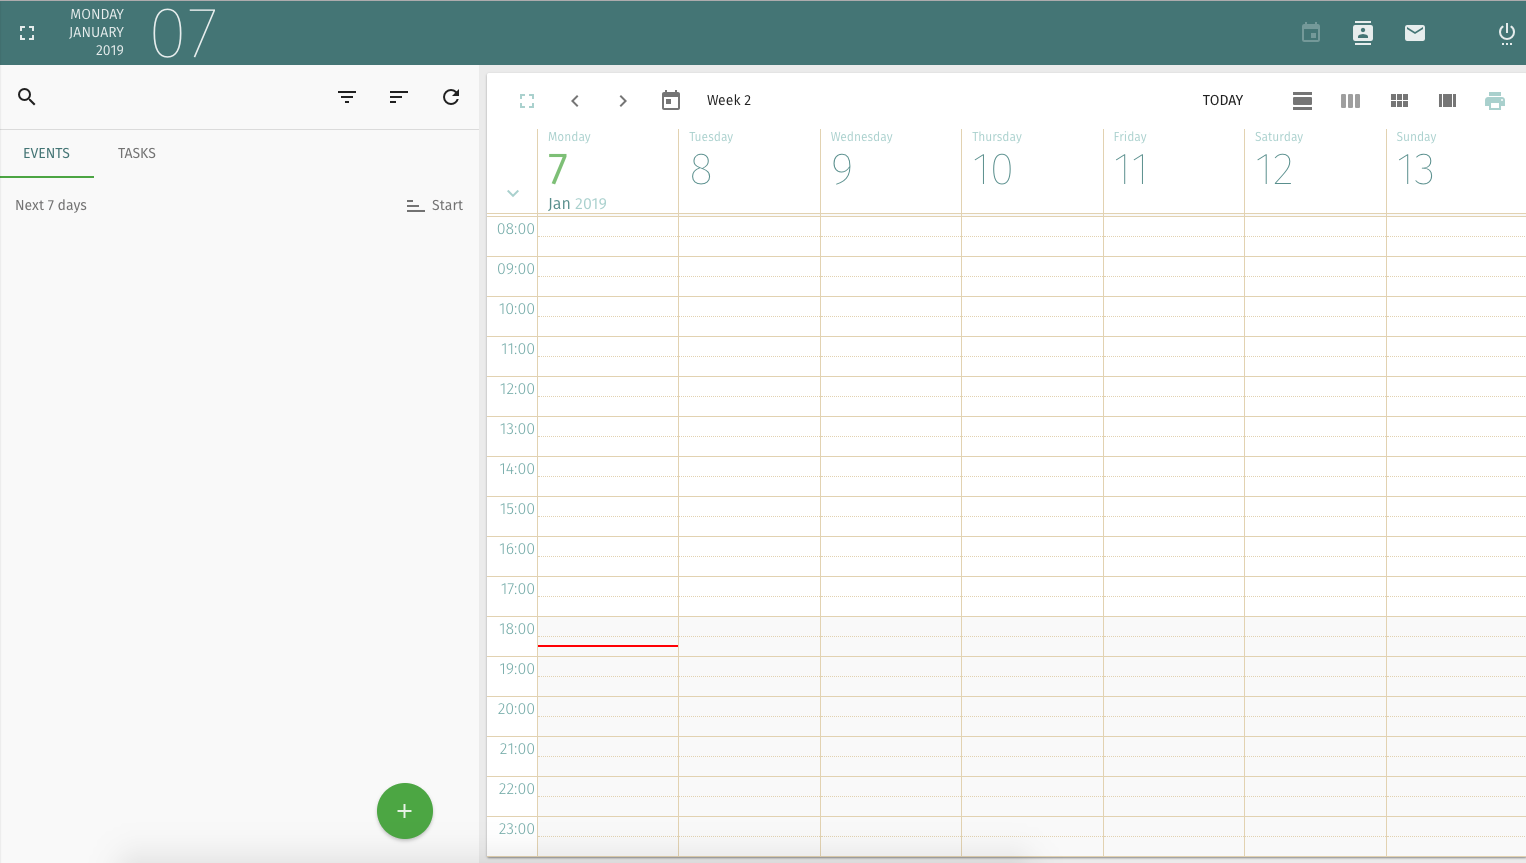
Once the mailbox has been created, you can use the webmail interface at http://mail.example.com/SOGo/ to send and receive email, check calendar, and manage your address book:
Email Client Setup
You can also use your favourite mobile or desktop email client to send and receive mail.
Configuration instructions for Android, IOS, and a variety of Mac and PC clients can be found here.
Next Steps and Support
Your mail server is now installed and configured! Need help? Contact our support team at any time and we’d be happy to assist you.
Was this page helpful?

