Best Practices Guide for Live Streaming Setup and Optimization

Live streaming has been on the rise for nearly two decades now: ever since Justin.tv (which later became Twitch.tv) launched in 2007, people have been watching others making live content. Today, 27% of internet users watch live streaming content on a daily basis. Just Twitch and YouTube Gaming alone amassed over 5.488 billion watched hours for live streaming gaming content in Q3 2023.
One of the biggest reasons that live streaming is so popular is that almost anyone can do it; basic live streaming equipment can be done with almost any modern desktop computer. The barrier for entry has never been lower, but how do you stand out from the crowd?
We at ServerMania know a thing or two about live streaming–whether it’s from setting up dedicated streaming servers for our clients, or giving professional streamers the tools and hardware they need to deliver high quality audio and video. In this article, we’ll cover the basics of getting your live stream setup and running, and how you can make your stream shine.
The Essentials of Live Streaming Equipment
Creating a high-quality live streaming setup starts with the right tools. Whether you’re chilling with friends while streaming on Twitch, hosting a tournament for your league, or anything else, the tools you use can make a significant difference on the quality of your stream quality.
Cameras
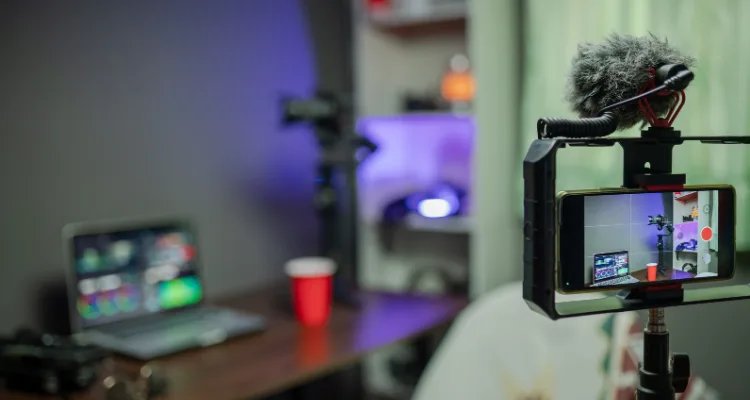
A good camera is essential if you want to have high quality video with your streaming setup (unless you’re aiming to be a VTuber). The clarity, resolution, and frame rate of your camera delivers has a direct influence on your video quality and the overall presentation of your live stream.
The two most common options for cameras are:
- Webcams: Budget-friendly, easy to use, and are ideal for beginners.
- DSLR or Mirrorless Cameras: Superior video quality and depth, excellent for professional setups.
Audio Equipment
Clear, crisp audio is the most essential part of your stream–if your viewers can’t hear you, they’re far less likely to stay tuned. Background noise, distortion, or muffled sound can all drive viewers away.
You have a few different options for microphones, such as:
- USB Microphones: Cheaper, easy to set up and great for an entry-level streaming setup.
- XLR Microphones: These offer better sound quality and versatility, but also require an audio mixer or DAC to work.
- Lapel or Lavalier Mics: They’re small, discreet, and easy to set up for multiple people.
- Accessories: Things like pop filters and shock mounts can help reduce ambient noise and improve overall clarity.
Encoders
Encoders compress and convert raw video and audio sources into a streamable format, ensuring you get smooth delivery to your streaming platform. Typically, the streaming software you use (whether it’s OBS Studio, Streamlabs, or anything else) includes a software encoder by default, giving you an easy and free option for encoding.
You can also opt to use hardware encoders to offload some of the strain on your GPU, though they can be relatively expensive for new streamers.
Lighting
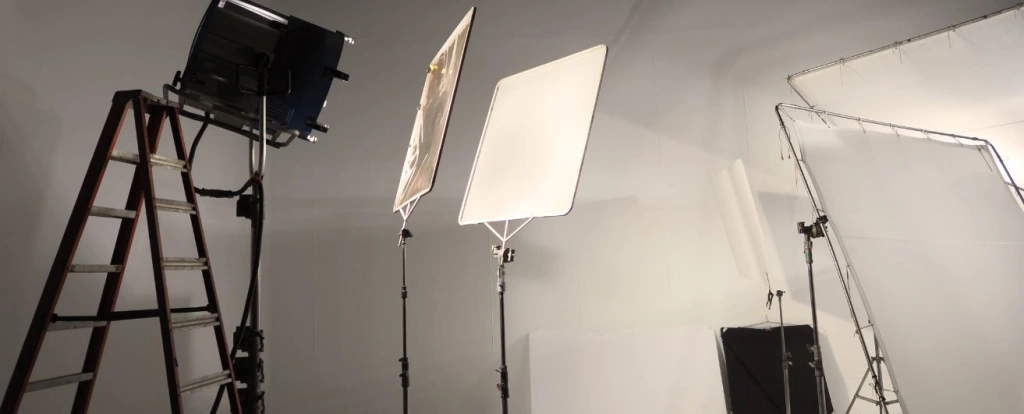
Lighting can make all the difference, even with lower-quality cameras. Something as simple as a three-point lighting setup can dramatically improve live broadcasts, making you (or your guests) look vibrant and well-defined.
There are quite a few different lighting options out there, so you can create your own live streaming setup with a mixture of:
- Ring Lights: Incredibly common for influencers and photographers, they’re affordable and portable and great for facial lighting.
- Softboxes: These diffuse light to create a soft, natural, and professional appearance.
- Key Lights: High-quality, adjustable lights that are great for a basic streaming setup.
- Ambient Lightning: These set the mood for the room you’re in, and can make your stream feel more welcoming and relaxed.

Accessories
While we did cover the basics, there are quite a few things that you can add to your live streaming setup to make your streams easier to run, or add new effects to make it truly unique.
- Tripods and Mounts: These give you more options for camera angles, and offer a stable video feed from your cameras.
- Capture Cards: As the name implies, they can capture video from other devices, like game consoles or other cameras, giving you more options for content (or just more camera angles).
- Stream Decks: These programmable devices give you the ability to switch scenes on the fly, add custom toggles and effects, or just give you quick access to important functions. Plus, if you can’t afford an official Stream Deck, you can easily create one yourself with a macro pad.
- Green Screens: If you don’t have a dedicated streaming room (or you want to create a seamless experience where you can blend in with your content), a green screen can be a cheap and effective way to improve stream quality.
Structuring Your Live Streaming Setup
Setting up a successful live stream is more than just the right equipment. Whether you’re streaming for content creation, business, or Esports, adding some structure to your setup can match professional live streams.
Create a Dedicated Streaming Space
A well-defined space is crucial for consistency and focus. Choose a quiet, clutter-free area with good lighting and minimal distractions.
If space is limited, try using a green screen to hide the rest of your background (like your bedroom or living space). Once you’ve got a place set up, you can add soundproofing materials to improve sound quality or acoustic panels to reduce background noise.
Streaming Software Options
The streaming software you use has the biggest impact on how you stream. They control everything from encoding, layouts, effects, integrations, and video quality. Some of the most popular options include:
- OBS Studio: The original streaming software, it’s free, highly customizable, and great for any experience level.
- Streamlabs: Super user-friendly and easy to setup, this is a great option for beginners, though performance can become an issue on weaker machines (if you’re not using a dedicated server).
- Xsplit: More aimed towards professional live broadcasts, it offers some advanced features and support, but at a price.
Internet Connection
A reliable, high-speed, and stable internet connection is essential for live streaming. Lag or dropped frames can ruin the viewer experience, making it the most important thing you’ll need to take care of before you start streaming.
Ideally, if you want to aim for 1080p streams, you’ll need a good internet connection that can offer at least 6 Mbps, and up to 25 Mbps if you want to stream in 4k. Your PC should also be using a wired connection instead of Wifi (for better stability), and you should avoid other high-bandwidth activities on your network while you’re live.
Hardware Setup
Your live streaming equipment setup includes your PC hardware, too. While you can opt to use your existing computer as part of your streaming setup, depending on it’s hardware, it may or may not be powerful enough to support your live stream.
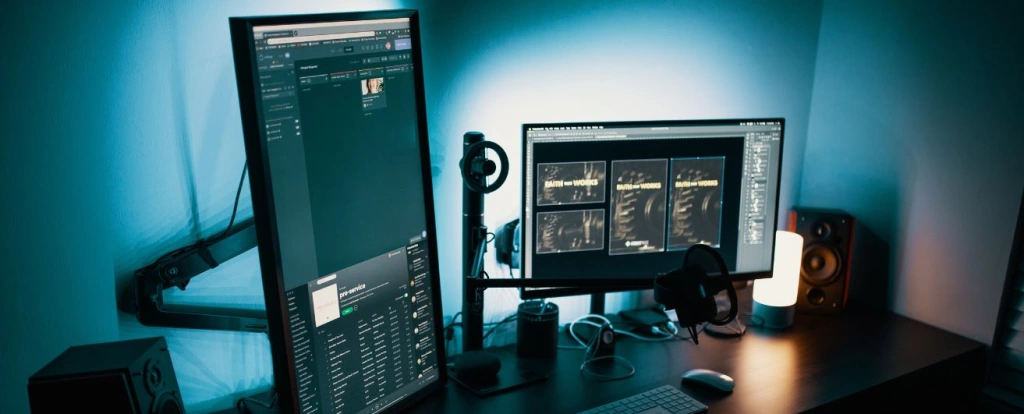
The most important hardware component for your streaming setup should be your GPU–it handles everything from your video encoder to the performance of the games you’re playing on. Your CPU and RAM don’t matter as much for streaming, but if you plan to play games or do more than simply chat with your users, you’ll still want something that won’t bottleneck your GPU. Additionally, you’ll probably want more than one monitor: one for you to monitor your live stream and chat, and another for the content you’re making.
Alternatively, you can opt to have a streaming setup that involves two PCs: Your local machine, where you’ll have all the setup and record all of your live video, and a secondary streaming server that processes your video and does the rest of the heavy lifting before sending that data to your streaming platform.

Picking a Live Streaming Platform
There are more options now than ever for where you choose to stream, but what’s the right live streaming platform for you? Let’s go over some of the most common options:
- Twitch: By far the most popular live streaming platform, Twitch has everything from games to live events (and everything in-between). It’s a great platform to get your start live streaming, and has great monetization options as well as a huge audience.
- YouTube: Your own personal YouTube channel can also act as a page for all your streams. They have a few better quality-of-life changes for live streamers and their viewers, such as being able to pause and resume while you’re still live. However, they have a smaller audience and less monetization options.
- Kick: Relatively new to the scene, Kick offers a smaller, but more passionate audience. They also have more laxed rules than other platforms, making it a great place for more mature content.
- Facebook Live: If you’re looking for something that you can invite friends and family to watch (or to multi-stream from other platforms), Facebook Live allows you to easily set up a stream. However, it’s nowhere near as popular as other options, and best for professional brands that want to branch out.
- TikTok Live: If it’s available in your country, TikTok Live offers some of the best features: a wide audience, great monetization, and easy discoverability. However, you’re locked to streaming in a vertical aspect ratio, making it difficult for some types of content.
Alternatively, you can opt to stream to multiple platforms with special software, allowing you to get the benefits of each different platform, but at the cost of needing to monitor (and moderate) different chats.
Prepping and Running Your Livestream
A successful live stream requires more thought than going live–with so much competition out there, offering great video quality alongside engaging content is essential for success.
Pre-Livestream Checklist
Before you start video recording, double check the essentials to avoid unexpected issues:
- Ensure your streaming equipment, including your camera, microphone, and lighting, are all properly connected and functional.
- Test your internet connection for speed and stability.
- Set up your streaming software with overlays, transitions, and scenes, and ensure they’re all working as intended.
- Check your audio equipment to ensure you’re delivering good sound quality.
- Make sure your streaming setup is well-lit, clean, and free from distractions and background noise that might interrupt.
Remember, it’s a live video: Any issues in production can impact your viewer’s experience.
Testing Streams and Dry Runs
Running a test stream is one of the most effective way to troubleshoot issues and identify potential issues with your live streaming equipment. Your streaming platform should offer a way for you to make a private or unlisted stream to check your audio quality and make sure you’re delivering high quality video. It also allows you to check all of your transitions, overlays, and interactive effects in a live environment.
Backup Plans for Technical Issues
Even if you have the best live streaming equipment, something can always go wrong at the last second. Having a solid backup plan in place can help you recover quickly and prevent them from impacting your live video.
Keeping spare equipment (like microphones, webcams, or extra cables) can save you in a pinch, and using a mobile device can help monitor your stream in real-time and show you if there’s any issues while you’re live.

Getting the Most Out of Your Live Streaming Setup
While it may not be for everyone, live streaming can be an incredibly fun (and rewarding) way to make content, whether you’re streaming some of your favorite games, reacting to content online, or just hanging out with friends. Getting the best live streaming setup doesn’t have to be hard, either–with the right streaming platform, a solid internet connection, and a good PC (or with a dedicated streaming server), you can be up and running in no time.
If you’re ready to make the jump–or your business is looking to start live streaming professionally–ServerMania can help up your live streaming setup to a powerful dedicated server that delivers high quality video and a reliable service that’ll work for every stream.
Was this page helpful?

