How to Install Webmin
Webmin provides Linux administrators with a web-based open source configuration tool. Configuration for Unix-like environments usually involves manually editing configuration files or running command line tasks.
With Webmin you can manage many machines through a single graphical interface. It is a helpful tool for Linux novices who struggle with manually editing configuration files or anyone who prefers a graphical based interface over a text.
While newer versions are able to run on Windows, Webmin is primarily a tool for Linux based machines. Therefore, the focus of this article will be installation on a Linux server.
See Also: ServerMania Dedicated Server Hosting
Webmin Features
Webmin provides Linux administrators with tools to manage users, disk quotas and services. In addition, it can control apps such at Apache, PHP or MySql. This makes it a very valuable resource for anyone managing websites hosted on a Linux server.
Webmin has a modular architecture. This makes it very simple to add new functionality to your application at any time. There are many plugins available for Webmin via github.
Three popular modules are Usermin, Virtualmin and Cloudmin. Usermin focuses on user tasks, rather than administrator tasks and includes webmail. Virtualmin is a web hosting control panel. With it, you can set up domains for hosting websites and view them in a single interface. As its name implies, Cloudmin is used to manage virtual systems such as Xen, KVM and OpenVZ.

Install Requirements
Unix-like and Linux operating systems store configuration files in different locations depending on which distribution you are using. Webmin has been developed to support many, but not all of them. See a full list of supported systems here.
At the time of this writing, Webmin operates best on Solarix, Redhat Linux and FreeBSD. Regardless of your OS distribution, you will want a clean install and minimum of 2GB of Ram available. You’ll need to have a valid fully qualified domain name, static IP address and open port 10000.
Webmin Licensing
Webmin modules tend to be either shareware or to operate under a two tier license structure. There are GPL and Pro licenses available.
The GPL versions are free and under active development. They do not have all the features of the Pro licensed modules and do not include support.
There is a fee associated with Pro licenses that vary based on the module. They generally include many helpful features such as an improved user interface, mobile access and additional integrations. Pro users gain access to support and a repository of update packages.
Webmin Installation Steps
Each flavor or Linux and Unix-like operating systems will use slightly different commands to complete the install. We’ll discuss some common ones here.
Ubuntu/ Debian and Derivatives
- Use apt (Application Package Tool) to install Webmin. First we will add Webmin to apt’s list.
echo “deb http://download.webmin.com/download/repository sarge contrib” | sudo tee /etc/apt/sources.list.d/webmin.list
- Then add the PGP key (Public Encryption Key) to authenticate the install packages. Jamie Cameron is the developer of Webmin, hence his name is in the key.
wget -qO – http://www.webmin.com/jcameron-key.asc | sudo apt-key add –
- Install Webmin using apt.
sudo apt updatesudo apt install webmin
RHEL/CentOS
Use the yum package manager to install. First add to yum’s list and authenticate with the encryption key.
cat << EOM | sudo tee /etc/yum.repos.d/webmin.repo[Webmin]name=Webmin Distribution Neutralbaseurl=http://download.webmin.com/download/yumenabled=1gpgcheck=1gpgkey=http://www.webmin.com/jcameron-key.ascEOM
Now install with yum, like you would any other package.
sudo yum install webmin
Post Installation Initialization Steps
There are a few initialization steps to complete before Webmin will be ready for use. First open the application by typing https://<your_server_ip>:10000/ into your web browser.
If you do not see the Webmin console there, make sure that port 10000 is open and not being used by another application. It is possible to change the port that Webmin uses.
We recommend changing the default port as hackers know 10000 is commonly used for Webmin and they may target it. To change the default port, edit /etc/webmin/miniserv.conf and change the port number to any that you are not using.
You may see an error at this point indicating that your security certificate is self-signed. Click to trust the certificate and continue. You’ll want to configure a custom certificate that you obtain from a certificate authority at a later time.
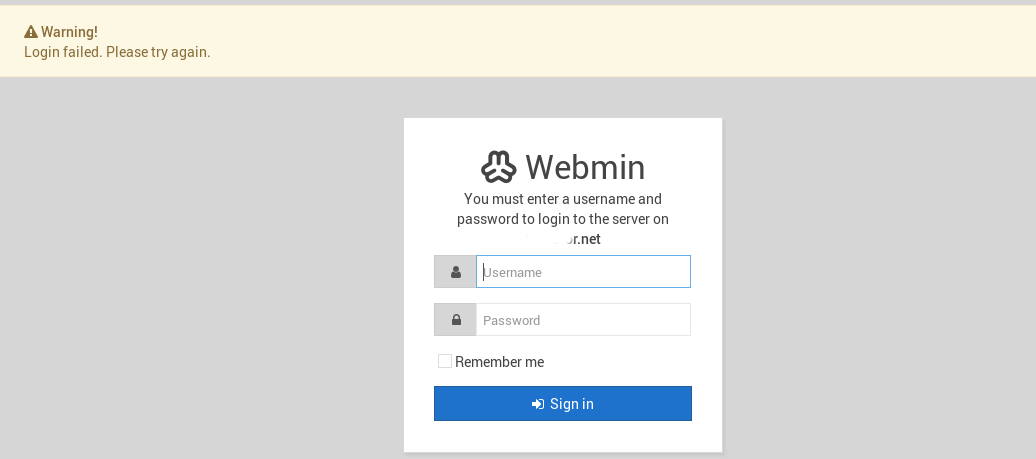
Next, you will be prompted to log in to Webmin. You can use your Linux system login, root or any user that is permitted to use sudo (superuser do).

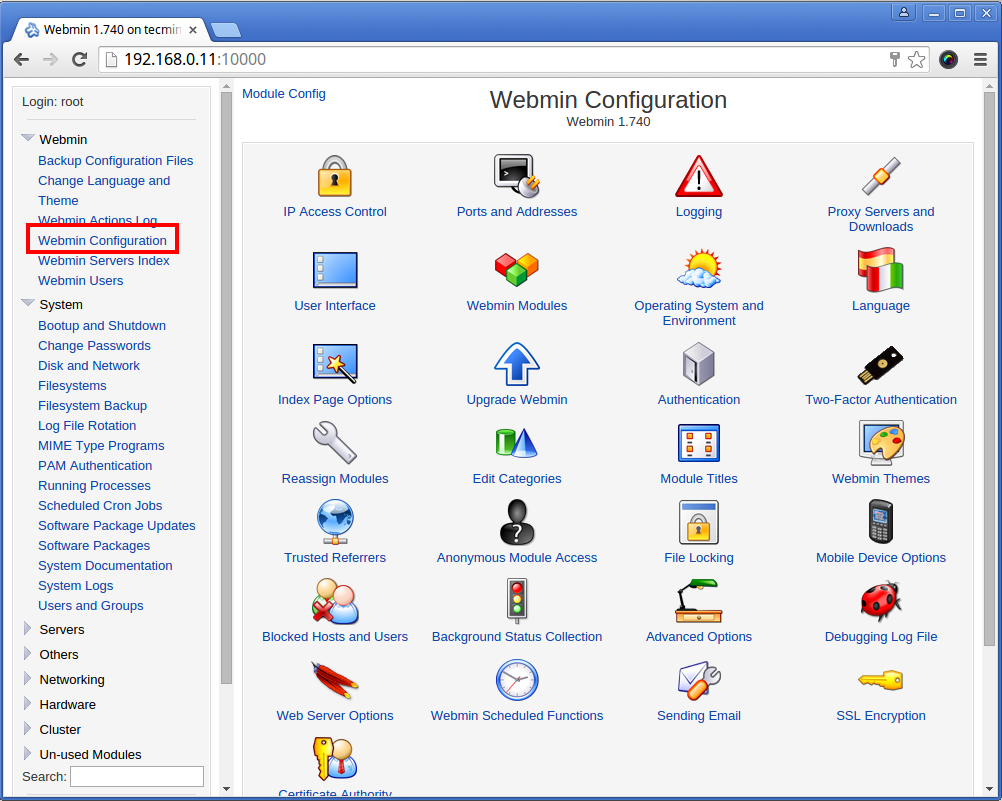
After login you will be directed to the dashboard. The Webmin dashboard displays general system information. Select menus on the right side of the screen to view details about components such as servers, networking and hardware.
Final Tips
Add and remove Webmin modules from the System menu under Software Packages. Here you can view what modules are installed and if there are any updates available. You can also view this info and update multiple modules at once from System -> Software Package Updates.
Access File Manager from the Others menu. File Manager will let you browse, upload and download files. You can also use it to set file level user permissions. If you want to manage files on a remote server you will have to use SFTP or rsync.
Was this page helpful?

