How to Install OpenCart – A Simple Tutorial to Get Started on the e-Commerce Platform

In today’s commerce industry, having an ecommerce store is essential, but some e-commerce solutions might be really expensive or require extra skills.
If you are a person who does not know how to code or would like to know how to optimize a server for ecommerce quickly, then OpenCart might be for you.
In this tutorial, we are going to show you how to install OpenCart manually on a remote Linux server.
See also: How to Choose a Small Business Server
What is OpenCart?
The OpenCart software provides a simple way for you to run an e-commerce website. It offers professional e-commerce features such as an admin panel, discounts, coupons, multi-store support, ordering customization, and more.
It is a free online store management system based on open-source software such as PHP and MySQL. In 2017, it had more live sites operating on the internet than Shopify or Magento, which was roughly 9 years after its first release.
OpenCart is considered to be one of the top online store management systems. With its easy-to-use admin panel and tons of extensions available to install within a few clicks, it is no wonder why more than 342,000 online stores still use it as part of their business infrastructure and ecommerce hosting solution.
Why should I choose OpenCart?
Whether you have no coding experience or need to quickly set up an e-commerce website, OpenCart offers something beneficial for everyone, including web developers, who can easily edit the frontend while having a professional backend logic that can identify fraught orders and process orders and payments.
Benefits of OpenCart
- Ease of use
- Free & open-source
- Anti-fraud detecting system
- SEO friendly
- Sell anything
- Full control over your site
Before we begin
Now that we’ve covered some basic information regarding OpenCart, it’s time to get our hands dirty. First, you need to have access to a Linux server, which you can easily deploy as part of a cloud hosting solution. Or if you need to do a little more research, take a look at the cost of a server for small business.
Installation steps
SSH into your remote Linux server
The very first step is to SSH into your remote Linux server, but if you are not using a remote server then you can skip this part.
To SSH into a remote server use this command:
ssh -i [.PEM_FILES_LOCATION] [USERNAME]@[IP_ADDRESS]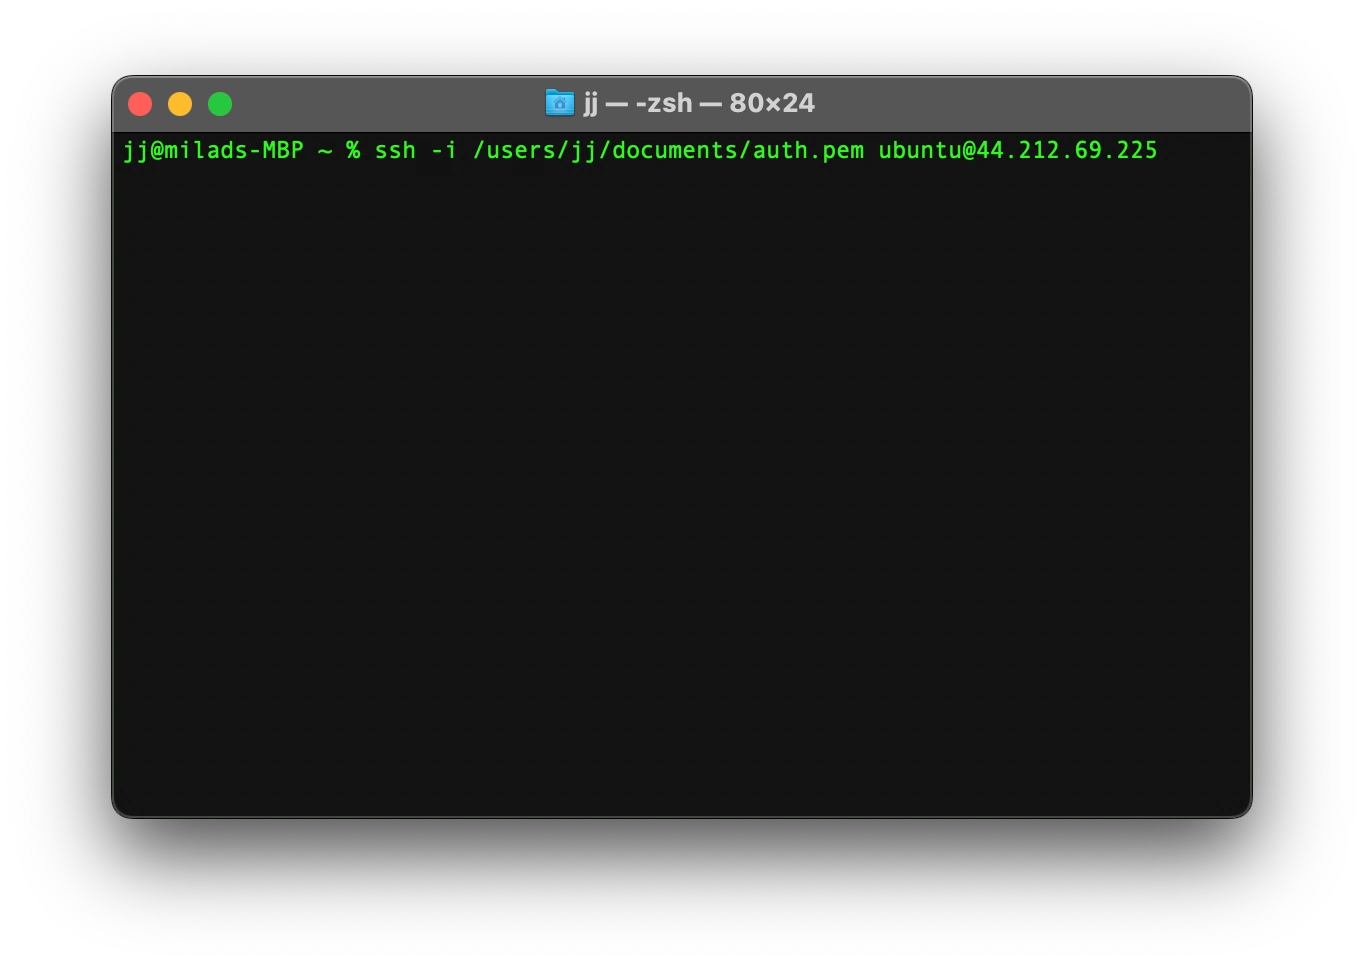
Update Linux packages
Now that you have access to your server the first step is to update you linux packages by typing these commands below
sudo apt-get updatesudo apt-get upgrade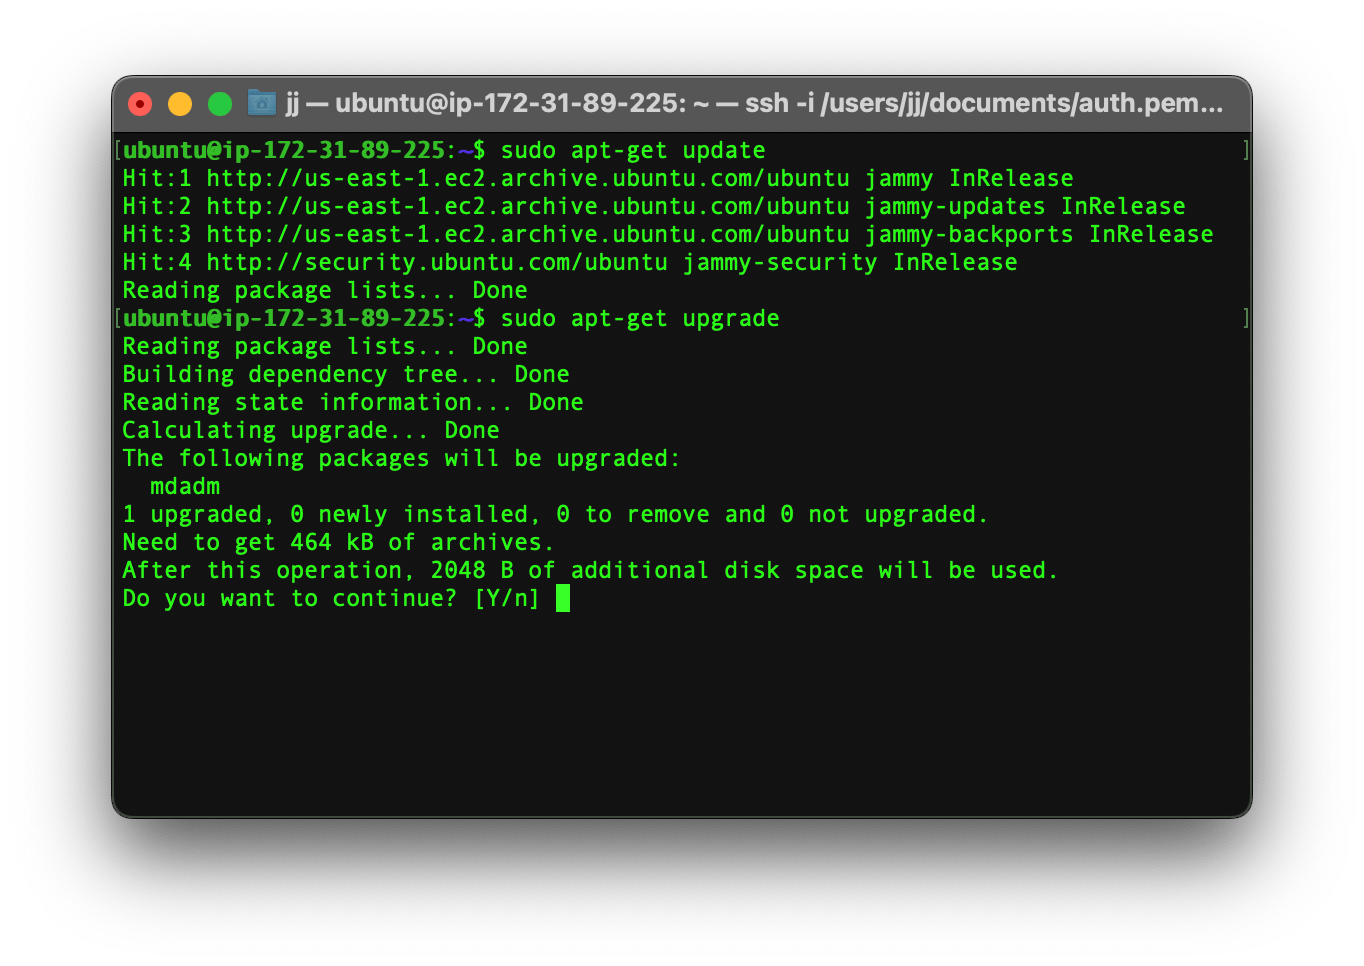
Install necessary packages
Now you need to install 4 main packages that are necessary for installing OpenCart, but if you already have them installed make sure that they are supported by OpenCart.
Install Apache server by typing this command:
sudo apt install apache2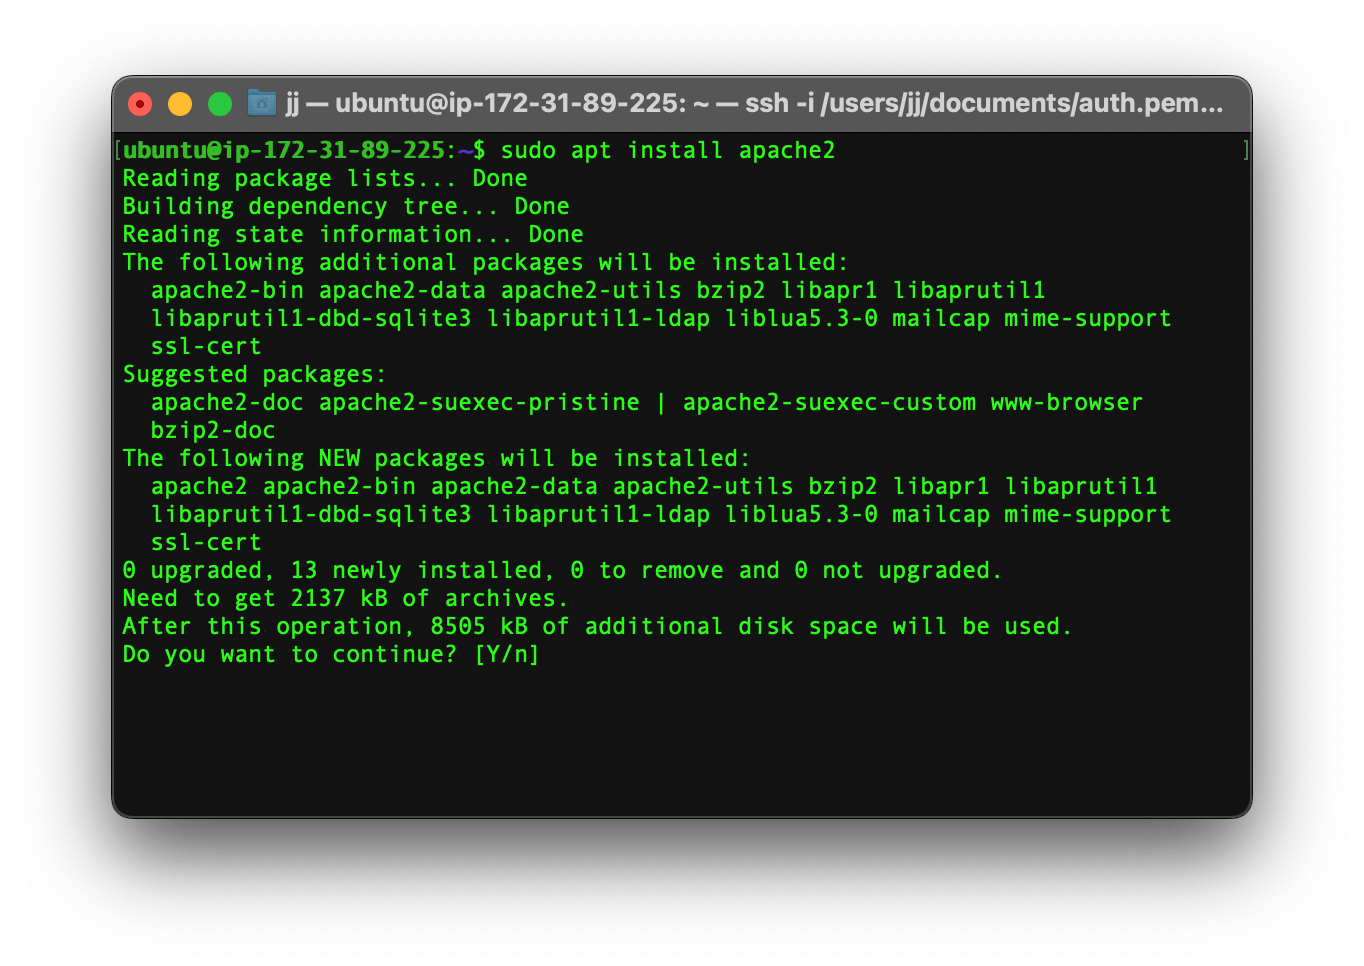
Why? Because we need the apache web server to serve our OpenCart software on the server.
OpenCart uses MySQL as a database, which is why we need to install it by running this command:
sudo apt install mysql-server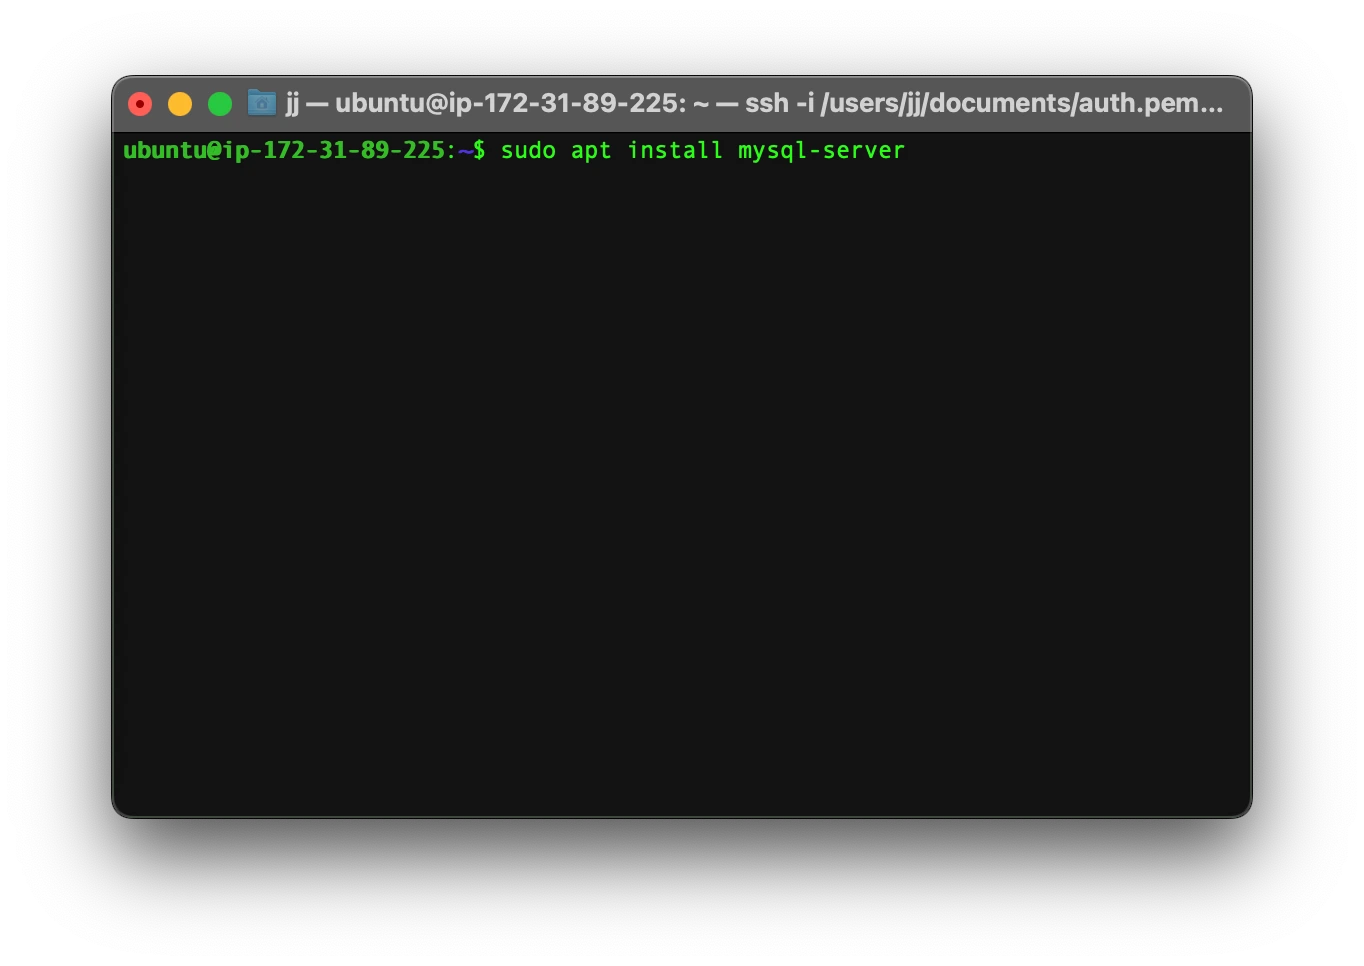
Now we need to Install PHP and a few other libraries required for OpenCart. If you already have PHP installed, make sure that the PHP version is version 8 or later.
sudo apt install php php-xml php-mysql php-mbstring php-zip php-soap php-curl php-gd php-ldap php-imap php-common php-dev libmcrypt-dev php-pear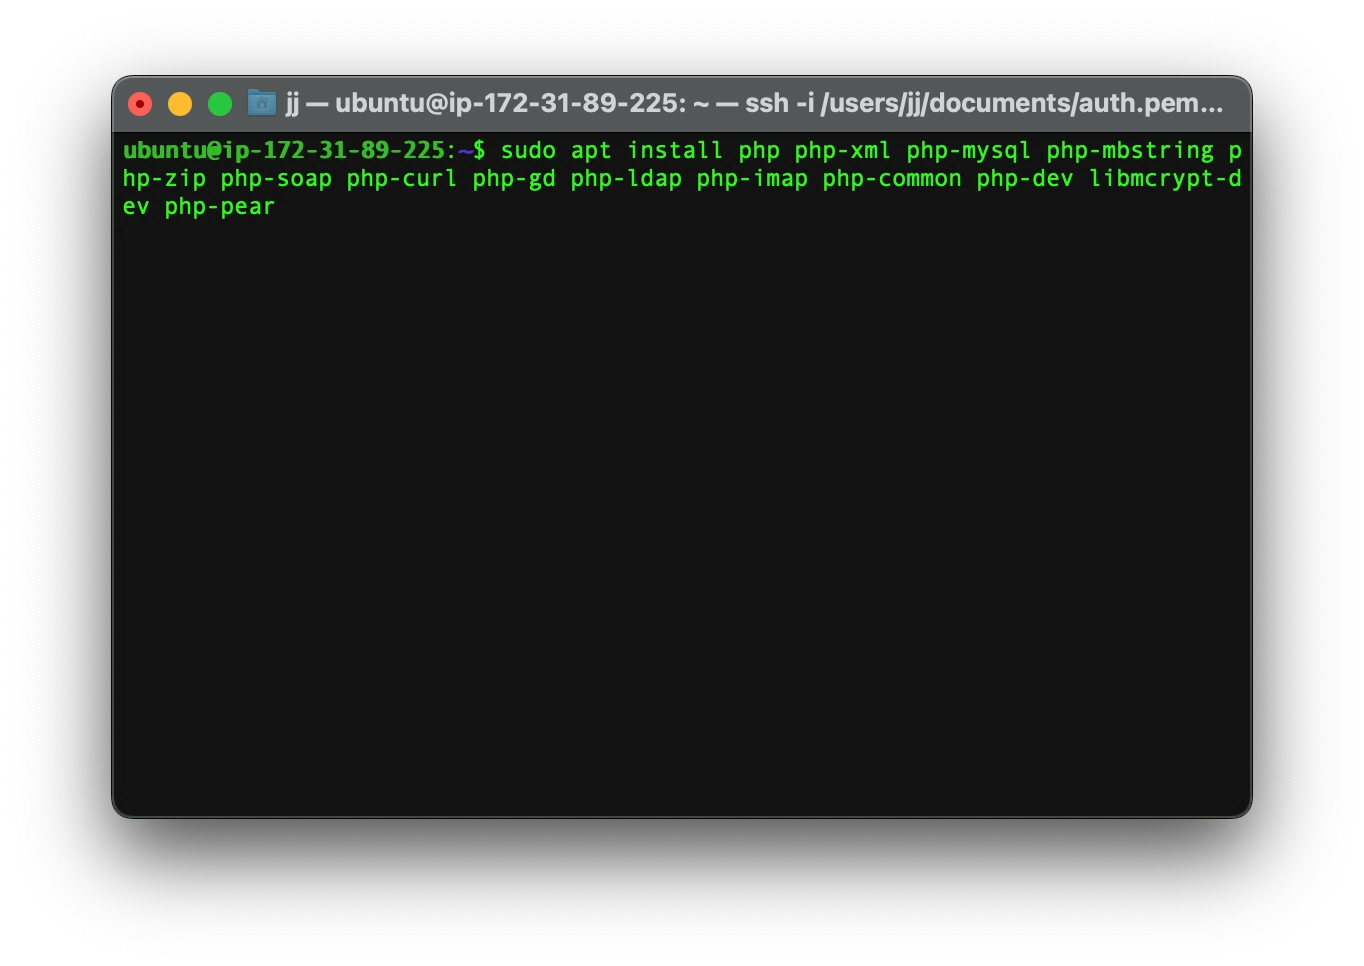
The last package that you need to install is unzip, which is required to unzip the OpenCart folder later on.
To install unzip type the below command:
sudo apt install unzip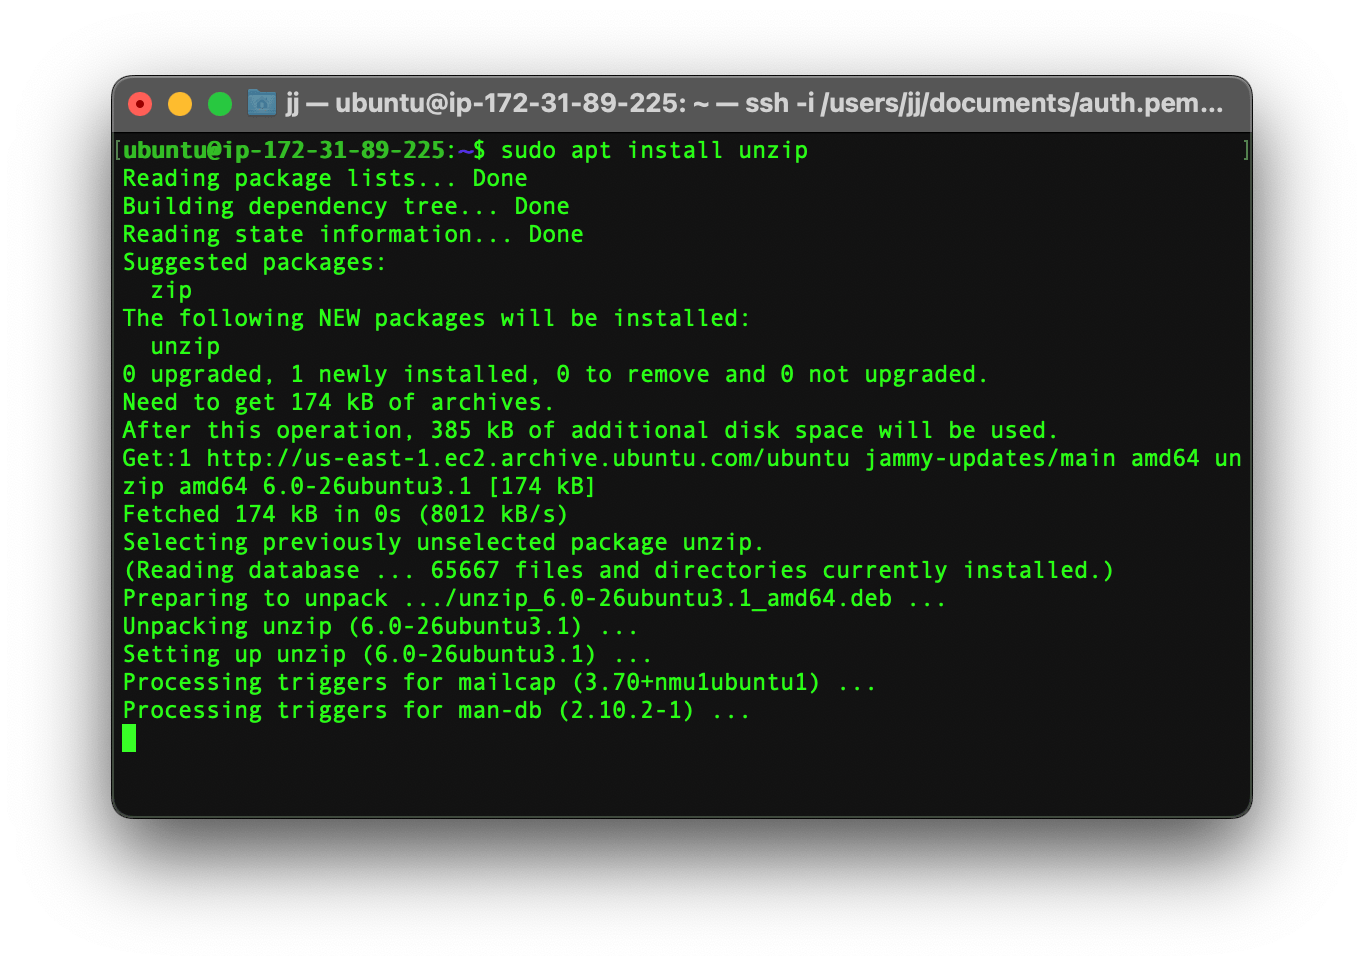
Create a database
Now that you have MySQL installed it’s time to configure it and make a new database for OpenCart.
First of all gain access to your MySQL shell with the root user by typing this command below
sudo mysql -u root -p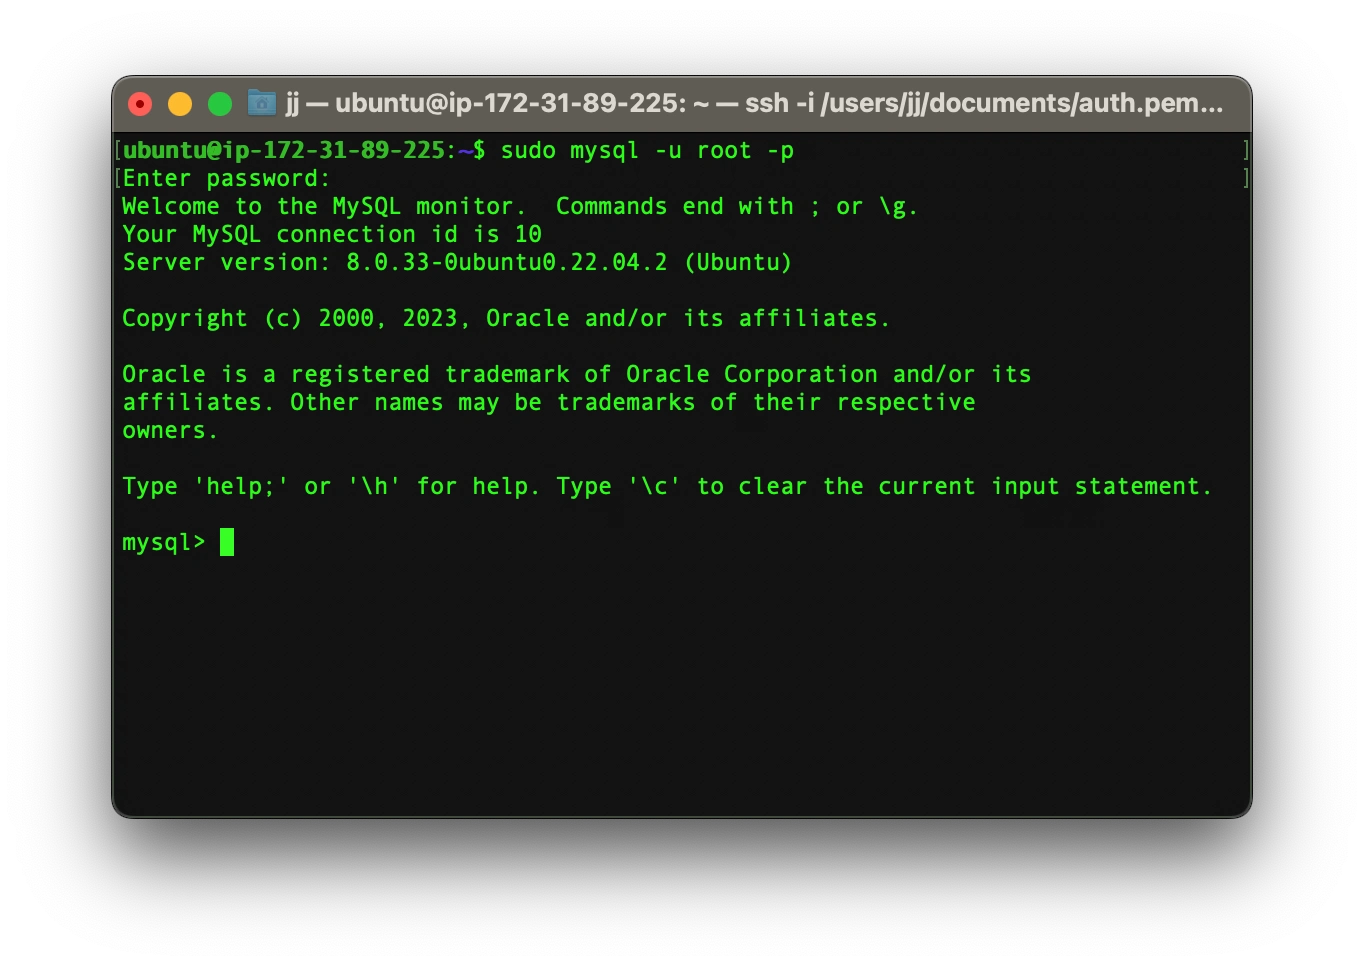
Hint: if you don’t have any password for your root user then click enter to continue.
Create a new database by the name of open_cart using the below command
create database open_cart;Create a new user with a password
create user '[USERNAME]'@'localhost' identified by '[PASSWORD]';Give your user access to the newly created database, by entering these commands:
grant all on open_cart.* to '[USERNAME]'@'localhost';and
flush privileges;Your MySQL database is all set up, now you need to exit the shell
exit;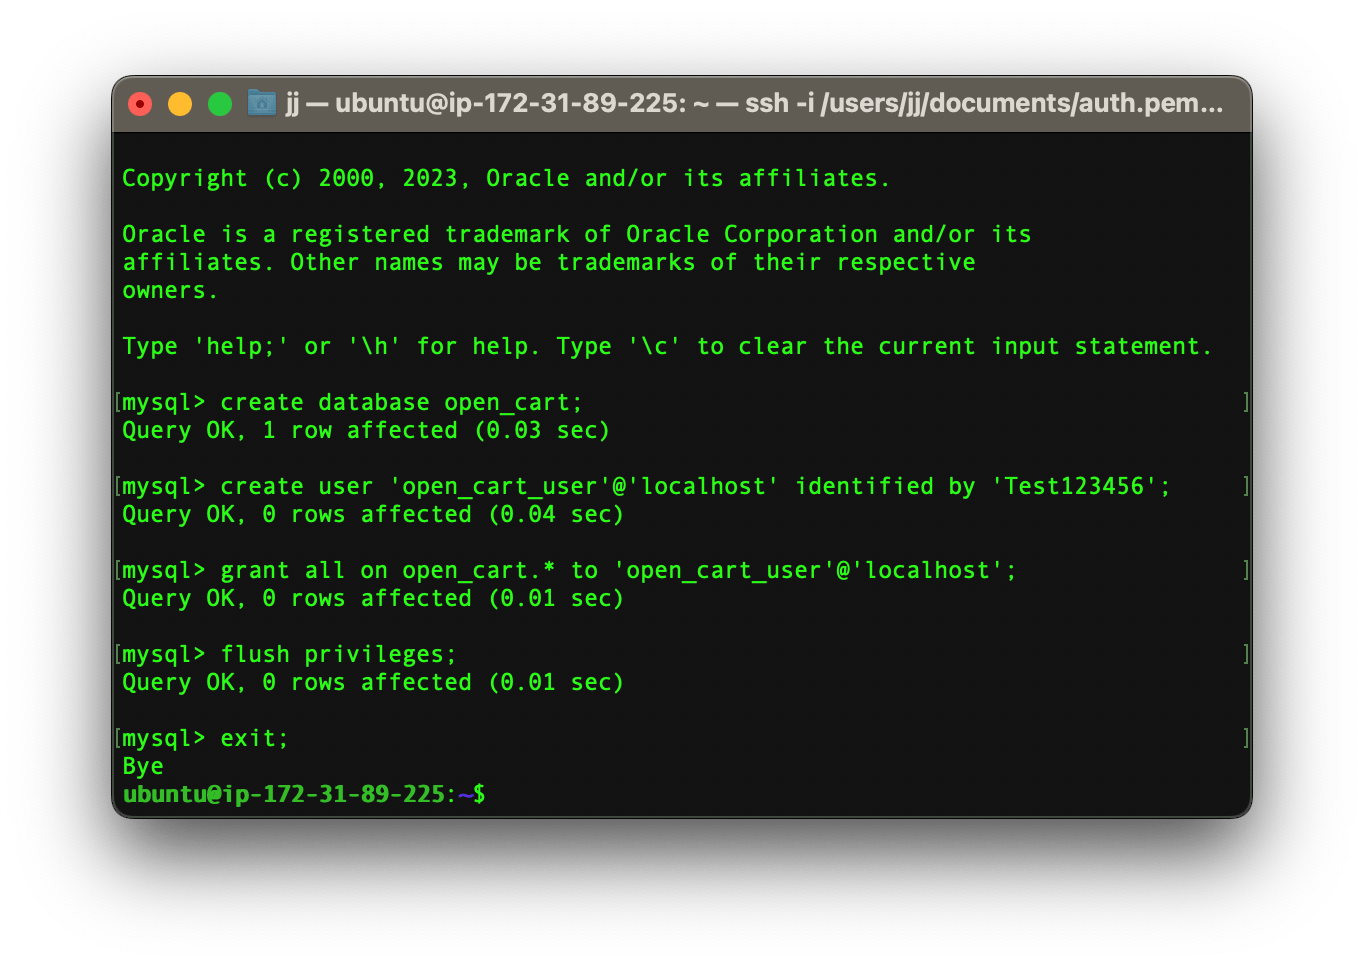
Creating a new directory
It’s now time to make a new directory inside /var/www/ folder.
sudo mkdir /var/www/opencart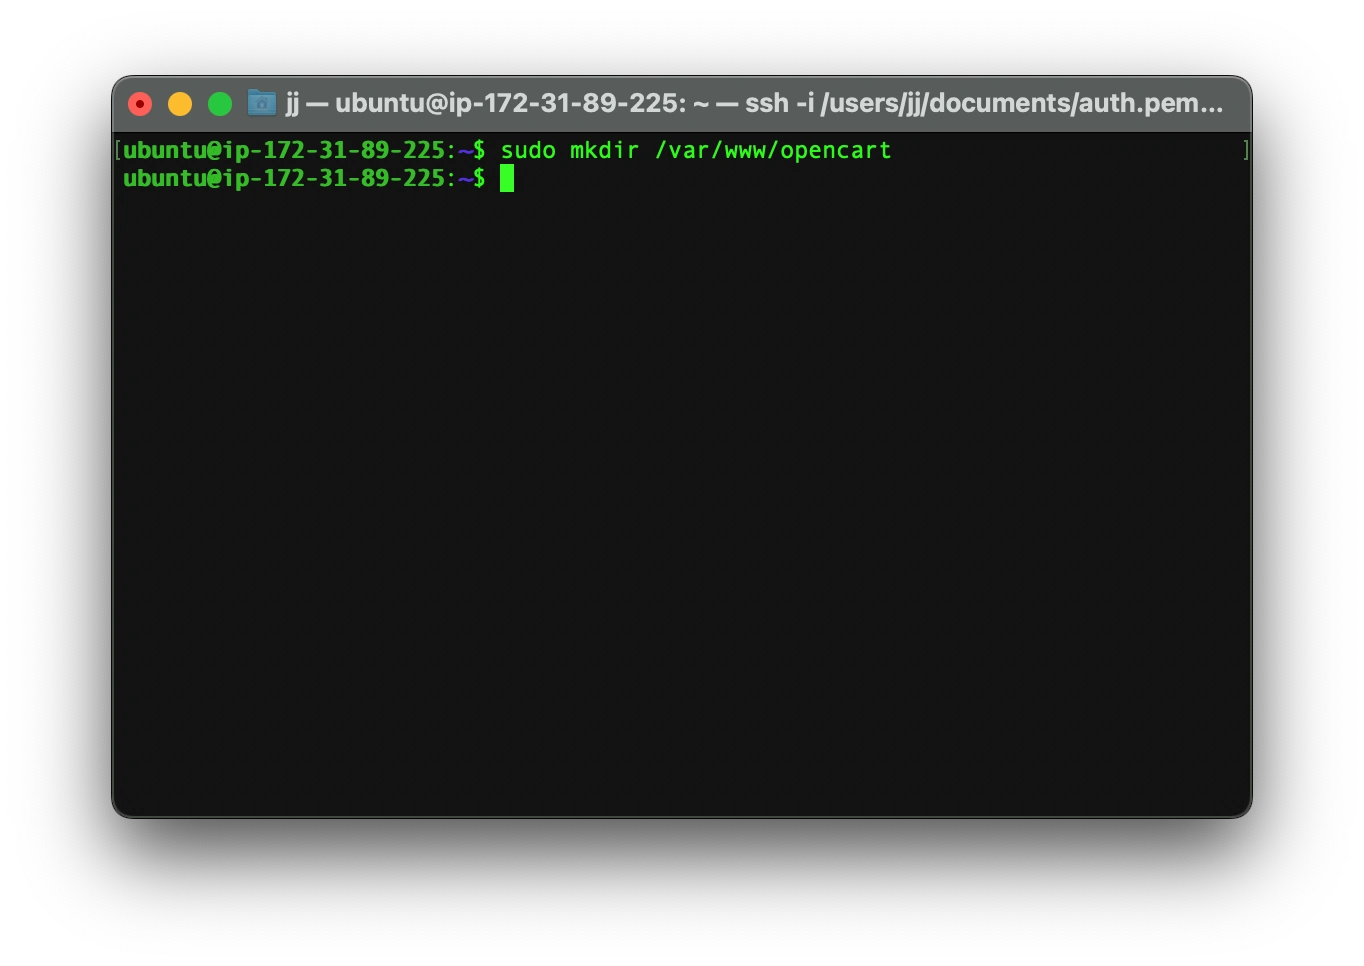
After creating the directory you need to cd into it.
cd /var/www/opencart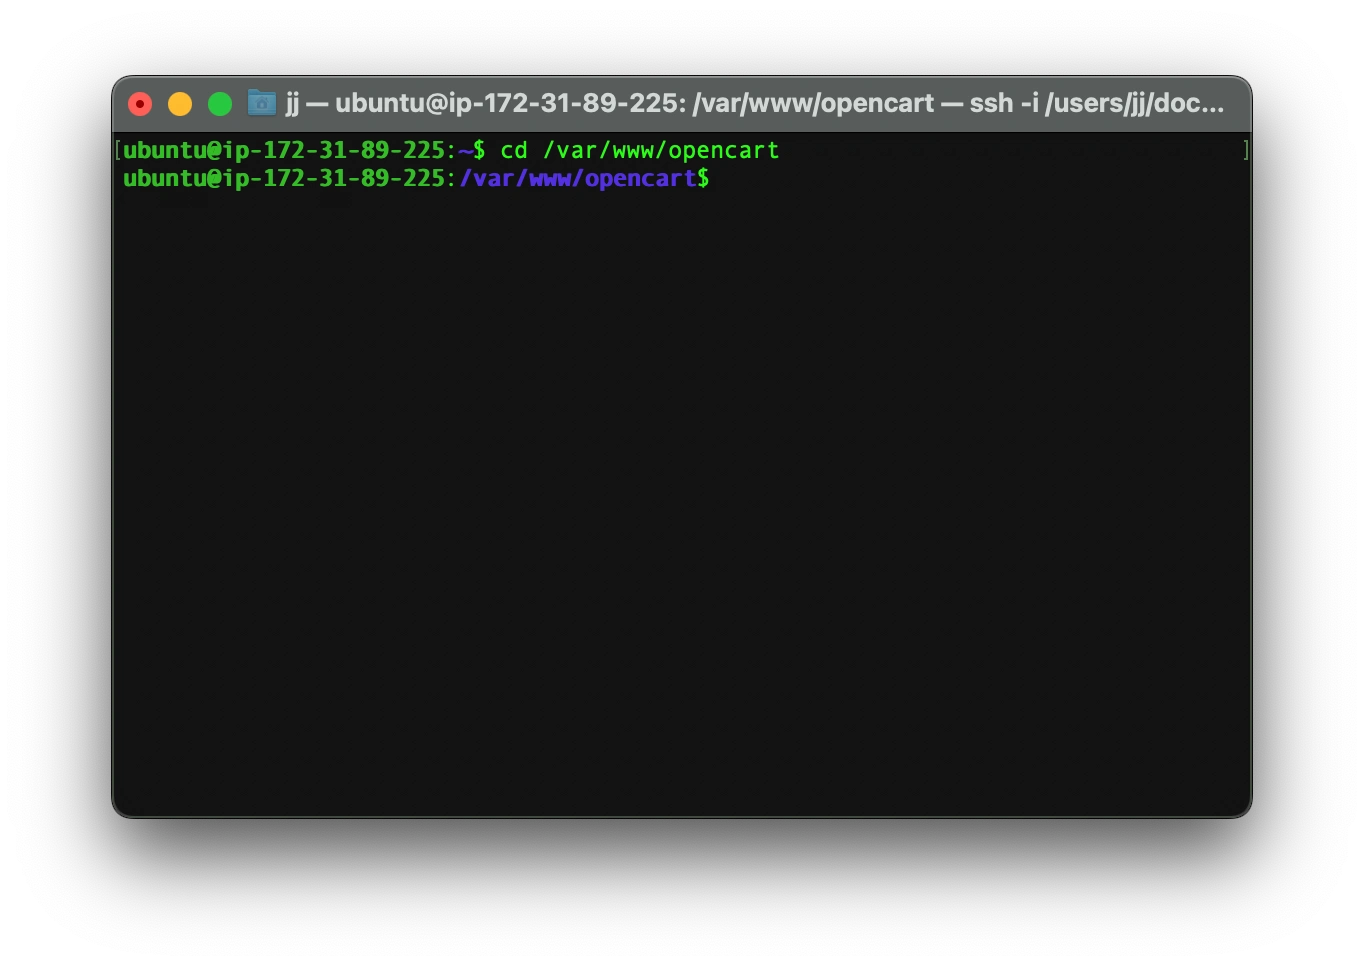
Download OpenCart files
Now you need to download OpenCart files inside the new folder by entering the following command:
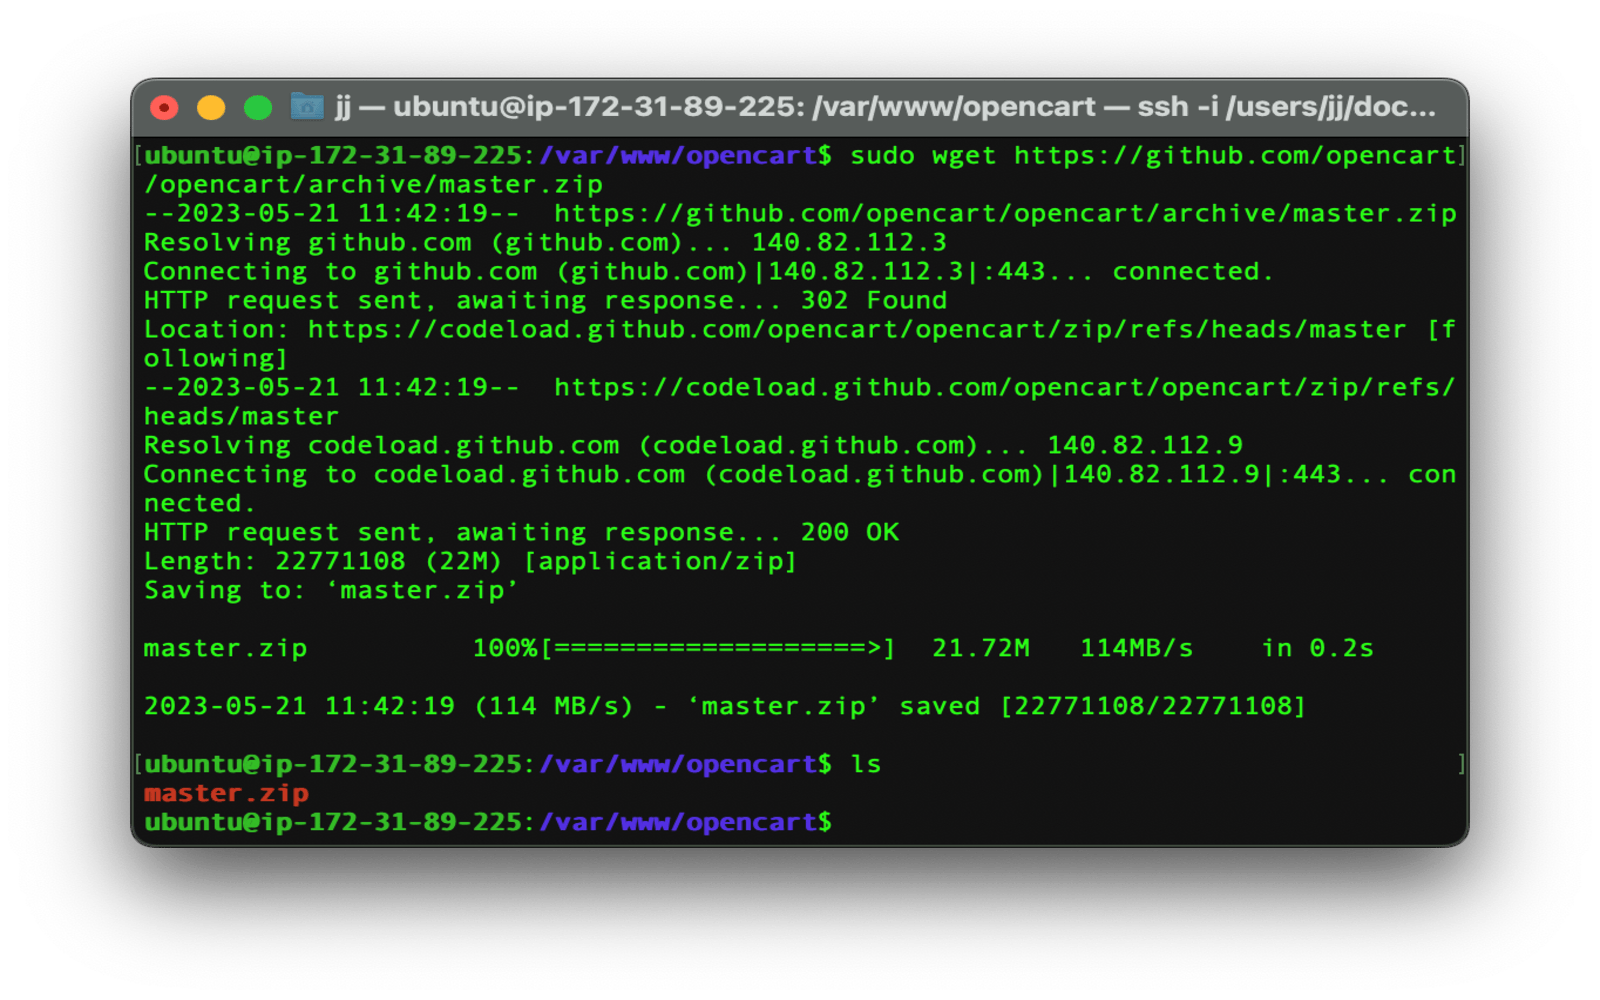
sudo wget https://github.com/opencart/opencart/archive/master.zip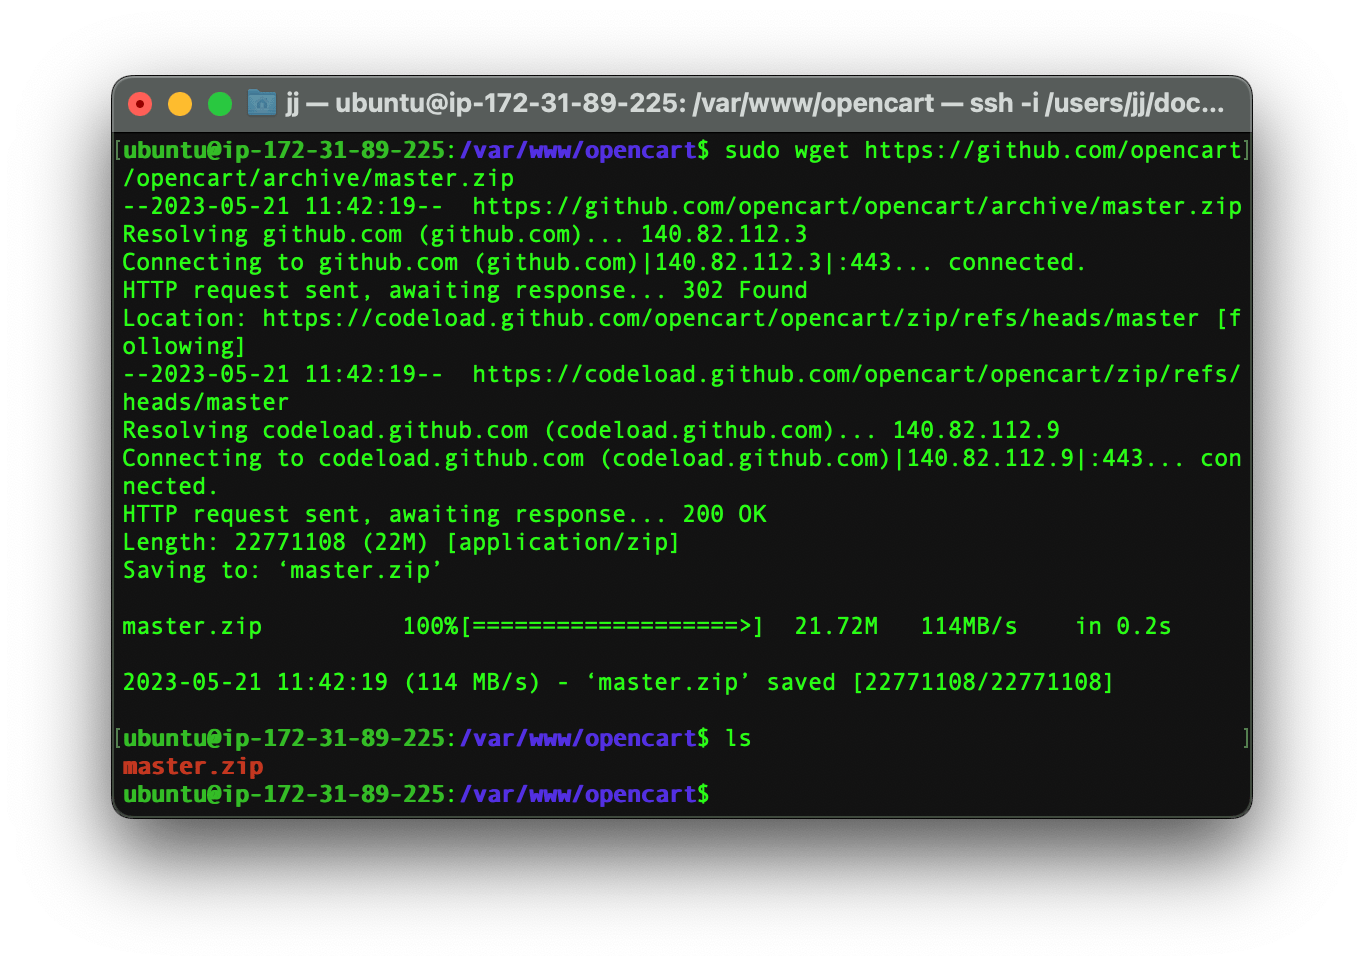
Then you need to unzip it using the library that we have installed previously.
sudo unzip master.zip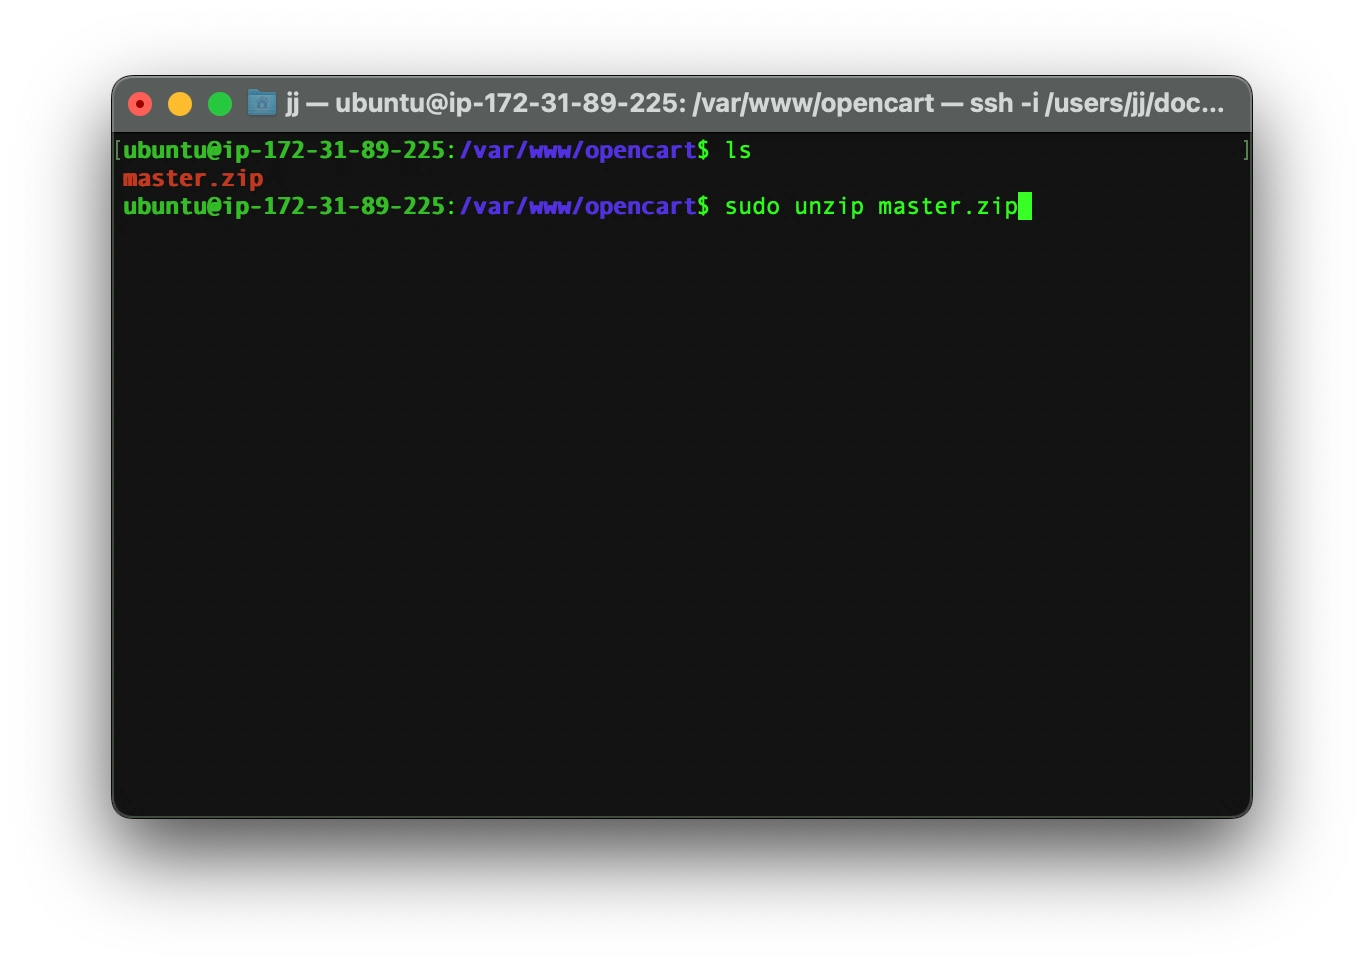
By unzipping the OpenCart zip file, it creates a new file by the name of opencart-master which contains all the necessary files that we need. You can check it by typing ls on your terminal.
lsGive OpenCart permission
Now give the opencart directory permission by typing these commands:
sudo chown -R www-data.www-data /var/www/opencartsudo chmod -R 755 /var/www/opencart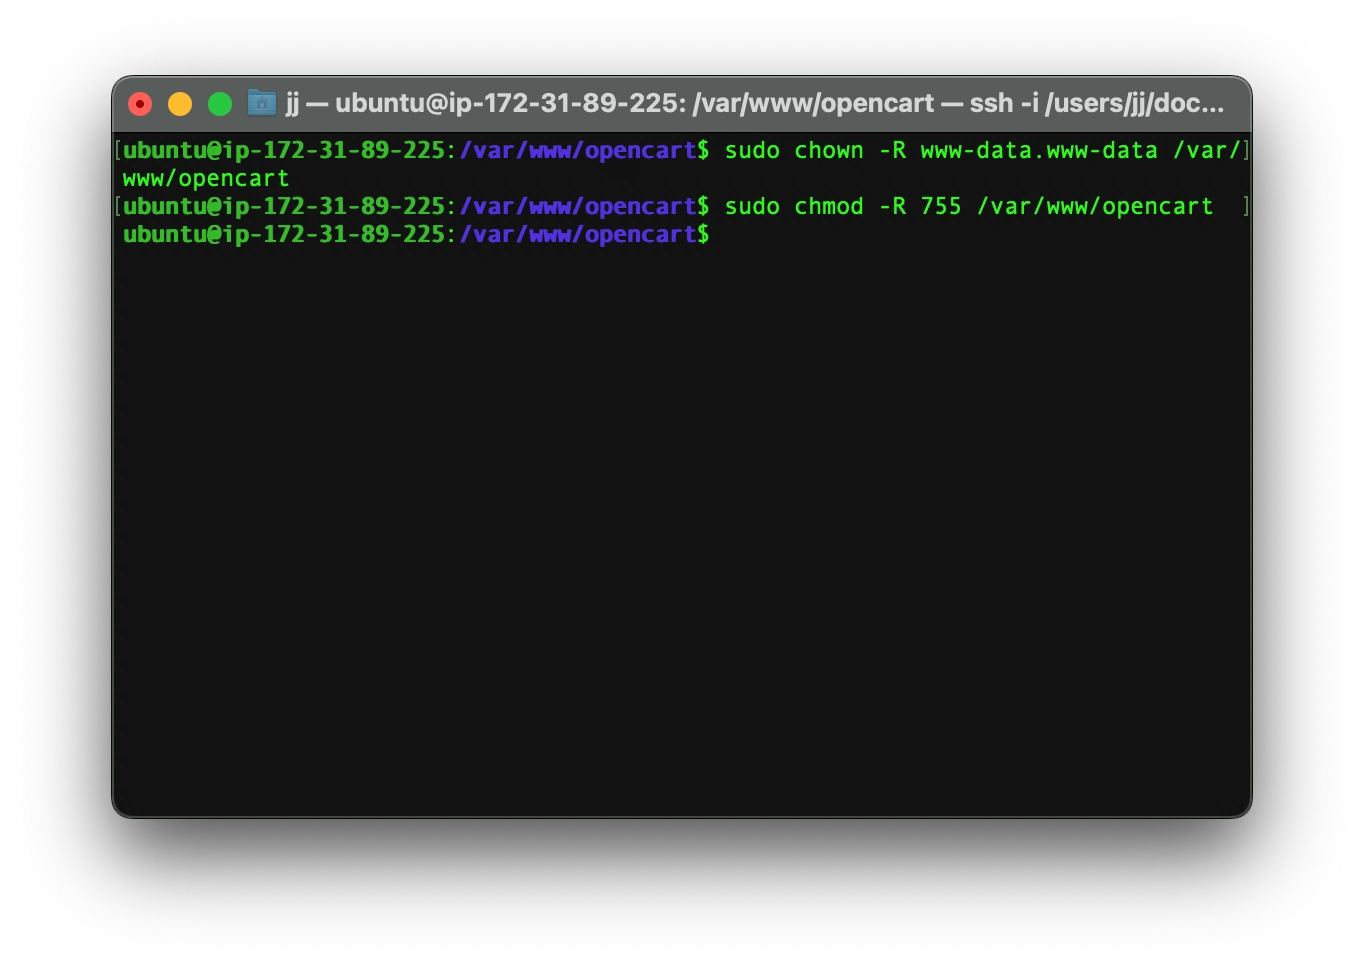
Configure OpenCart with the Apache server
The default apache root is /var/www/html/ but we have our OpenCart files in /var/www/opencart/opencart-master/upload/. So to change the default root directory we need to tell apache that we want our default directory to change.
Thus you need to run the below command to edit a new file by the name of opencart.conf:
sudo nano /etc/apache2/sites-available/opencart.confIt now opened up a new blank file and we need to type the following on the new file:
<Virtualhost *:80>
        Documentroot /var/www/opencart/opencart-master/upload
<directory /var/www/opencart/opencart-master/upload>
allowoverride all
allow from all
</directory>
</Virtualhost>
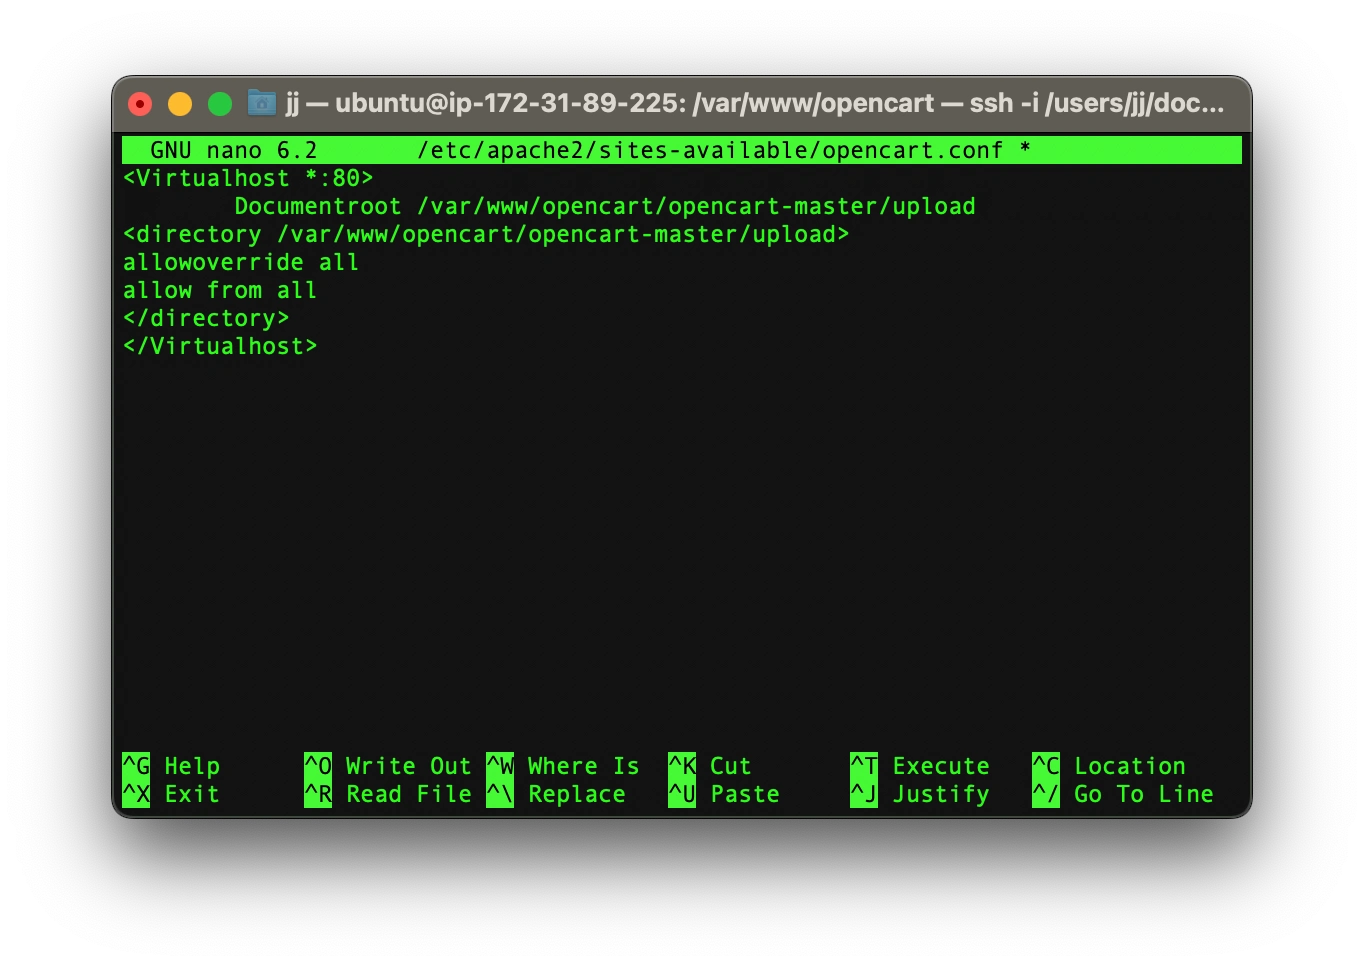
After writing those on the file you need to:
- press control+x
- then choose yes
- then press enter to save the file
The next step would be to disable the default site access by typing the command below:
sudo a2dissite 000-default.confNow we need to enable access to OpenCart by enabling the newly created file:
sudo a2ensite opencart.confAfter that, we need to rewrite these changes:
sudo a2enmod rewrite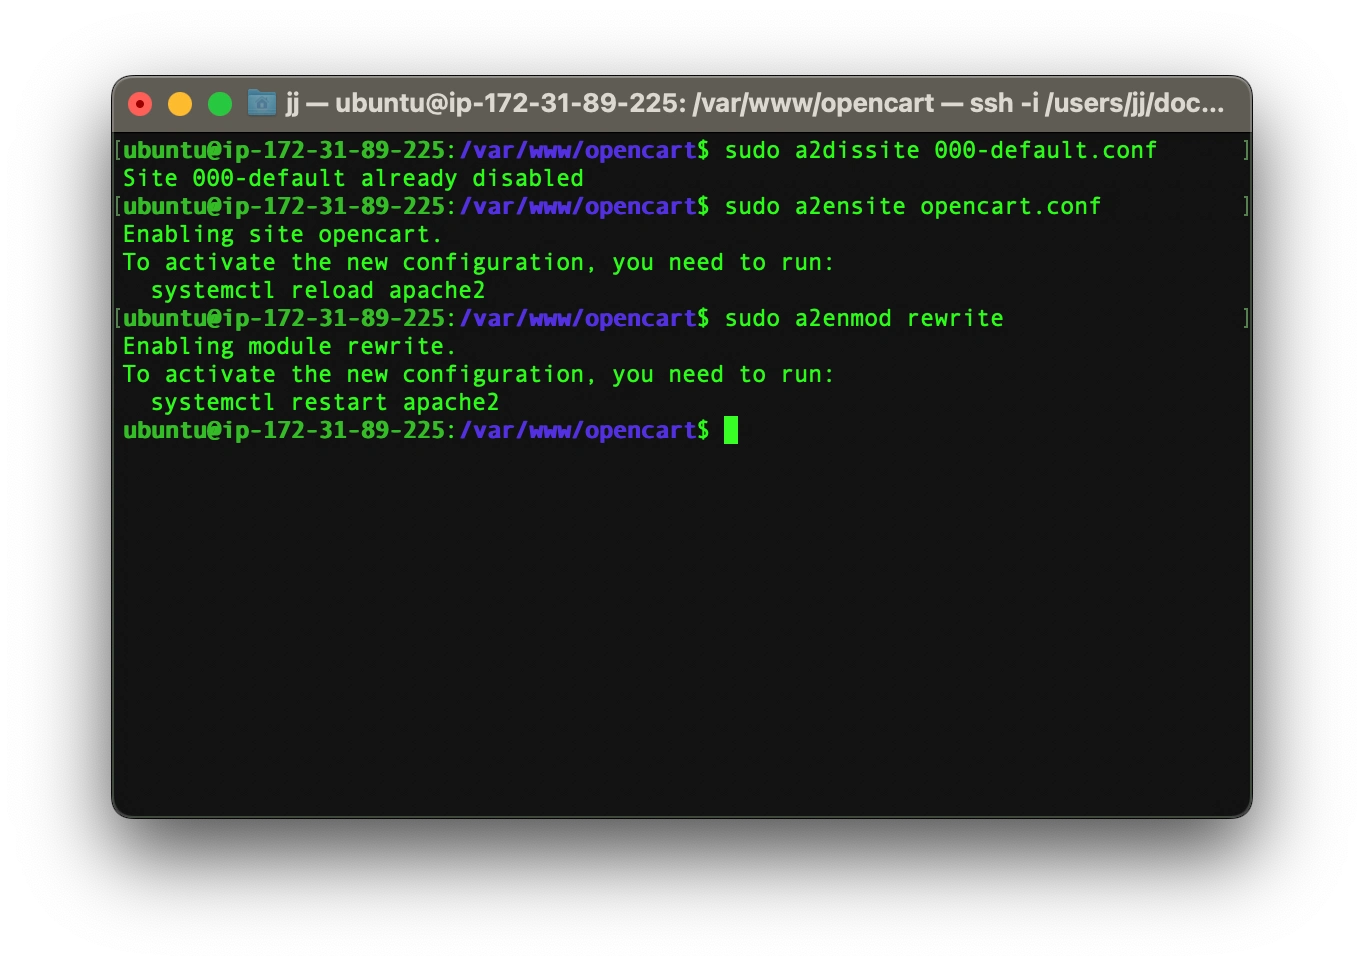
The last step would be to restart the apache server by typing the command below
sudo systemctl restart apache2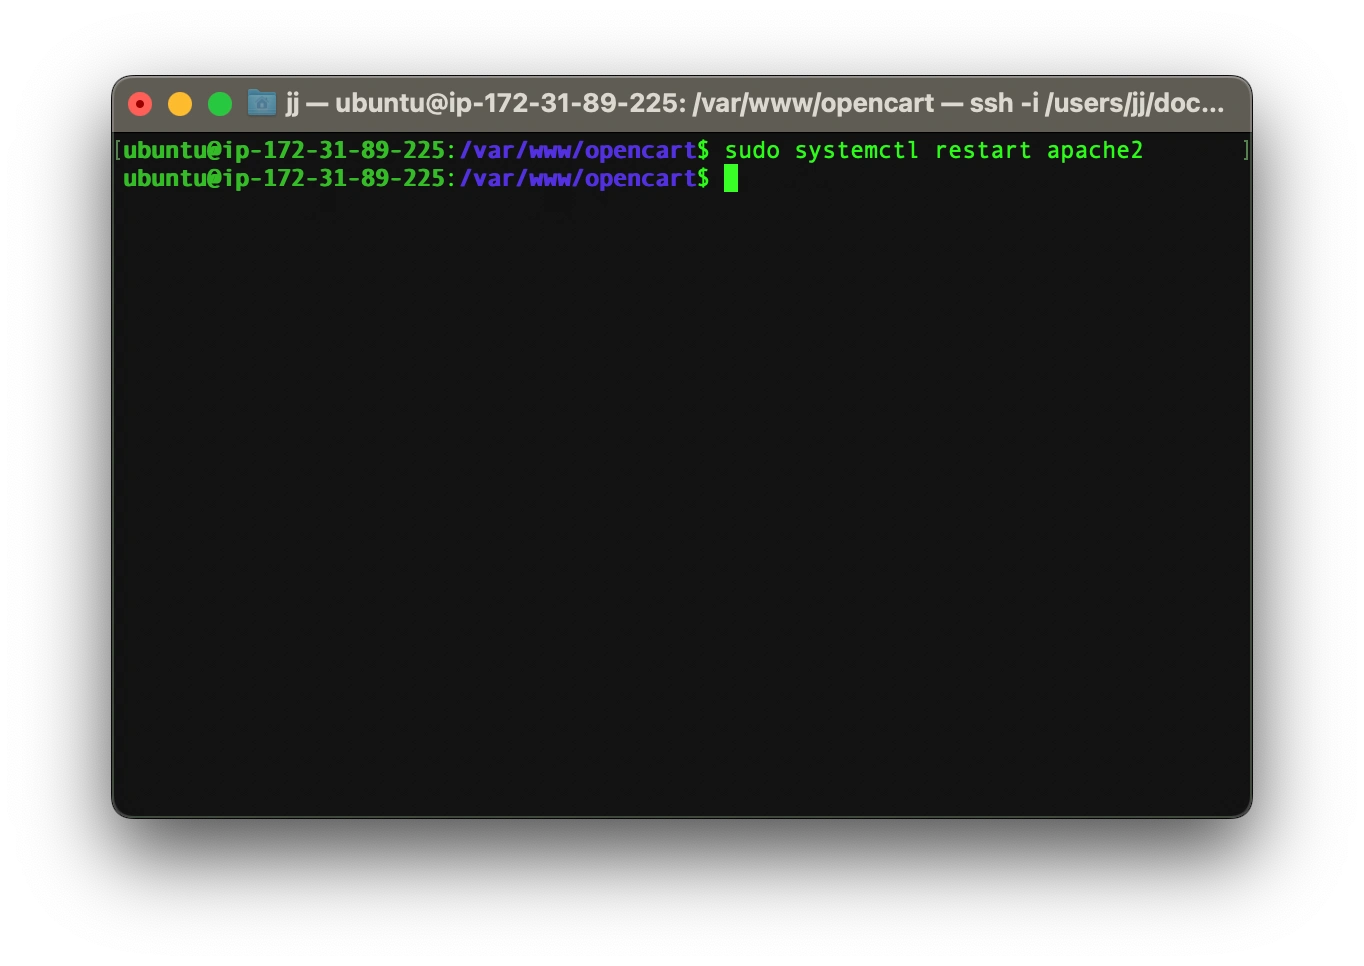
Congratulations! You have now successfully created an OpenCart website. If you did not receive any error messages, then you shall see this page when you enter you server’s IP address on a web browser.
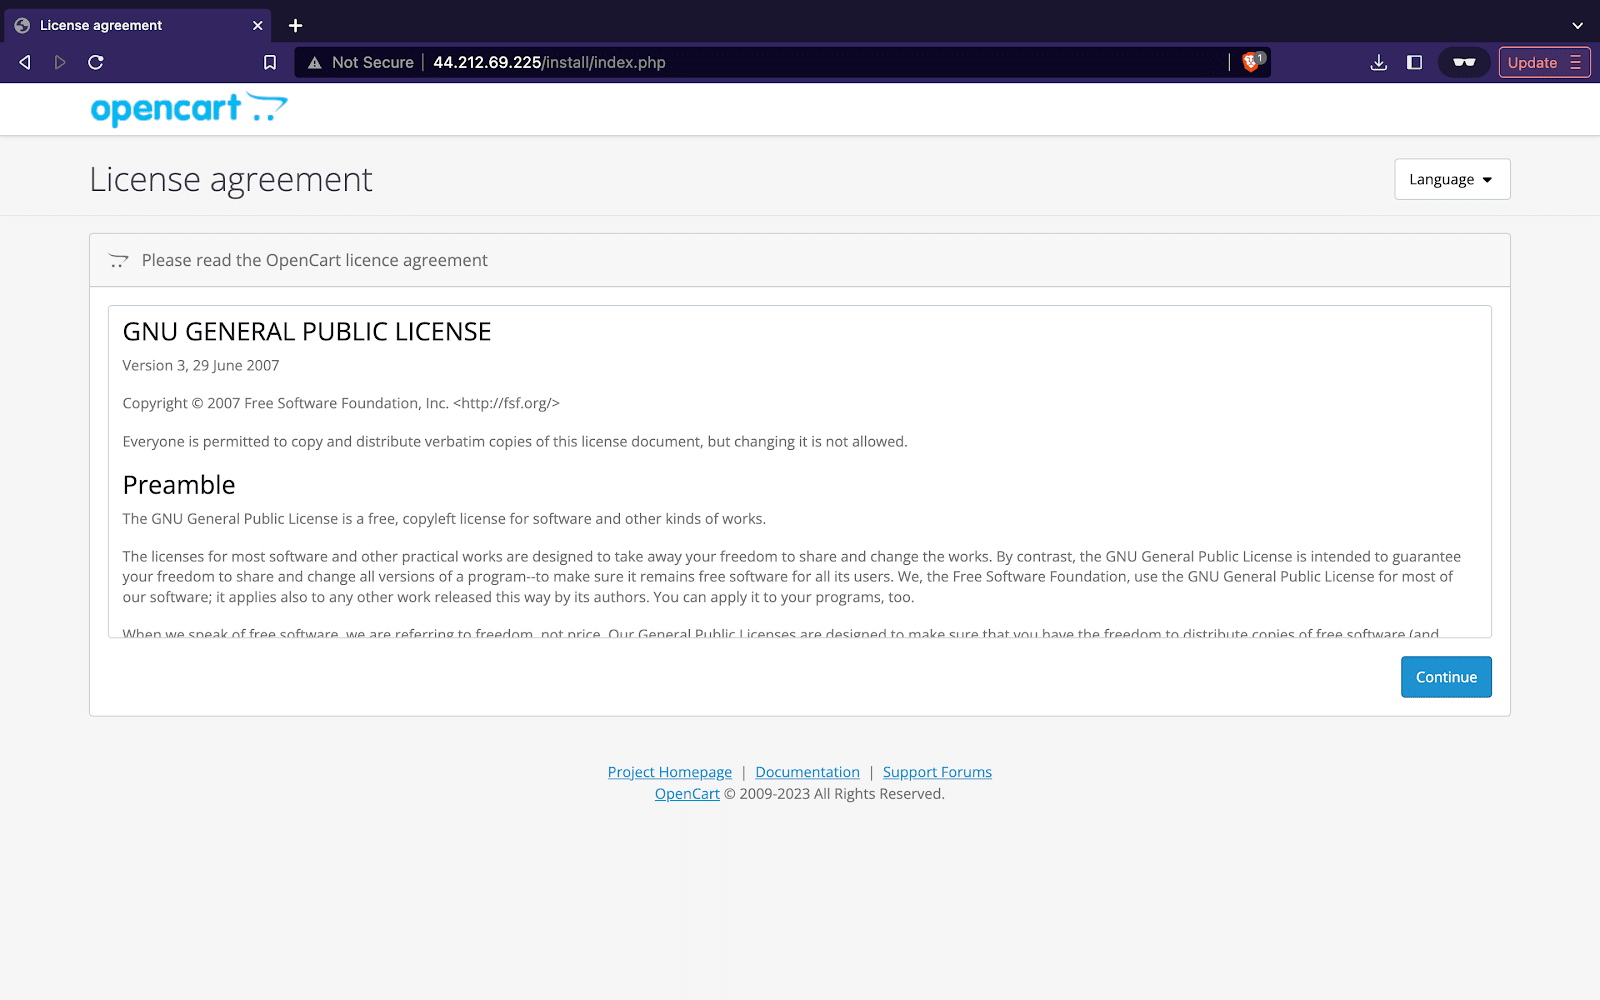
Configuring OpenCart
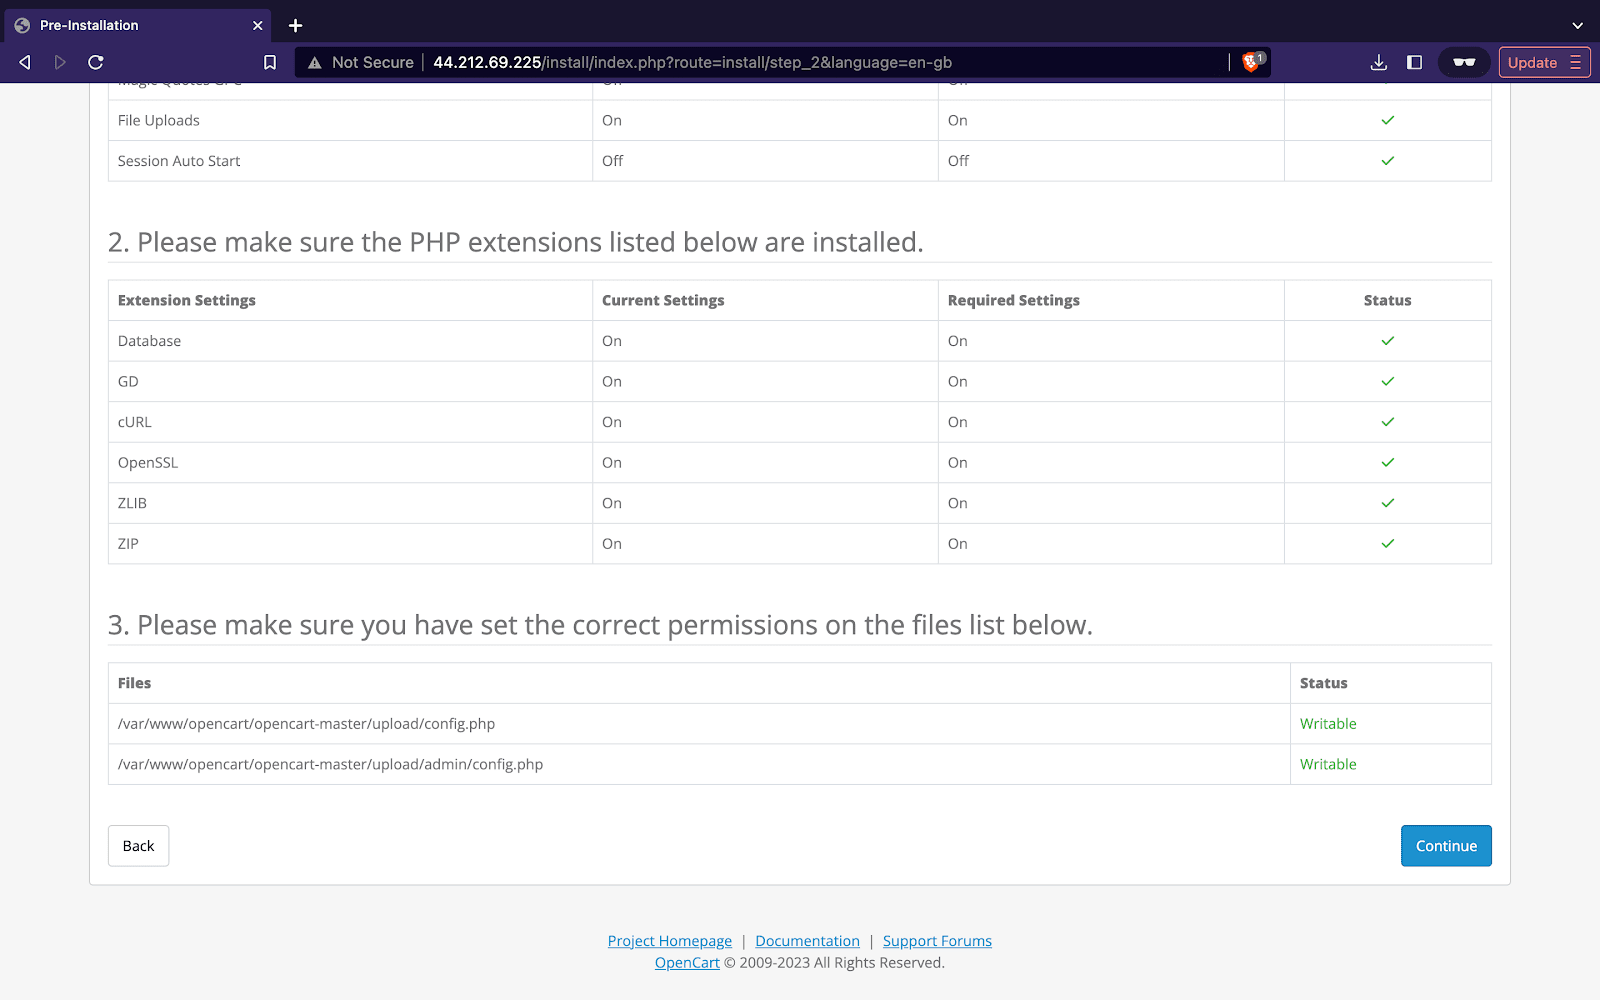
After successfully opening your OpenCart website on your browser, you would be showed all the requirements before pursuing to operate OpenCart.
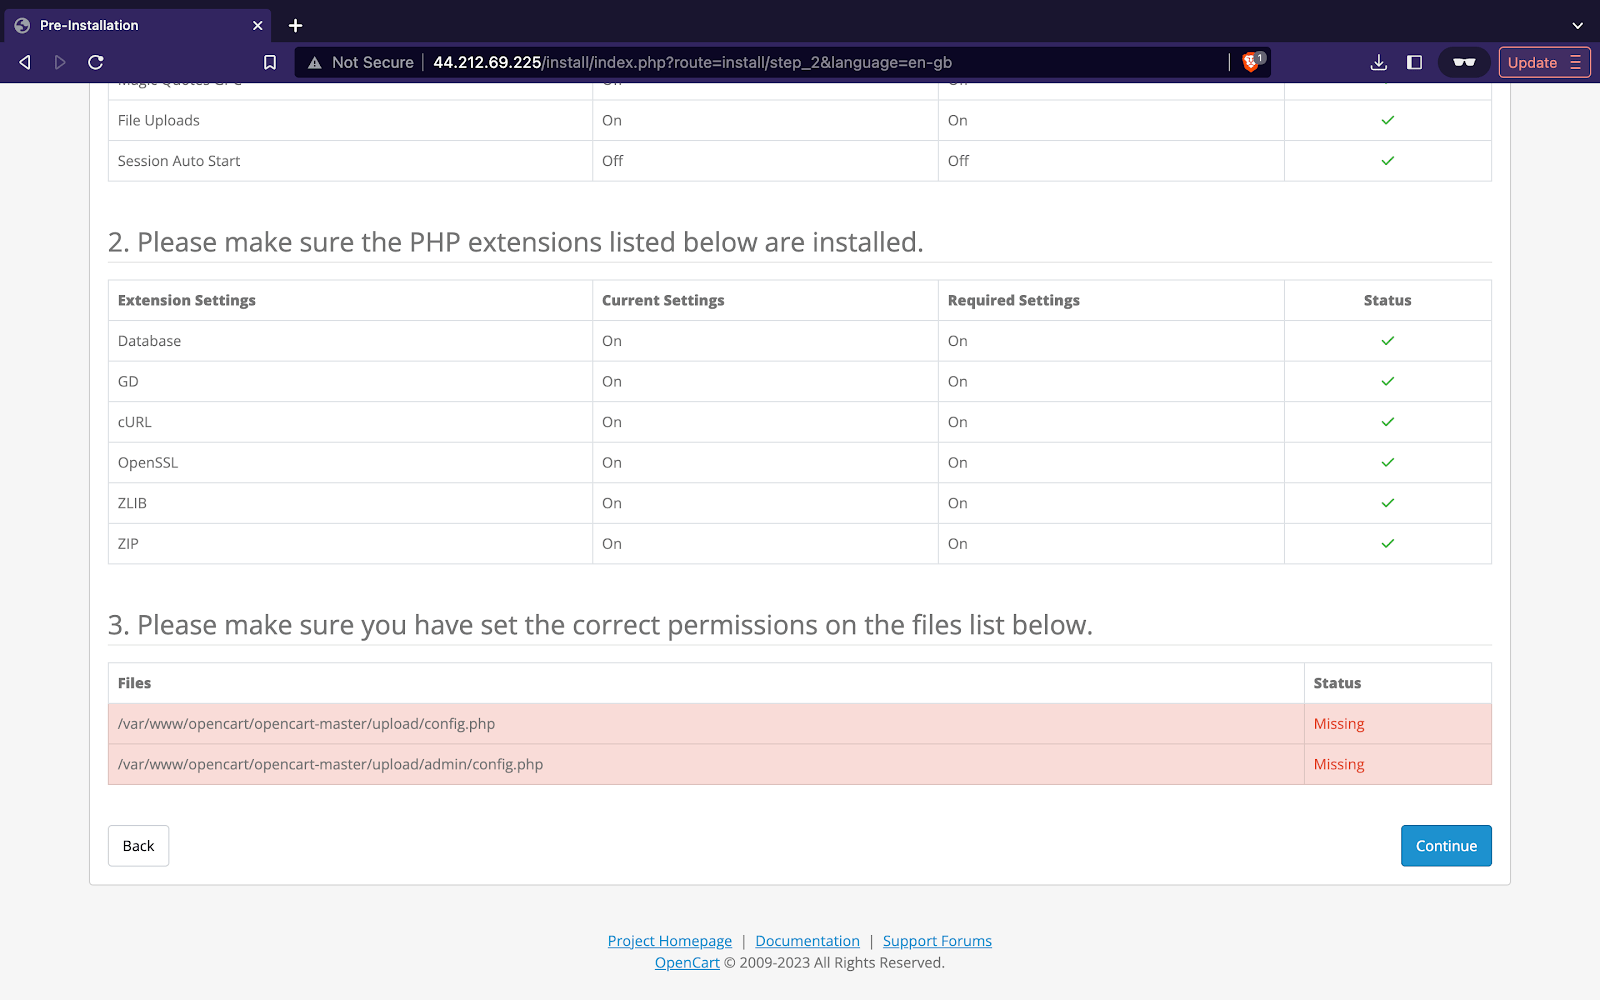
Fixing the config.php file’s issue
By default everyone would be missing those last two requirements on the OpenCart requirements page, but don’t worry, we’ll now show you how to fix it up.
First of all change your directory to /var/www/opencart/opencart-master/upload
cd /var/wwww/opencart/opencart-master/uploadThen change the file name of the config-dist.php to config.php by typing the following command:
sudo mv config-dist.php config.php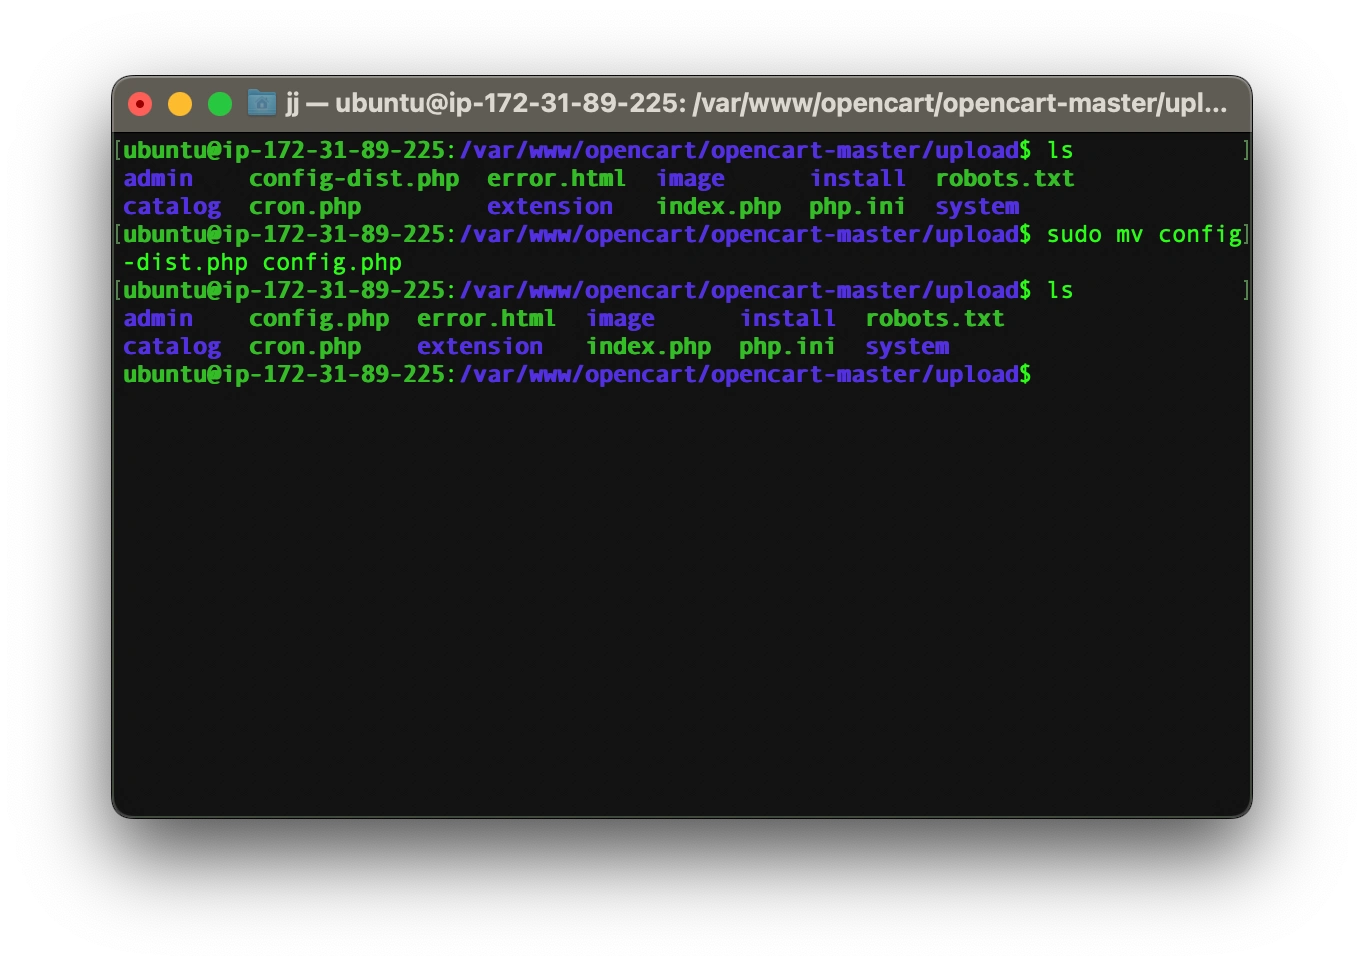
Now we need to do the same process again with the admin folder by typing these commands:
cd /adminsudo mv config-dist.php config.php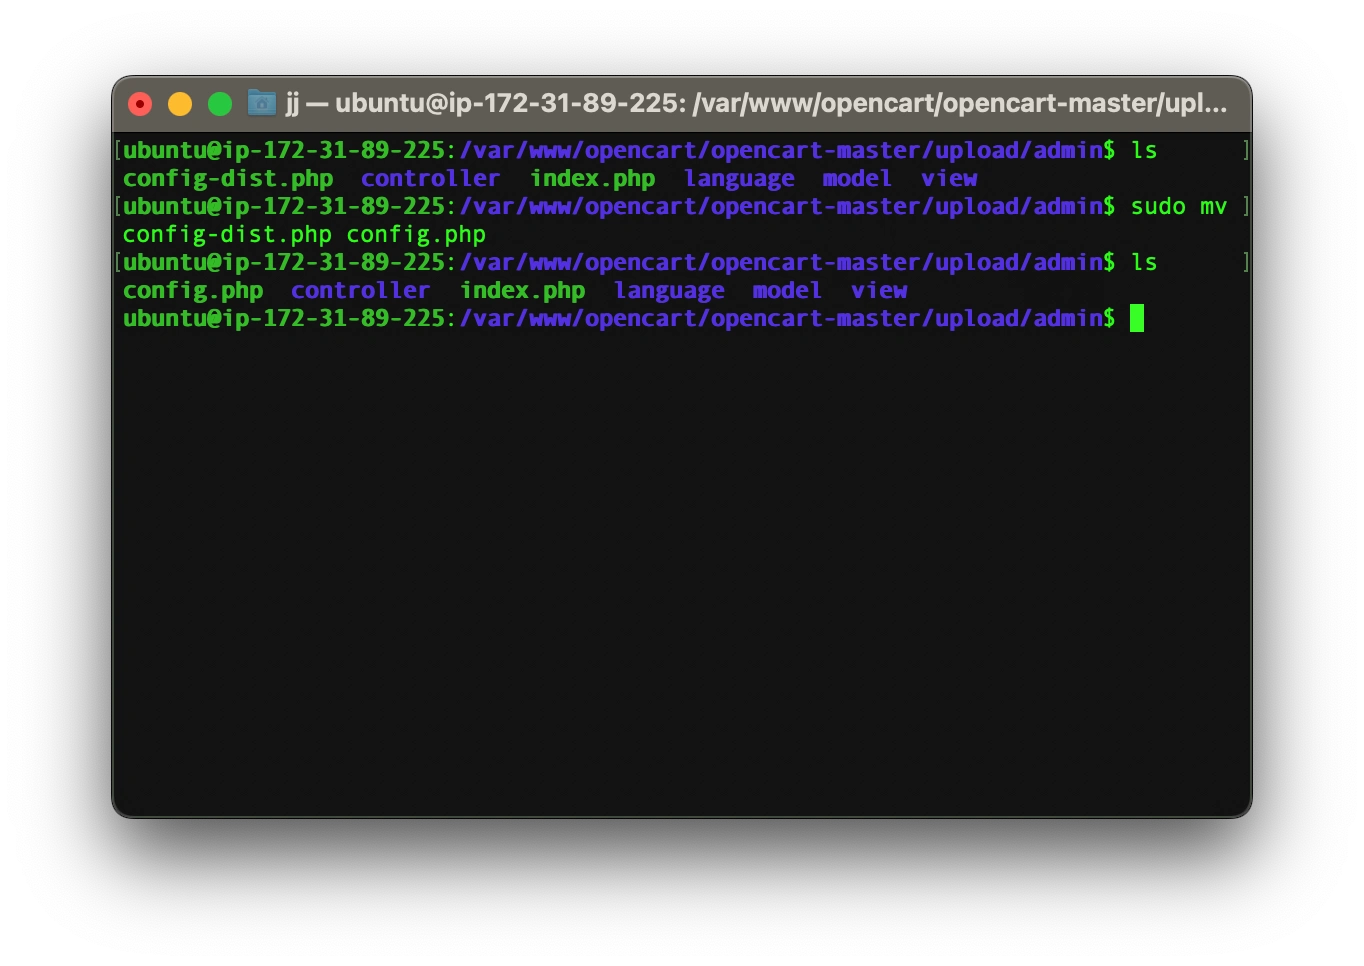
After that, reload your browser and you will see the error message not appearing anymore.
Database connection
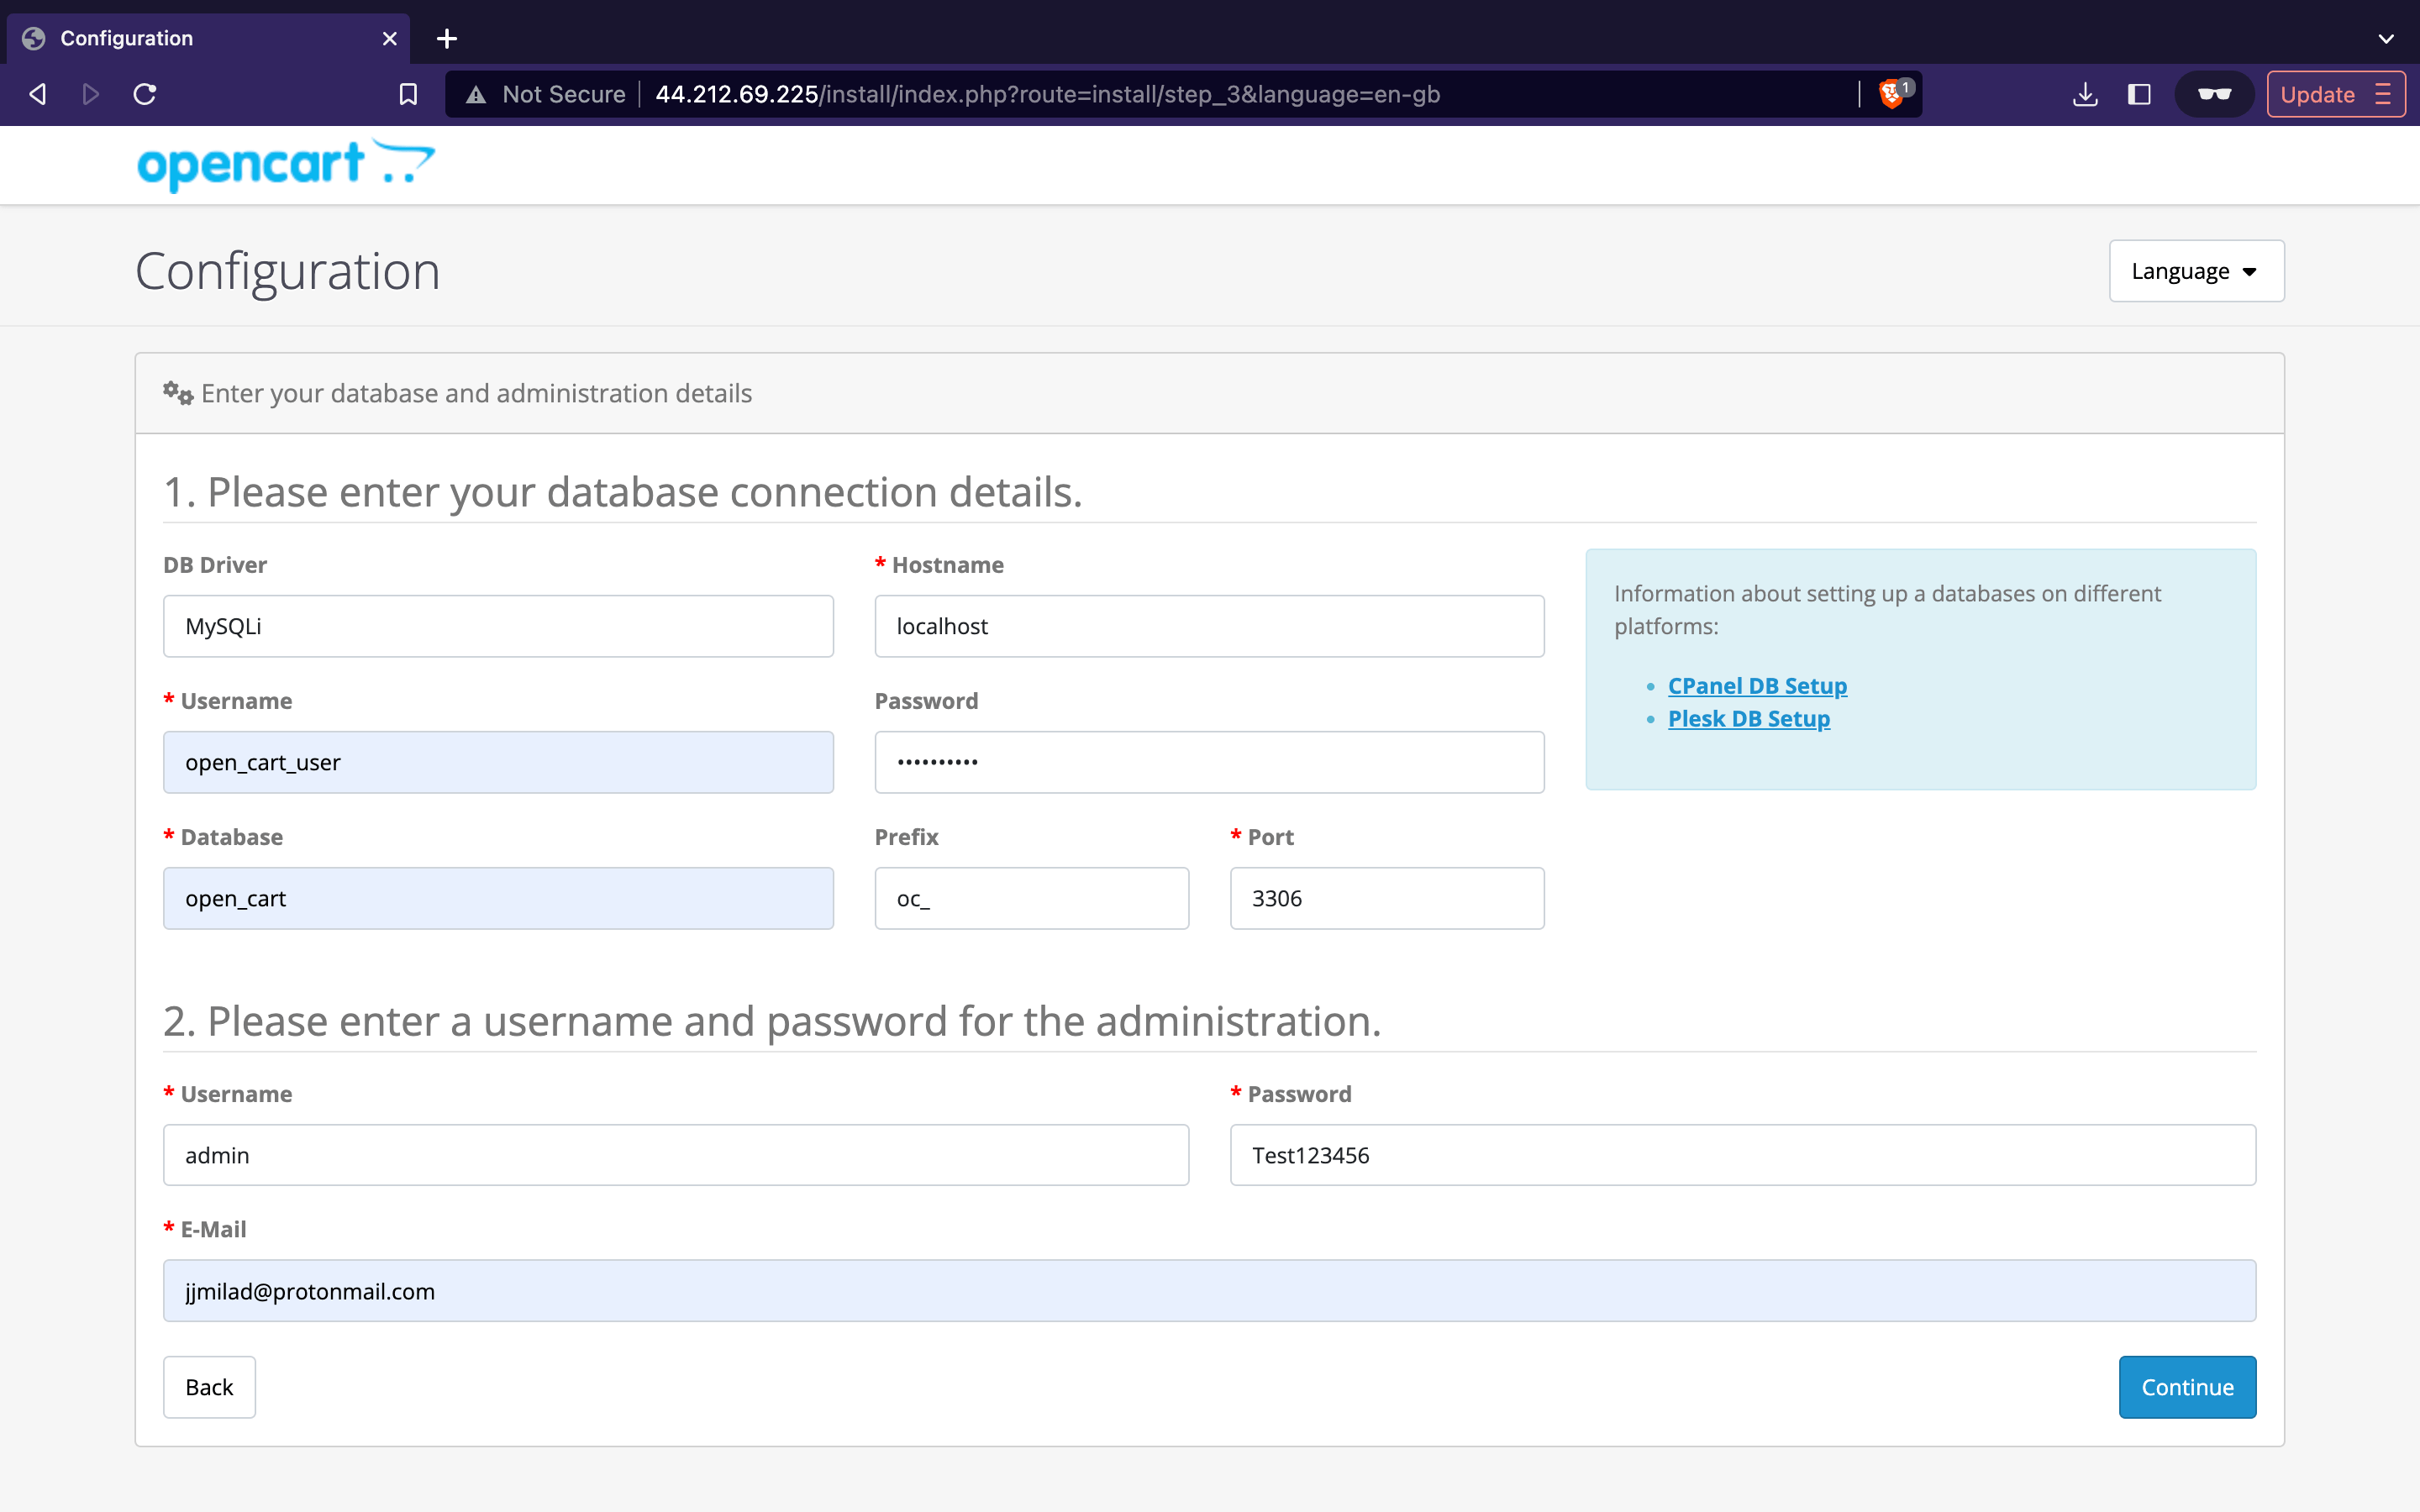
The last step toward getting your OpenCart store set up is to connect it to your previously created MySQL database.
Database details:
- Username is open_cart_user
- Database is open_cart
- Password is your previously given password
Administration details:
- Username, password and email is whatever you choose
Finished
Congratulations again! You have now successfully created and configured your OpenCart store. Now you have your admin panel and website all set up.
Admin Panel
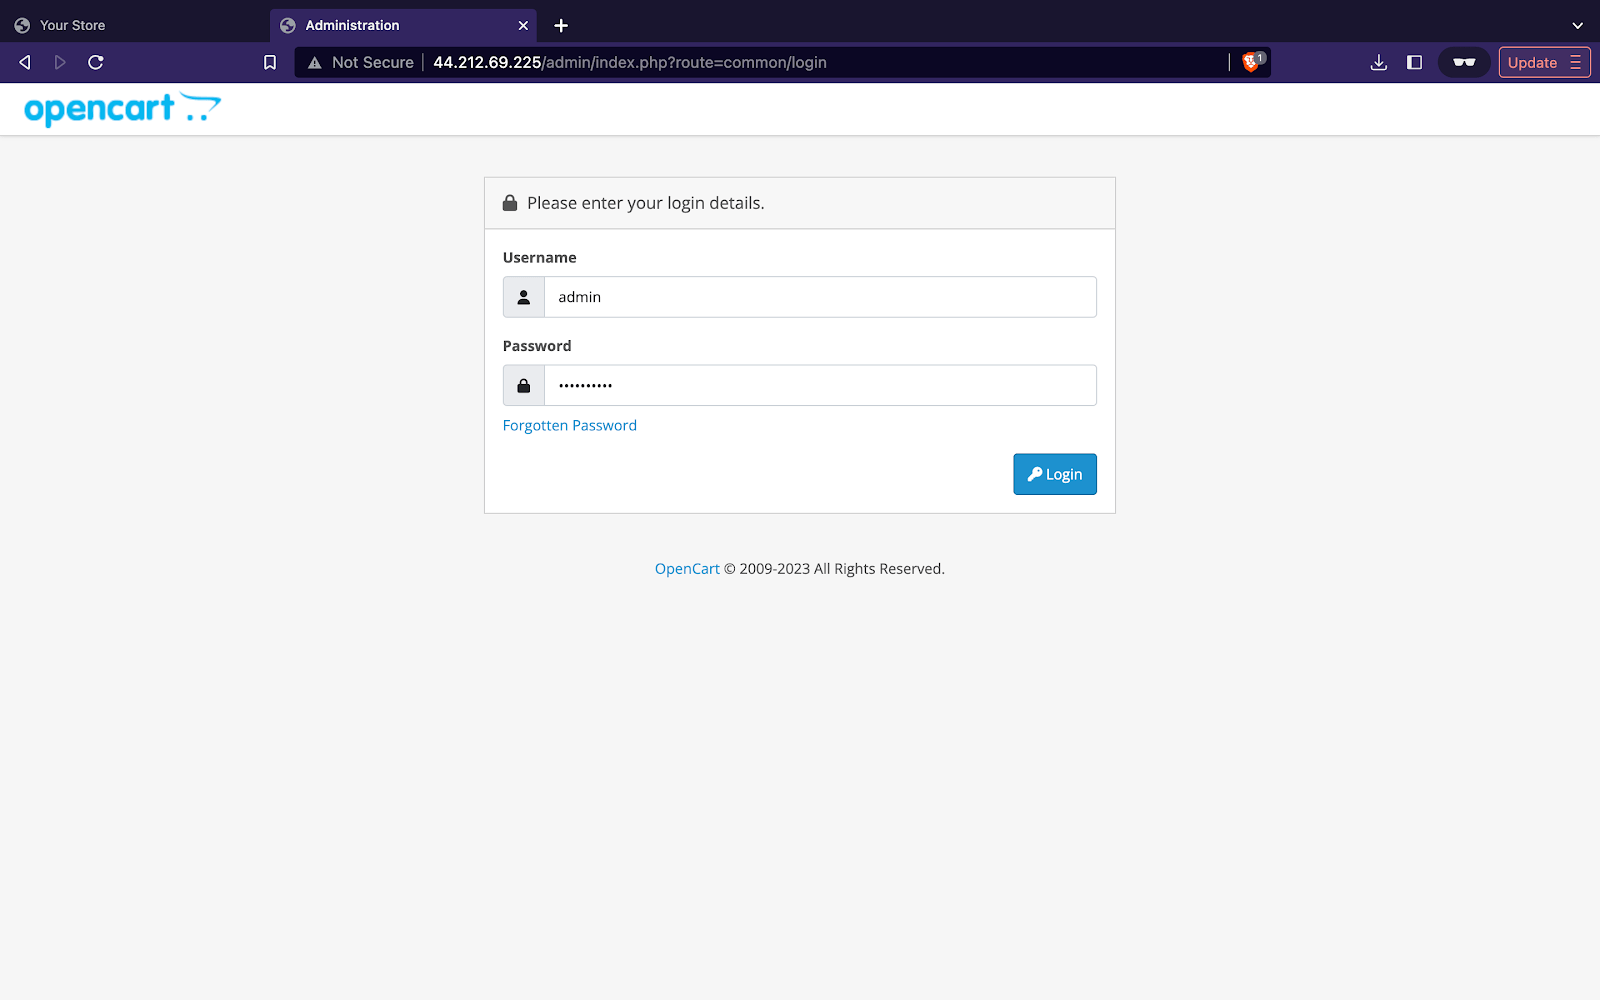
You can easily gain access to your admin panel by navigating to the /admin page and entering your admin credentials to log in.
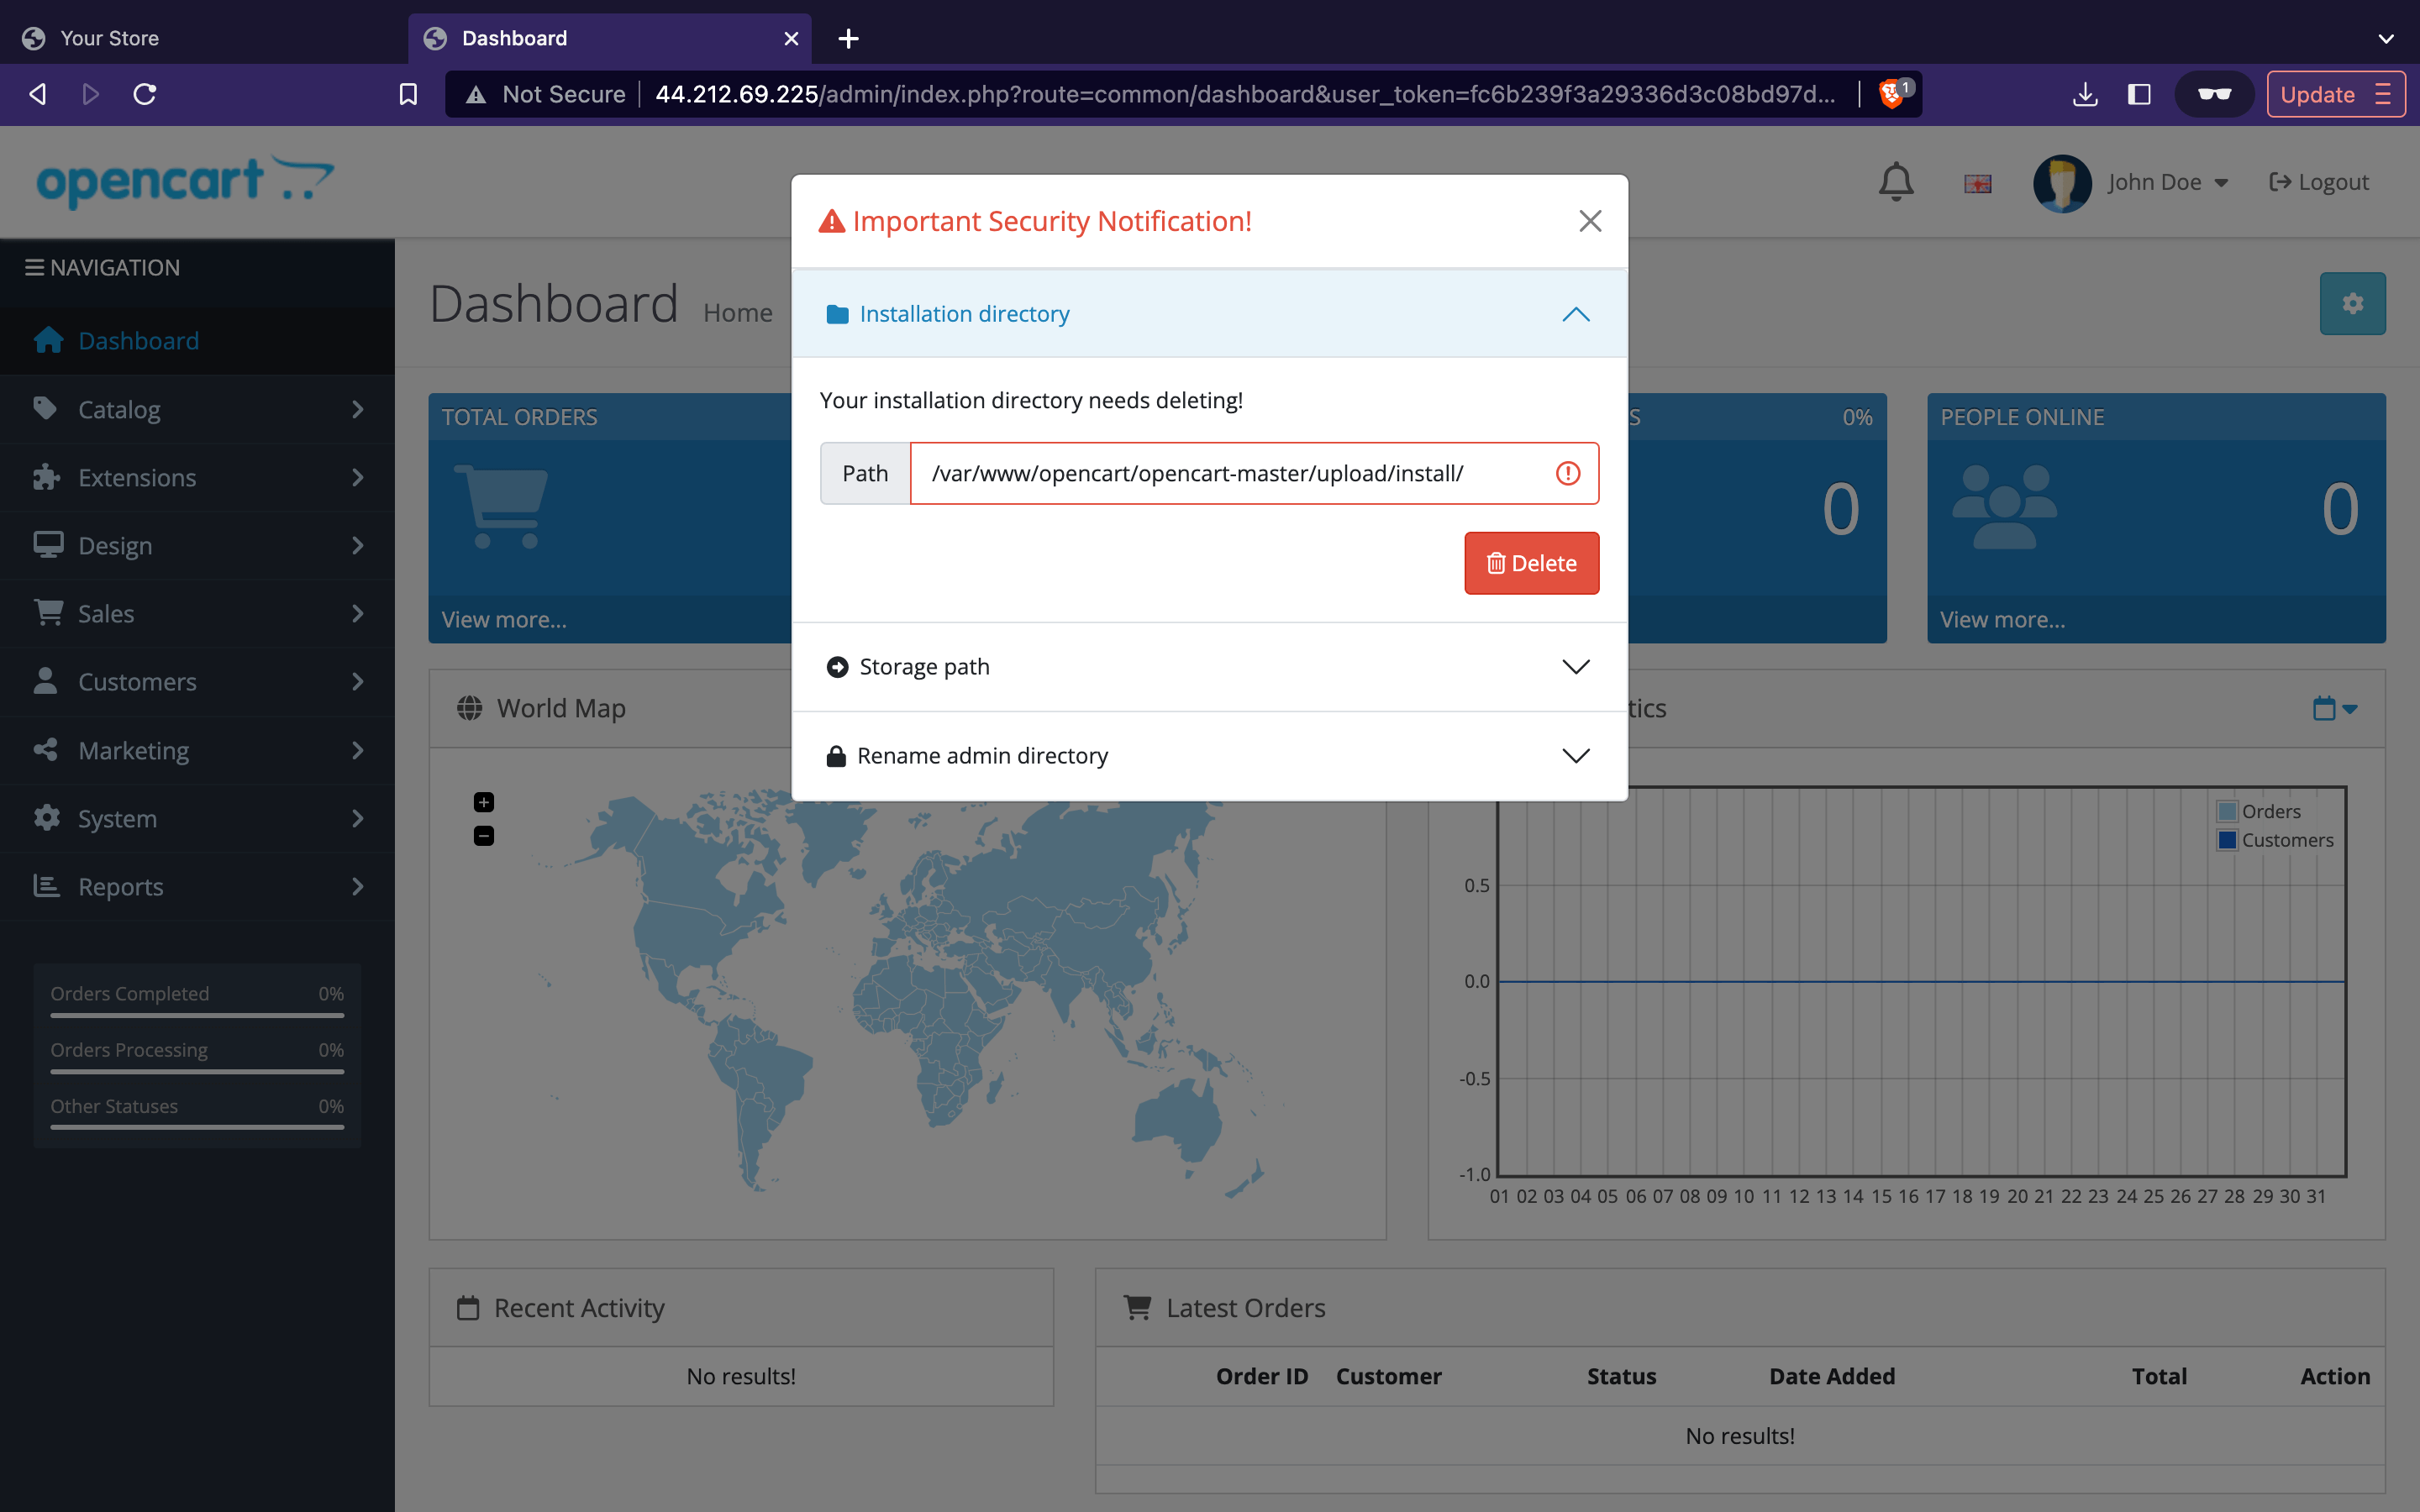
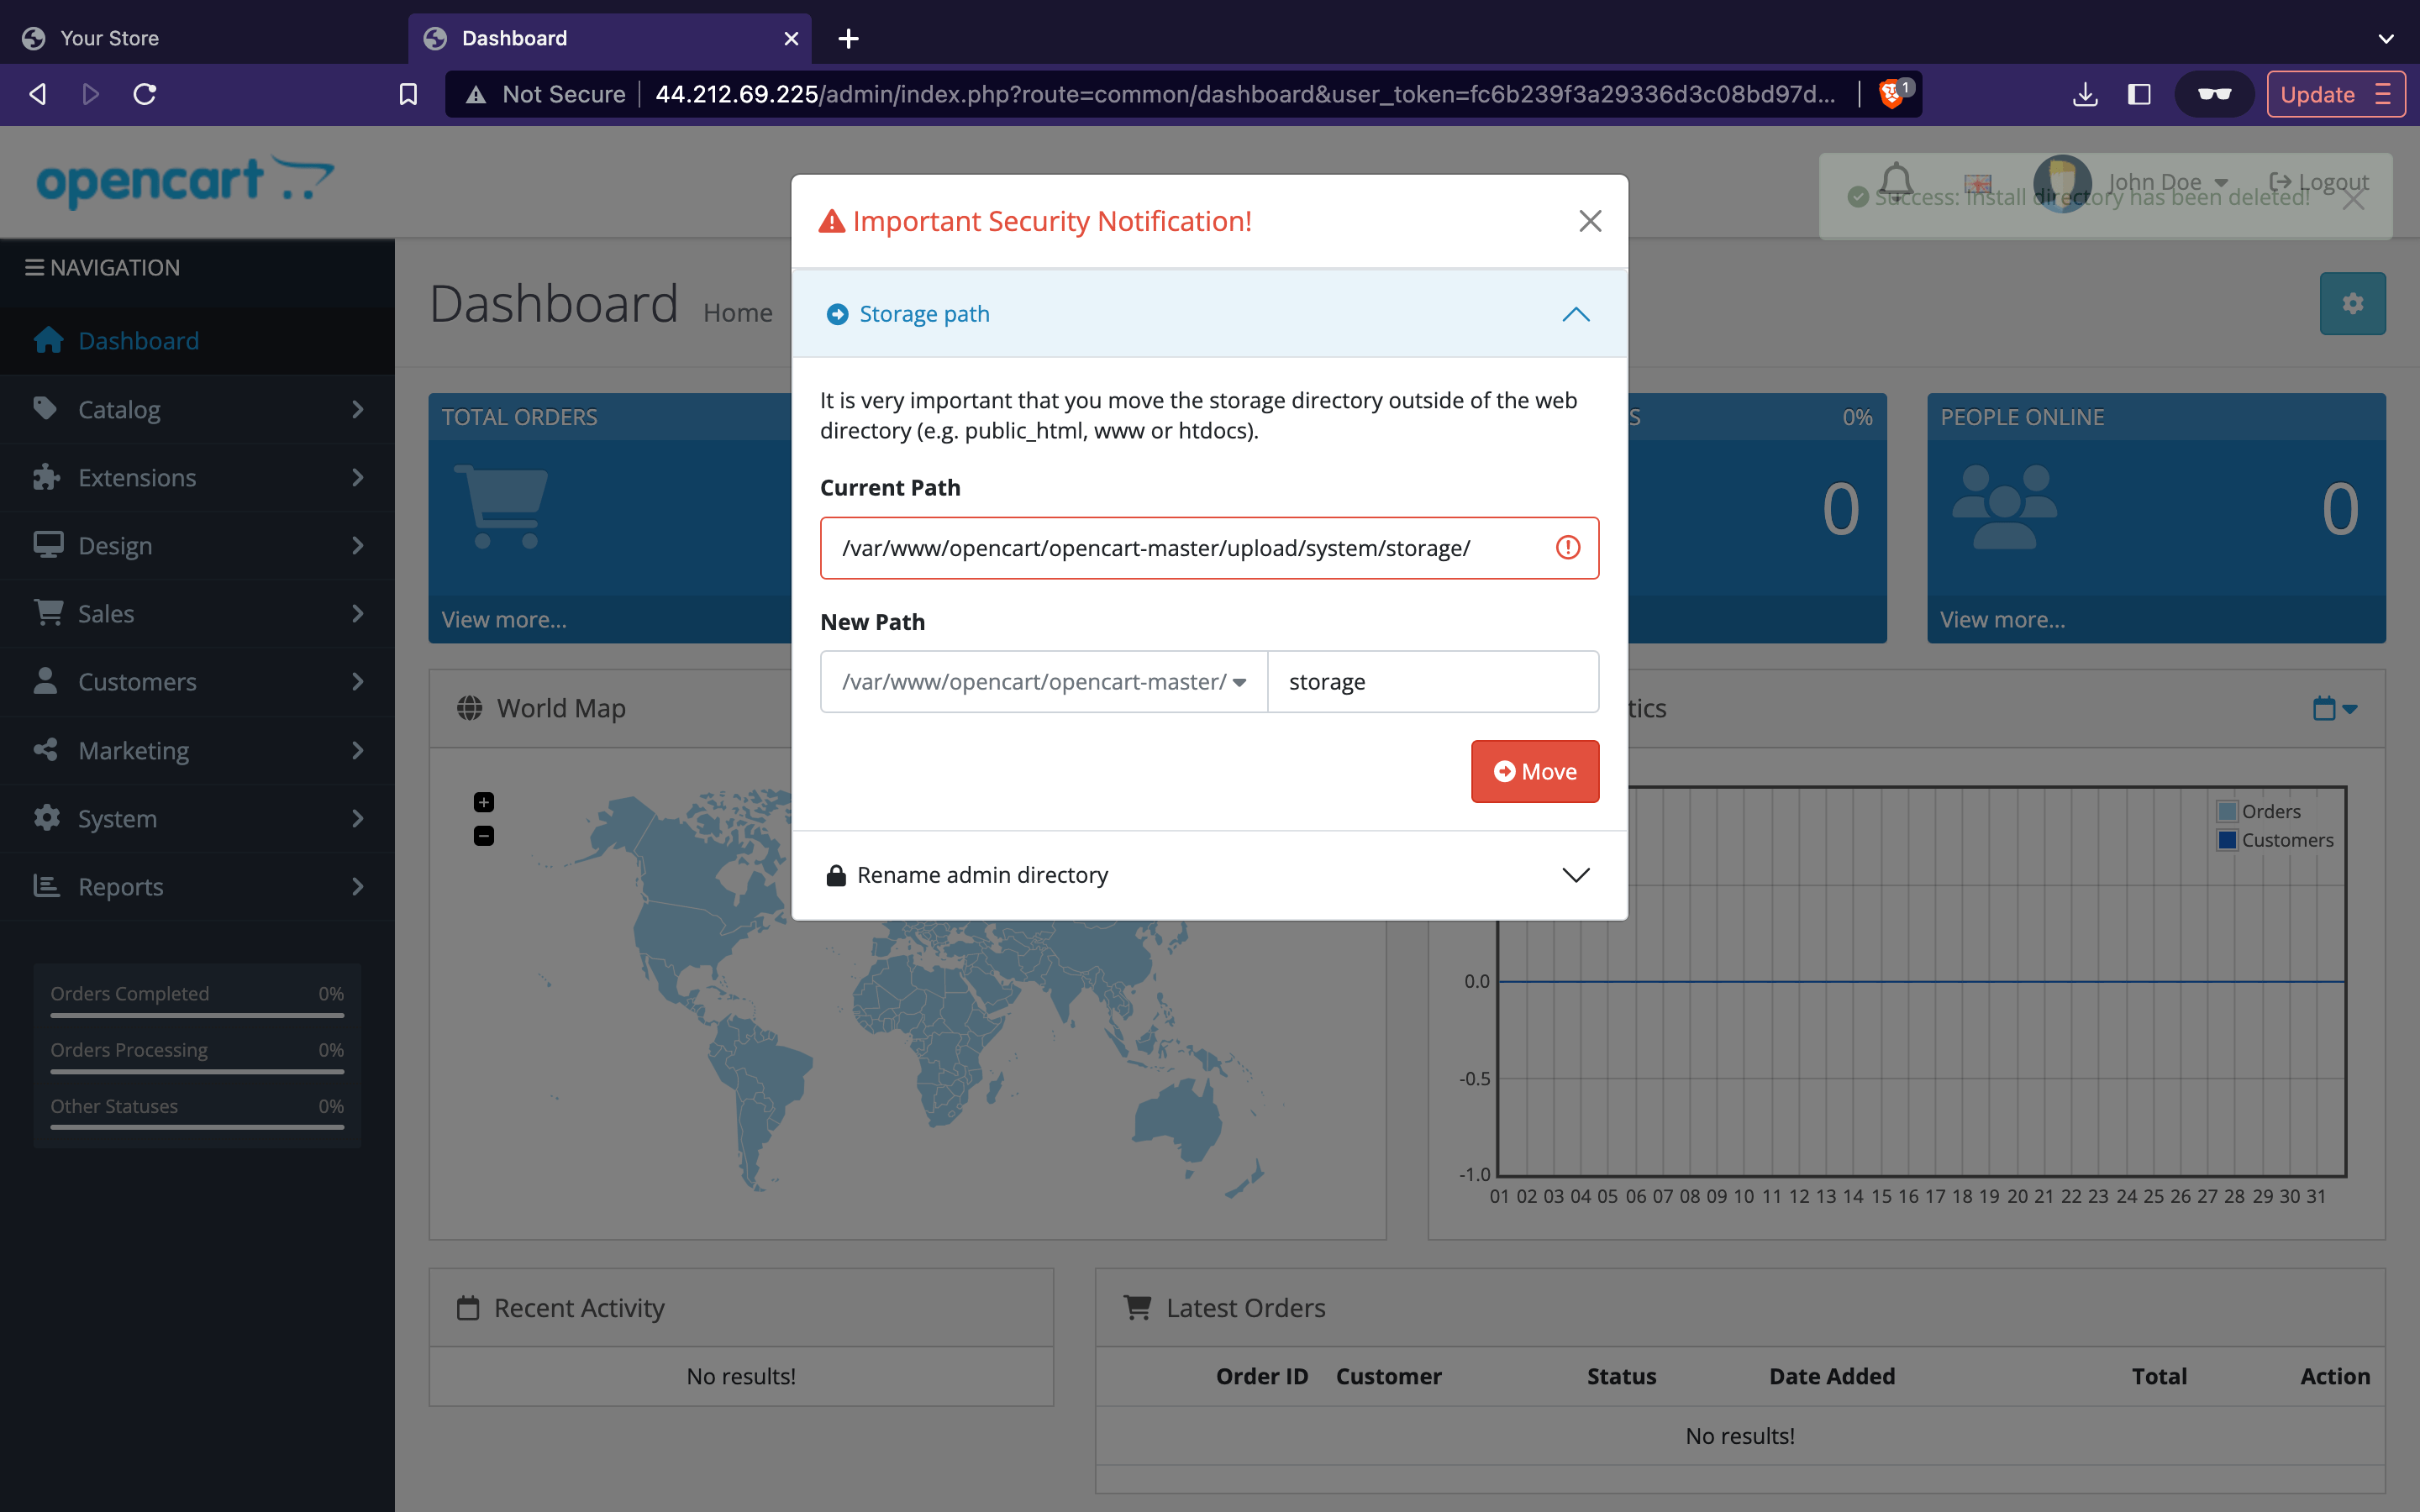
The first time that you open your admin panel you have to do a few things:
Delete your installation directory by just clicking the delete button.
Move your storage directory outside of your web directory by just clicking the move button.
Next Step
Now you can easily manage your website with the admin panel, add products, get orders and much more.
Conclusion
OpenCart indeed is a really suitable and stable choice for roughly anybody who intends to run an online store. With it’s neat and professional features it can fulfill nearly any e-commerce need.
Find out more about hosting and deploying applications in the cloud by visiting our Knowledge Base for the latest tutorials and how to videos.
Was this page helpful?

