How to Setup and Use a Plex Media Server for Movies and TV
Use code KB4KDO0L9 to receive a 10% recurring discount on any server.

These days, more and more people are cutting the cord from cable and using services like Netflix and Hulu to stream video content online. Something you may not realize though is that setting up your own personal media server is easier than ever before.
DockSTARTer is a software bundle designed to make setting up your own media server as easy as possible. It provides one-click installation of all of the components you will need to run your very own Netflix-like server.
This article will outline how to setup DockSTARTer, a complete home theatre in a box, with Plex media server as the central focus.
Please Note: A Plex media server should only be used to stream content for which you hold a license to view. Please review our acceptable use policy for details on our anti-piracy policies.
See Also: (Live Webinar) Meet ServerMania: Transform Your Server Hosting Experience
Why Setup Your Own Media Server?
The Problem:
You have a lot of media files like movies and TV shows that you want to instantly stream across all of your devices such as desktop, laptops, Smart TVs, and mobile devices.
You also want one centralized server hosted on blazing fast connection that can deliver your content with no slow buffering times, just like Netflix does.
The Solution:
Setting up your own Plex Media Server gives you one easy to use interface to stream media to any internet connected device. You’re in full control as the server administrator.
After the initial setup and configuration, your Plex server will automatically load newly downloaded media and make it available across all of your devices.
What is a Plex Media Server?
Plex (www.plex.tv) is an open source piece of software designed to allow you to stream media such as TV and movies. Think of it like your very own Netflix, storing all the media files you own and allowing you to stream them on your laptop and desktop computers, Apple TV, Smart TVs that have the Plex App, Roku devices, etc.

Hardware Recommendations
The system recommendations for a Plex media server vary widely depending on the codec of the content being streamed, the frame rate of the content, and the device being streamed to. For an in-depth discussion on the topic, view our Plex Media requirements help article.
For example, a piece of content encoded in H264 mpeg to a desktop PC will typically be able to directly stream to the device without any transcoding required. This will use significantly less CPU and memory than a Plex server streaming and transcoding content to 25 users.
As such, it’s difficult to provide accurate system requirements breakdown as every setup will be different. A modest setup streaming to a handful of users will perform adequately with the following specifications:
- Latest Debian Operating System
- At least 8GB of RAM
- Sufficient disk space to store media files
- 2.4GHZ+ processor speed
Preparation
In order to prepare for installation, we’re going to order a Dedicated Server from ServerMania.com loaded with the latest version of Debian.
ServerMania offers a variety of bare metal servers that are provisioned within just a couple of minutes after ordering. This is the perfect option for a Plex Media Server and will be sufficient for most personal media servers.
Depending on the amount of content you will be streaming and the number of active connections to the server, your server requirements will change. Book a free consultation today with one of our server experts to determine which server is best for you.
How Installation Works
1. Choose A Server
Start by ordering a Hybrid or Dedicated Server at ServerMania. Remember to choose a server with sufficient disk space for all of your media files. This server will be hosted on blazing fast 1Gbps connections so your media is instantly accessible worldwide.
2. Install Server Software
We’ll walk you through the steps for installing DockSTARTer, an automated media server software package.
3. Configure the Server
Finally, you will configure all of the services on the server for downloading and managing media files.
Installation Steps
DockSTARTer will run on any version of Linux which supports Docker, but we’re going to run this tutorial on Debian. Commands may vary if you choose to use another OS.
Step 1: Login to the server via SSH
Using your favourite SSH client, connect to the IP address of your server. You can view our article on how to SSH on Mac and How to Connect to Your New Server.
The IP address and root password will be sent to you once the service has been provisioned. The following command can be used to connect:
ssh root@IP-Address
Step 2: Update Repositories and Download Required Packages
We will update the apt repositories on Debian and then download curl, git, and sudo, which will be used by DockSTARTer.
apt-get updateapt-get install -y curl git sudo
Step 3: Create a user for plex
A dedicated user will be created to run the media server software:
adduser plex
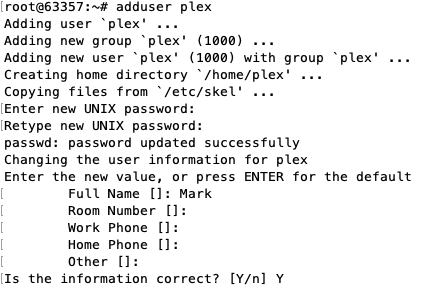
Enter the password for the new user and provide some basic information.
Add the plex user to the sudo group:
usermod -aG sudo plex
Change into the new plex user:
su plex
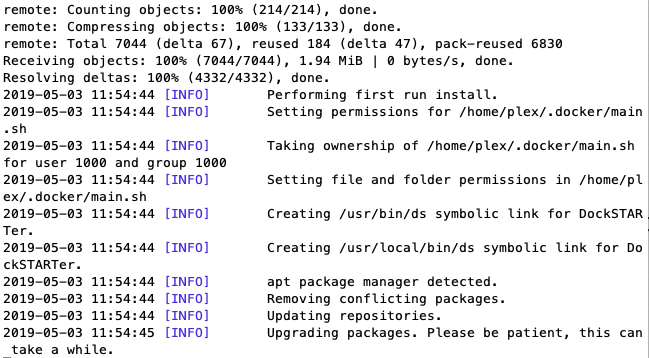
Step 4: Download DockSTARTer
bash -c “$(curl -fsSL https://get.dockstarter.com)”
Step 5: Reboot the Server
sudo reboot
Step 6: Reconnect to the Server
Connect to the server with the plex username we previously created:
ssh plex@IP-Address
Step 7: Start DockSTARTer
Launch the DockSTARTer application:
sudo ds
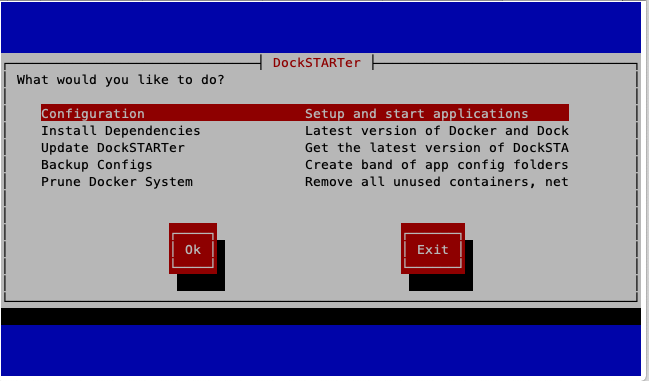 Select Configuration and hit Enter
Select Full Setup
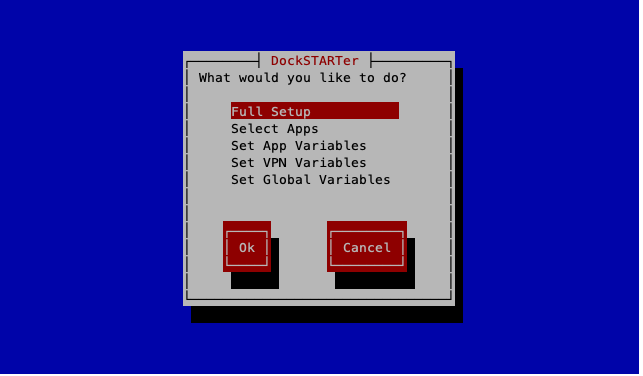
Select the software you want to run on your media server. You can hit the space bar to select the software, and hit enter once you are done.
We recommend the following:
- Plex: This will be the software used to stream media on the server to desktop, laptops, and mobile devices.
- Ombi: A tool which can be used to request new movies and TV shows on the server, which are automatically downloaded using SickRoar or CouchPotato
- Transmission: A web-based torrent application which will be used by SickRoar and CouchPotato to download media.
- SickRoar: A tool used to automate the downloading of TV shows, including when new episodes are available.
- CouchPotato: A tool used to automate the downloading of movies.
You can hit Yes to use the default settings for each software, or change them if needed.
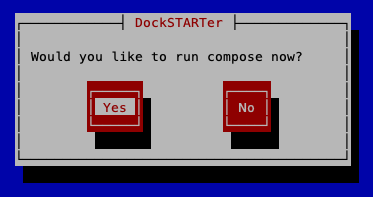
Click Yes to start the installation process.
Setting Up Plex Server
The installation is now complete and Plex is accessible at your public IP on port 32400.
In order to allow remote access to your Plex server outside of our network, you’ll need to open an SSH tunnel to the server in order to configure Plex.
On Linux or Mac:
Enter the following command in the terminal. You can follow our tutorial to learn how to SSH on a Mac:
ssh ip.address.of.server -L 8888:localhost:32400
On Windows:
Download PuTTy and enter the following details:
Host name (or IP address): your.server.ipCategory (on the left): Connections > SSH > TunnelsSource port: 8888Destination: localhost:32400Press button: “Add”Press button: “Open” (on the bottom)User – root, root password
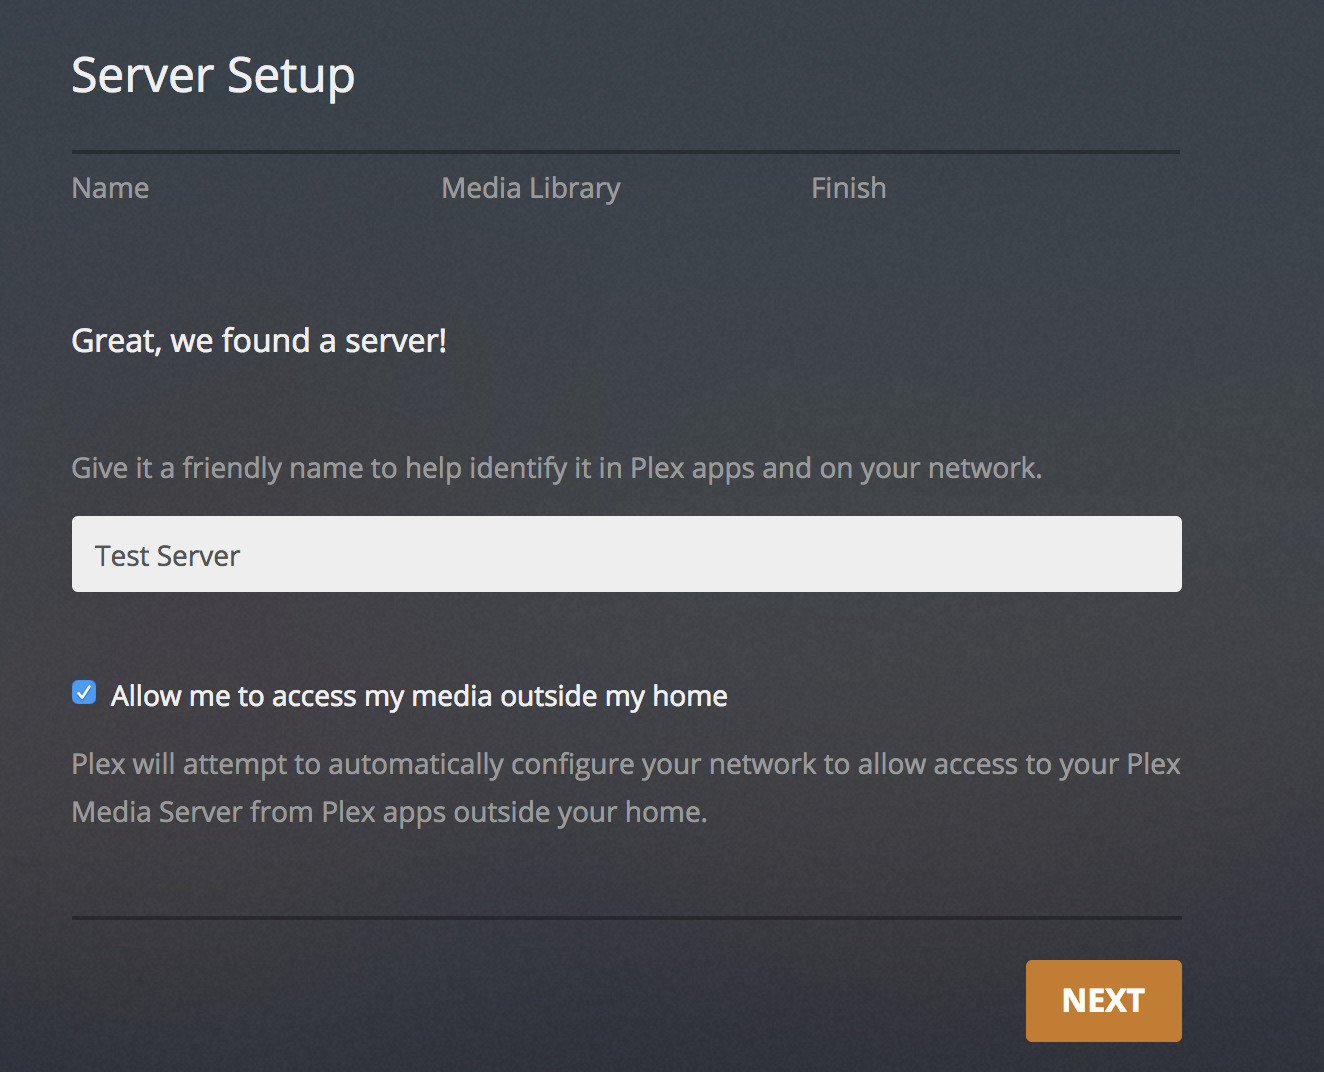
Then open your browser and type in http://localhost:8888/web/ and you will have access to configure your Plex server for remote access. The following page will appear:

Setup the server and define a folder on the server for Movies and TV Shows.
Your Plex server is now accessible to remote devices. You can logout of the SSH tunnel now.
Setting Up Other Services
Transmission
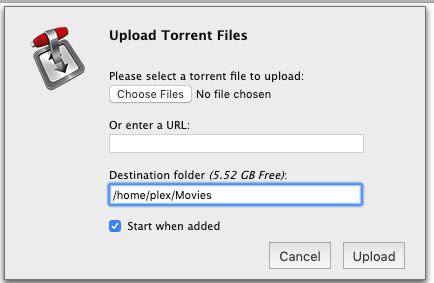
Transmission is a web interface which allows the downloading of torrent files. You can use other tools such as Sickrage and Couchpotato to automate the searching for media files. Transmission will download the files automatically and place them on your Plex server for streaming.
Transmission can be setup at http://IP-Address:9091
SickRoar
SickRoar is a tool used to automate the downloading of TV shows to your server.
SickRoar can be configured at: http://IP-Address:8081 Replace IP-Address with the IP of your server.
Under Search Settings, you can configure torrents to be sent to Transmission to be downloaded. You will tell Plex to scan the Downloaded Files Location automatically, so once the torrent is downloaded, it will appear in Plex.
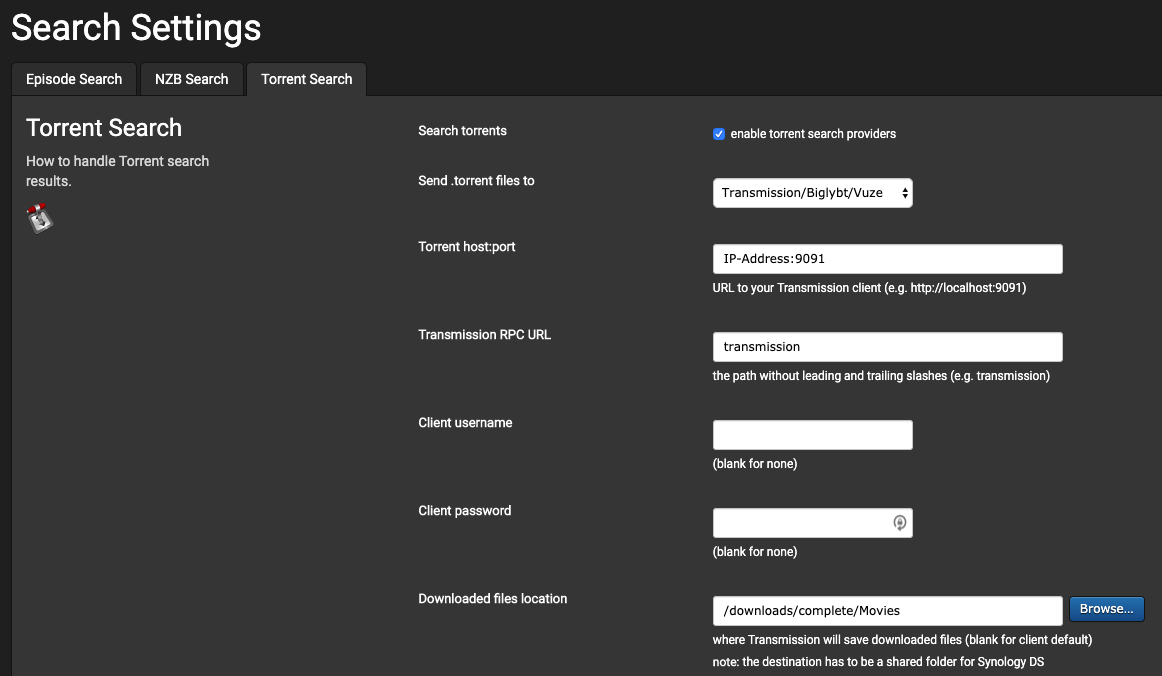
The Search Providers page allows you to configure which websites to use to download torrent files to Plex.

You can then search for TV Shows and they will be automatically downloaded based on your settings.
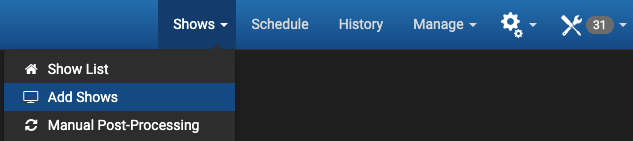
CouchPotato
CouchPotato is a tool used to automate the downloading of movies to your server.
CouchPotato can be configured at: http://IP-Address:5050
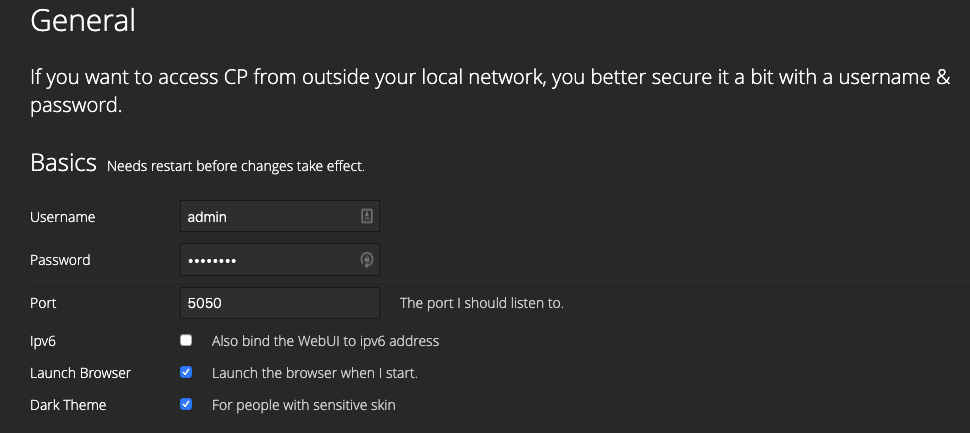
Start by selecting an admin username and password:
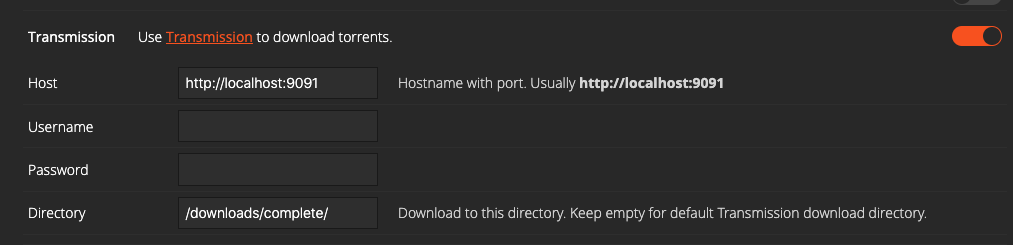
Setup CouchPotato to use Transmission to download Movies. Make sure to setup a separate Movies directory so that Plex knows to scan your Movies folder for movies.
Finally, you can complete the setup:
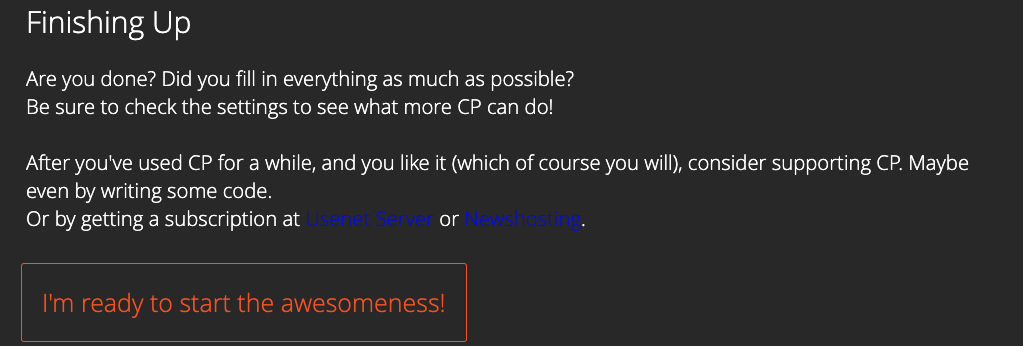
You can then search for, select, and add movies:

Ombi
This tool can be used to provide access to users to request content that will be automatically downloaded to the server and available for streaming on Plex. Ombi combines Transmission, Sickrage, and CouchPotato to give you one single interface to add new media to your server.
Ombi can be configured at http://IP-Address:3579
Replace IP-Address with the IP of your server.
You will login to authenticate your Plex account, and you can setup Ombi to automatically download movies from CouchPotato and TV Shows with Ombi.
Next Steps
You now have a Plex Media Server preloaded with applications which facilitate the automated downloading of movies, TV shows, and other media.
Need assistance? Leave a comment below.
Was this page helpful?
About the author