How Do I Install Git?
Use code KB4KDO0L9 to receive a 10% recurring discount on any server.
Git is a widely popular open-source code version control system that is used for both small and large software projects worldwide. It is helpful for developers in deploying new public versions of their software, and it also facilitates an easy process to download all of the files for a software project in a few easy steps.
Before you can start using git to download a software package, you must first install git. In this tutorial, we’ll show you how to install git on Windows, Linux, and Mac. Installing git is easy to do and we’ll show you everything you need to know.
How do I download Git? (Mac, Windows, Linux)
Before you begin the install process, you may need to download a git install file depending on the OS you are using.
Linux
Git is included in the package repository of all major distributions, so there is no need to download git separately . You can also find the git source file here, but compiling from source is generally not required.
Windows
The Windows git installer file can be found here.
Mac
Git can be downloaded and automatically installed from within the terminal, or you can download the Mac git installer here.
How do I install Git? (Mac, Windows, Linux)
Linux
Follow these steps to install git on CentOS, Fedora, Ubuntu, or any other distribution of Linux. This will install the latest git version for you.
Step 1: Login to SSH on the Server
Start the install process by logging into the server.
ssh root@IP-Address
Step 2: Update Repository
apt-get update
Step 3: Install Git
On apt based systems such as Ubuntu or Debian:
apt-get install git
or on yum based systems such as Fedora:
sudo yum install git
Windows
To install the latest git version on Windows, follow these steps:
Step 1: Login to the computer or server
Start the install process by logging into the Windows server or computer you wish to install git on.
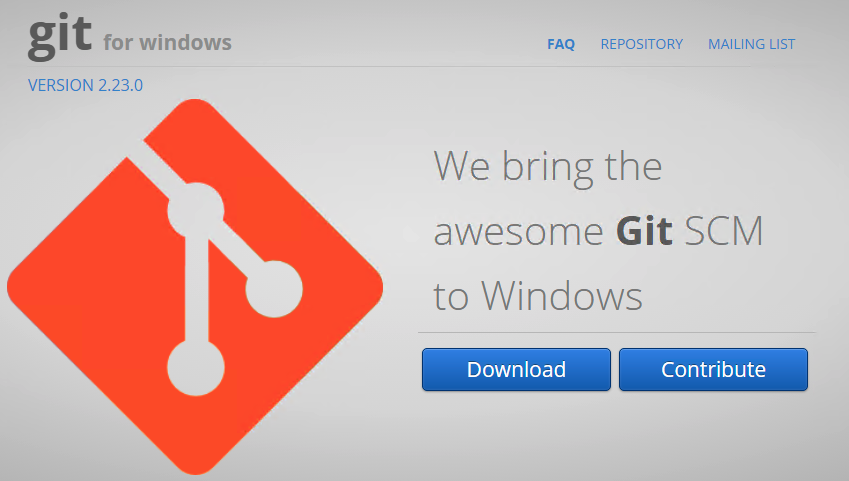
Step 2: Download and open the Git For Windows Installer
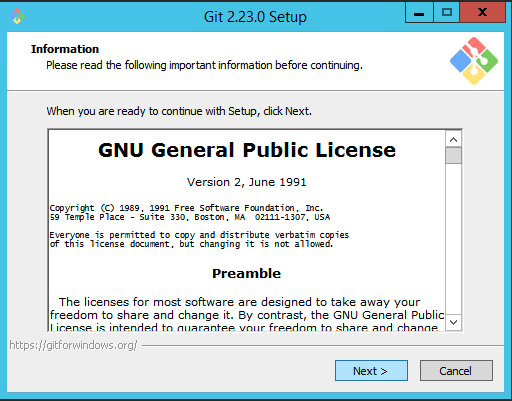
Step 3: Proceed Through Install Process
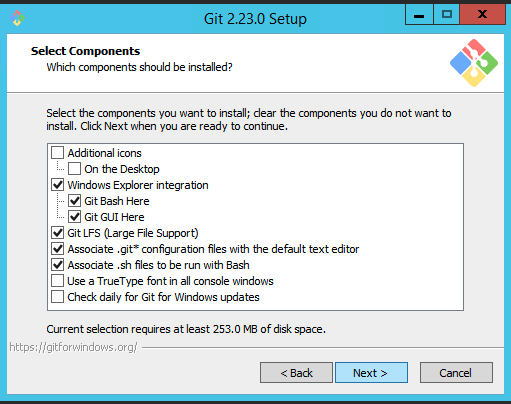
Go through the install process and select the settings and options applicable to your situation:
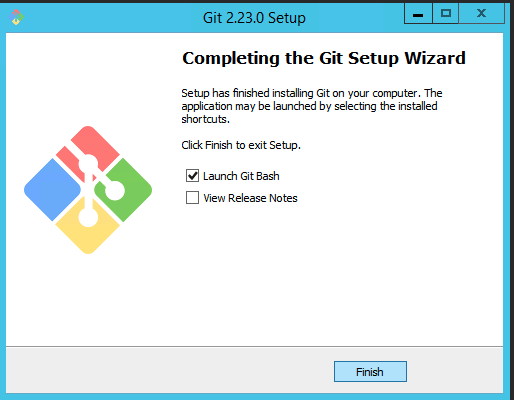
The installation will show this screen when completed so that you can open the git bash:
You can now start using the git bash:
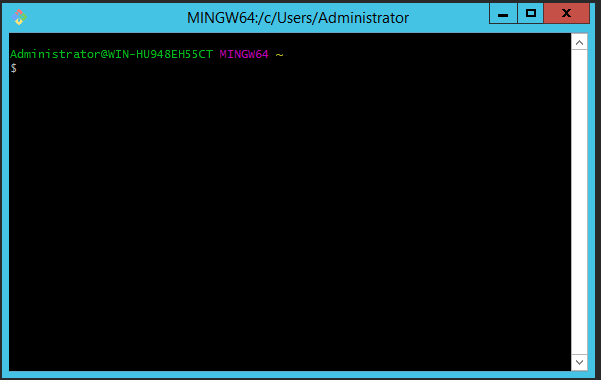
The git install on Windows is now complete.
Mac
Step 1: Open Terminal Window
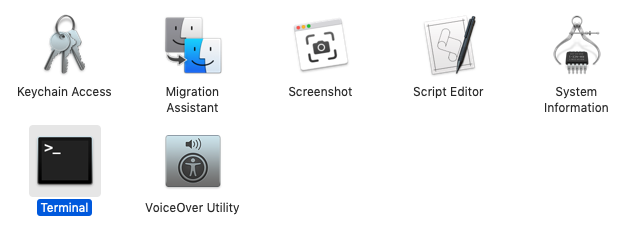
In the Applications > Utilities folder, double click on the Terminal window application
Step 2: Check if Git Is Installed
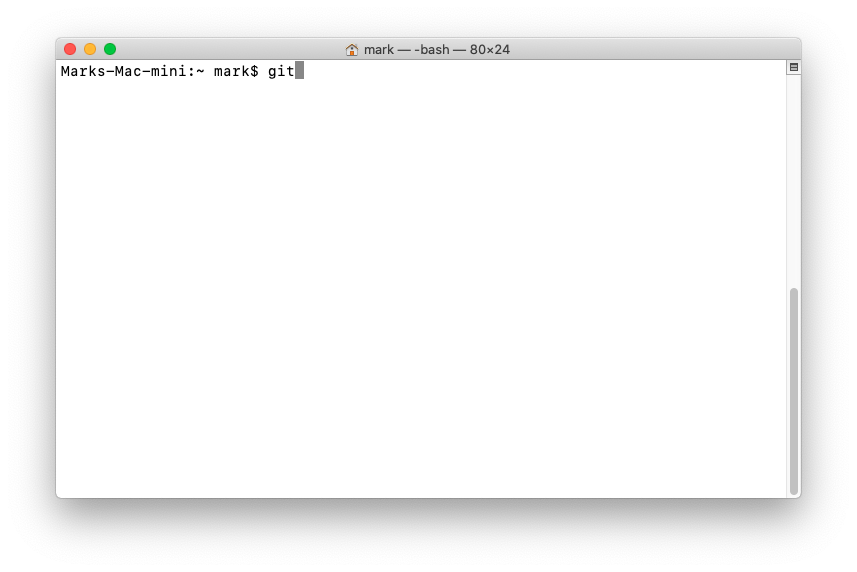
Enter the git command and hit enter to see if git is installed.
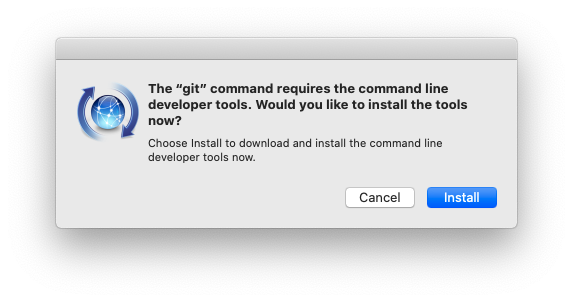
This dialog box will appear and provide you with the option to install git if it is not currently installed:
Accept the License Agreement:
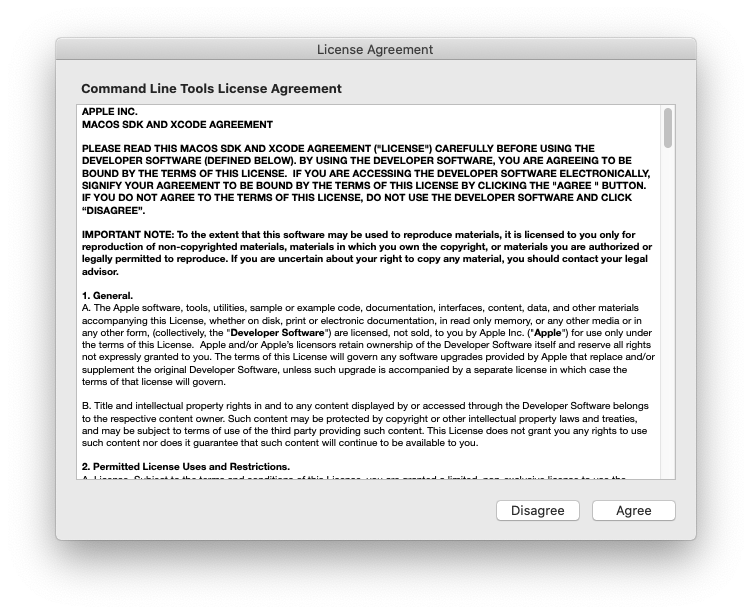
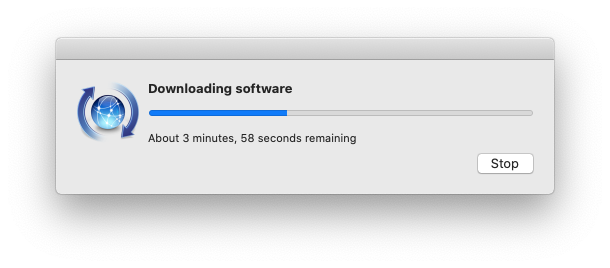
Git will now download and install for you:
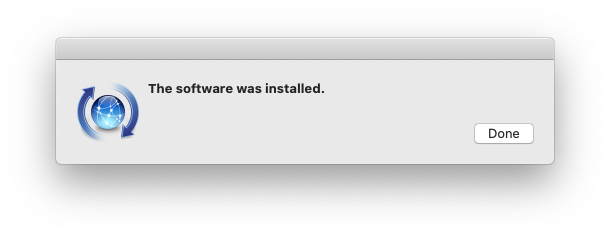
Once complete, this message will appear:
Now you can go back to the Terminal and type git –version and hit enter to confirm git is installed and show you the version of git you installed.
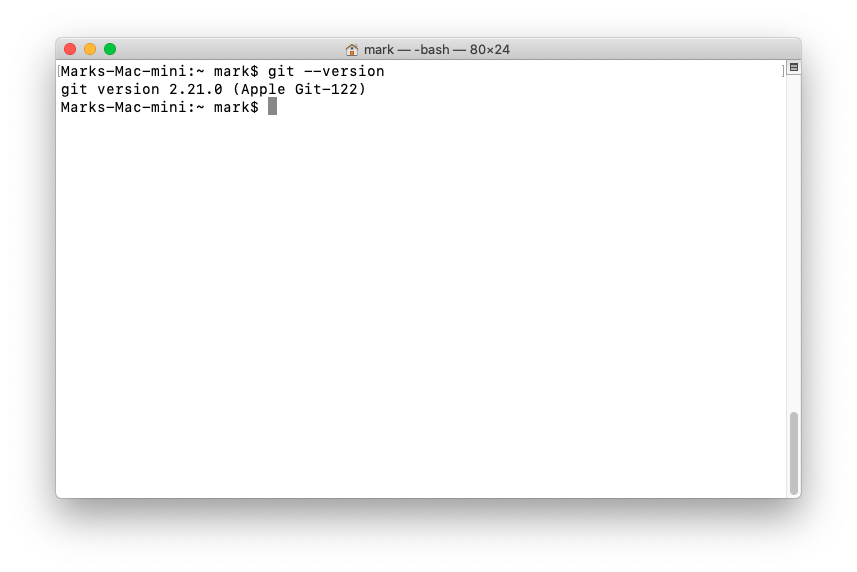
The install of git is now complete on Mac.
In Summary
You now have git installed on Mac, Linux, or Windows and can begin using the software. Congratulations! We hope you didn’t face any issues installing git, but you can leave a comment below if you have any questions!
Was this page helpful?

