How to Access the Serial Console on a VPS using the VPS Control Panel
In this article, we will show you how to access the serial console for a VPS using the VPS Control Panel.
1. Login to the VPS Control Panel
2. Click the Serial Console button.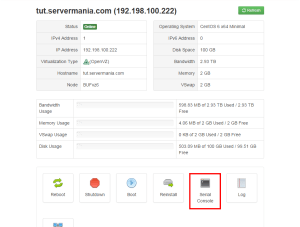
3. Using the drop-down menu, select how long you wish the session to last. The session will automatically end after the time has elapsed.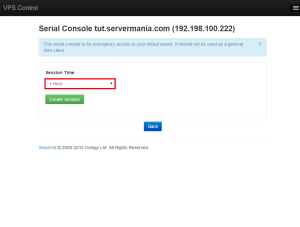
4. Click the Create Session button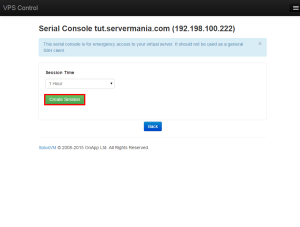
5. Using your preferred SSH client, use the address, port, username and password displayed on the screen to connect to the console.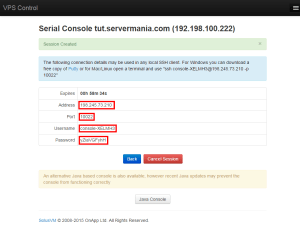
6. Once you are done using the console, it is recommended that you click the Cancel Session button to end the session.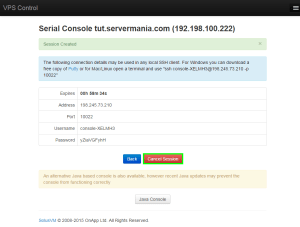
That’s it! You now know how to connect to the serial console.
Was this page helpful?

